How To Tune A Violin: Avoid Broken Strings
Tune slowly, support the bridge, use a chromatic tuner, and stop when the tension feels unsafe.
Learning how to tune a violin without breaking the strings is mostly about control, patience, and small adjustments. A violin string can snap when you turn the peg too far, tune in the wrong direction, or let the bridge lean forward. This guide explains the safe method I use with beginners and players who are changing strings, along with simple ways to prevent damage and fix common tuning problems.
Why Violin Strings Break During Tuning
Violin strings break when stress builds faster than the string can handle. Old strings may have weak spots, while new strings can snap if they are tightened too quickly. A sharp edge on the bridge, nut, fine tuner, or peg box can also cut into the string.
The most common mistake is turning a peg too far. Pegs make large pitch changes, so even a small movement can raise the note by a semitone or more. When learning how to tune a violin without breaking the strings, treat every peg turn as a small step rather than a quick twist.
Other causes include:
• Tuning the wrong string to the wrong note
• Tightening a string that is already close to pitch
• Turning the peg in the wrong direction
• Allowing the bridge to lean toward the fingerboard
• Using a damaged or very old string
• Pulling a string sharply while stretching it
• Tuning in a cold, dry, or very humid room without checking the instrument
The standard violin tuning is G3, D4, A4, and E5, from the lowest string to the highest. The A string is usually tuned first because many players and orchestras use A4 as the reference pitch.

Prepare the Violin Before Tuning
A safe tuning session starts before you touch a peg. Place the violin on a stable surface or hold it securely under your chin. Keep your hands clean and dry so they do not slip from the pegs or leave excess oil on the strings.
Use a reliable chromatic tuner. A clip-on violin tuner is convenient, but a phone app can also work in a quiet room. Set the tuner to standard concert pitch, A4 = 440 Hz, unless your teacher, ensemble, or orchestra uses another pitch.
Check these parts before tuning:
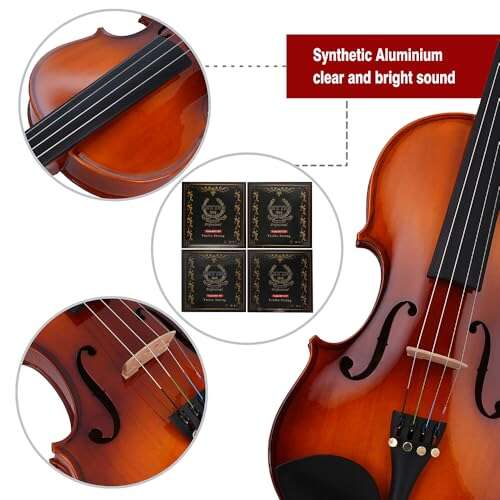
• The strings should not show deep grooves, rust, fraying, or flat spots.
• The bridge should stand upright, with its feet fully touching the violin top.
• The fine tuners should not be screwed all the way down.
• The pegs should turn smoothly but should not slide back after adjustment.
• The tailpiece should sit straight and should not touch the violin top.
• The string should sit correctly in the groove at the nut and bridge.
If a peg feels stuck, do not force it. Forcing a tight peg can damage the peg box or cause a sudden pitch jump. A violin shop can adjust the peg fit safely.
Understand the Violin’s Tuning System
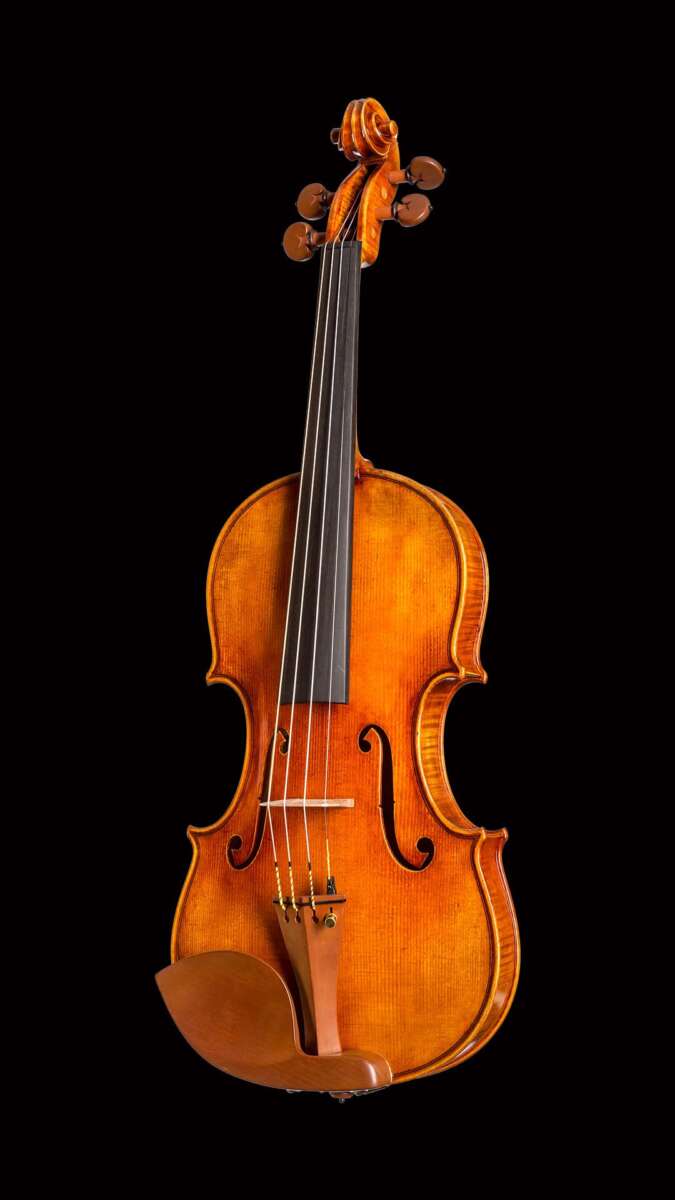
The four strings are tuned in fifths. From low to high, they are G, D, A, and E. Each string is five scale steps above the string next to it, although the distance covers several semitones in equal temperament.
Most violins use both tuning pegs and fine tuners. The pegs make broad changes. Fine tuners make small changes, usually within a few cents or a small fraction of a semitone.
A simple way to remember their roles is this:
• Use the peg when the string is clearly flat or sharp.
• Use the fine tuner when the note is close to correct.
• Turn the peg in tiny movements when the string is near the target pitch.
• Keep the tuner visible so you can watch each change.
The direction of a peg depends on which side of the peg box it is on. There is no single “clockwise raises pitch” rule for every peg. Turn the peg slightly, check the tuner, and reverse direction at once if the pitch moves the wrong way.
That small test is central to learning how to tune a violin without breaking the strings. Never guess the direction by force.

How to Tune a Violin Without Breaking the Strings
Follow this process each time you tune. Move slowly, listen carefully, and keep checking the tuner.
1. Start with the A string
Place the tuner where you can see it clearly. Pluck the A string gently or use a soft bow stroke. If the note is far below A4, bring it up in short turns.
Turn the A peg by only a few degrees at a time. After every small turn, sound the string again and check the tuner. If the string is close to A, stop using the peg and finish with the fine tuner.
If the string is sharp, lower it slightly below the note first. Then raise it slowly to A. This method helps the string settle and reduces the chance of overshooting.
2. Tune the D and G strings
After the A string is set, tune the D string. Its target is D4. You can compare it with the open A string, but a chromatic tuner gives a more exact reference.
Then tune the G string to G3. The G string is the thickest violin string, so it may respond more slowly to small peg movements. Use the same gentle method and avoid sudden turns.
3. Tune the E string last
The E string is the thinnest and often the most sensitive. It can break more easily when it is tightened too fast or when it catches on a sharp point.
Turn the E peg in very small steps. Once it is near E5, use the fine tuner if available. If the E string feels unusually tight before reaching the correct note, stop and inspect the bridge, nut, and peg.
4. Check all four strings again
Changing one string’s tension can slightly affect the others. Play each open string again and make small corrections.
A useful order is:
-
A
-
D
-
G
-
E
-
A final check of all four strings
This process is the safest general answer to how to tune a violin without breaking the strings. The goal is not speed. The goal is steady tension.

How to Use the Pegs Safely
A tuning peg works like a small wooden winch. The string wraps around it, and the peg changes the string’s length and tension. Because the peg has a large effect, you should use your fingertips rather than your whole hand to make tiny adjustments.
When raising pitch, turn the peg so the string winds more tightly around the peg. When lowering pitch, loosen the string gradually. Since peg direction varies by location, use the tuner to confirm the result after every movement.
Keep the string winding neat. The coils should sit close together without crossing over one another. They should also stay near the correct side of the peg, which helps the string pull straight through the nut.
Avoid these peg mistakes:
• Do not twist the peg rapidly.
• Do not push the peg hard into the peg box.
• Do not pull the peg outward while tuning.
• Do not continue tightening if the note does not rise normally.
• Do not tune by ear alone when you are still learning.