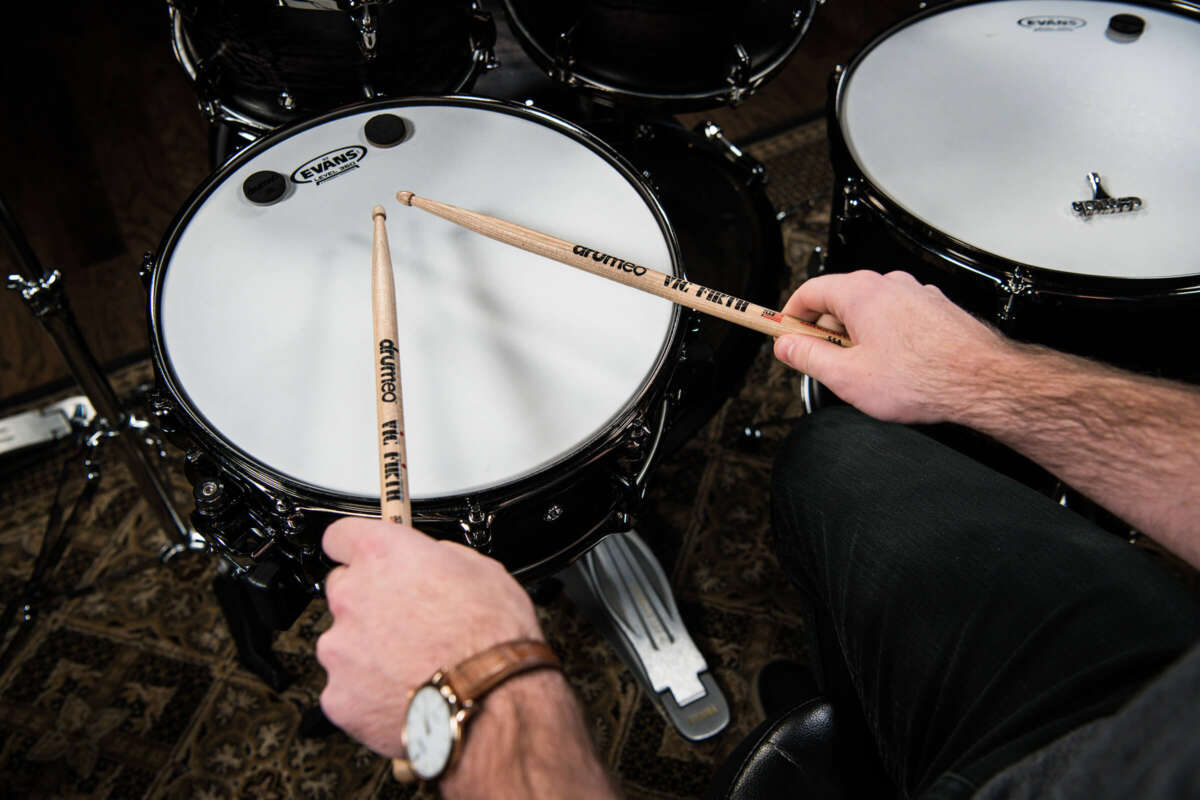
How To Hold A Snare Drum Stick: Proper Grip Guide
Hold the snare drum stick with a relaxed grip, a balanced fulcrum, and loose fingers that let the stick rebound naturally.
Learning how to hold a snare drum stick is the first step toward clean rudiments, steady rolls, and comfortable playing. The best grip is not tight or stiff; it is balanced, relaxed, and shaped to work with the drum’s natural rebound. This guide explains the main grips, shows each step clearly, and shares practical tips that help beginners build good technique from the start.

Why Your Snare Drum Stick Grip Matters
Your grip affects nearly every part of your playing. It shapes your sound, speed, control, endurance, and ability to play soft or loud notes. A poor grip can also create tension in your hands, wrists, forearms, and shoulders.
When you understand how to hold a snare drum stick, the stick begins to feel like an extension of your hand. You do not need to force every note. Instead, your fingers guide the stick while the drumhead sends it back toward you.
A good grip gives you three main benefits:
• Better rebound: The stick bounces after each stroke.
• More control: You can play accents, taps, rolls, and flams with less effort.
• Less tension: Your hands stay loose during long practice sessions.
The goal is not to hold the stick as tightly as possible. Think of holding a small bird. Use enough pressure to keep it safe, but not enough to hurt it.
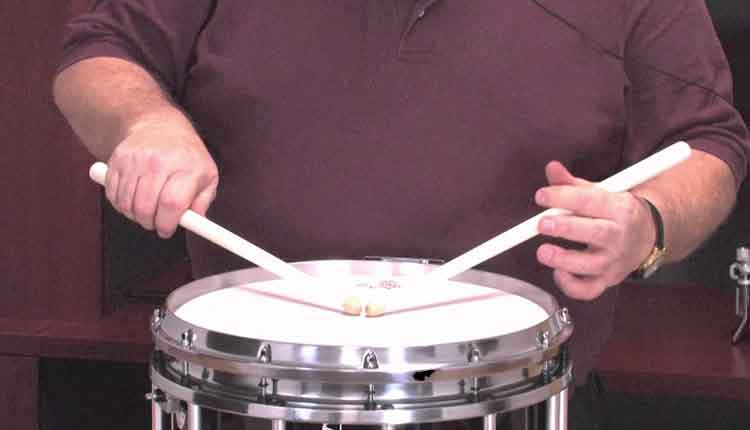
The Two Main Snare Drum Stick Grips
Most players use either matched grip or traditional grip. Both methods can produce excellent results. Your choice may depend on your musical style, teacher, marching tradition, or personal comfort.
Matched grip
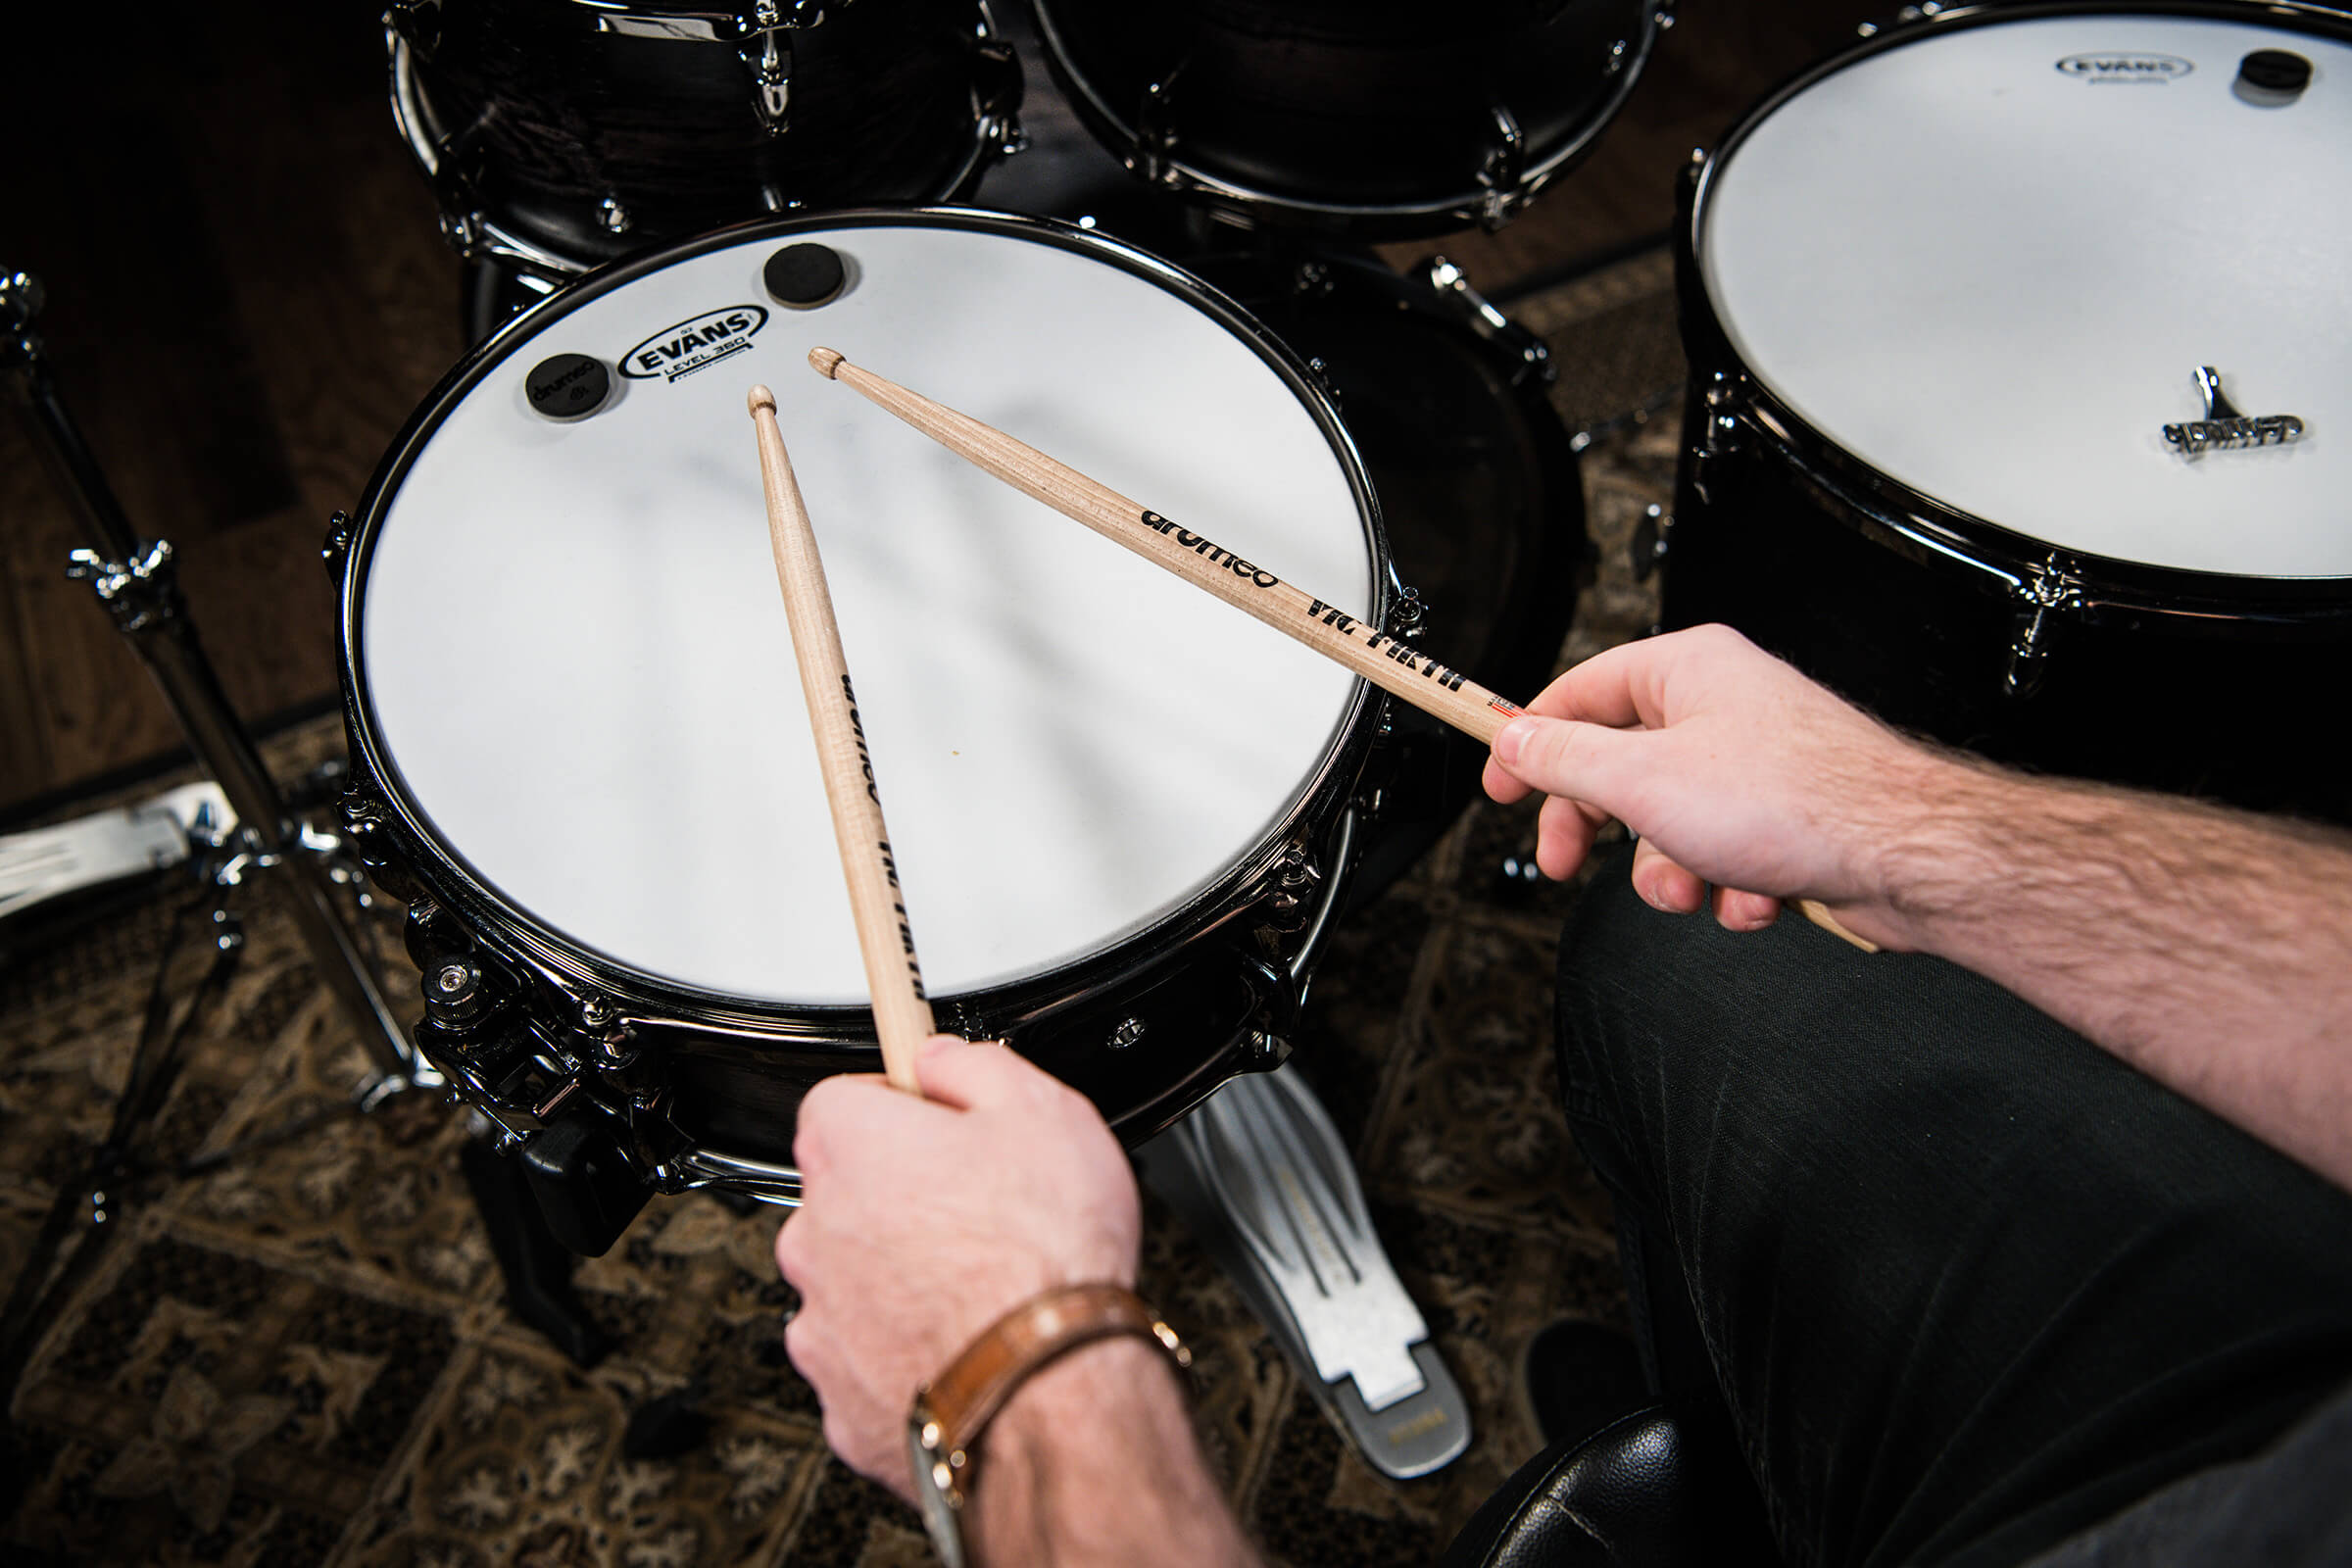
With matched grip, both hands hold the sticks in the same basic way. The palms usually face down or slightly inward. This grip is common in drum set playing, concert percussion, school bands, rock, pop, and many modern marching settings.
Matched grip is often the easiest place to start because both hands learn the same movement. It also makes it simple to compare your left-hand and right-hand technique.
Traditional grip
Traditional grip places the left stick under the hand while the right hand usually uses a matched-style position. This grip developed from marching drummers who carried a drum at an angle.
Traditional grip can offer a different angle for certain musical phrases. However, it requires more careful control of the left thumb, index finger, and wrist. It is not automatically more advanced or more musical than matched grip.
If you are new to snare drum, start with matched grip unless your teacher or ensemble requires traditional grip. Once your basic control is strong, you can explore traditional grip with guidance.
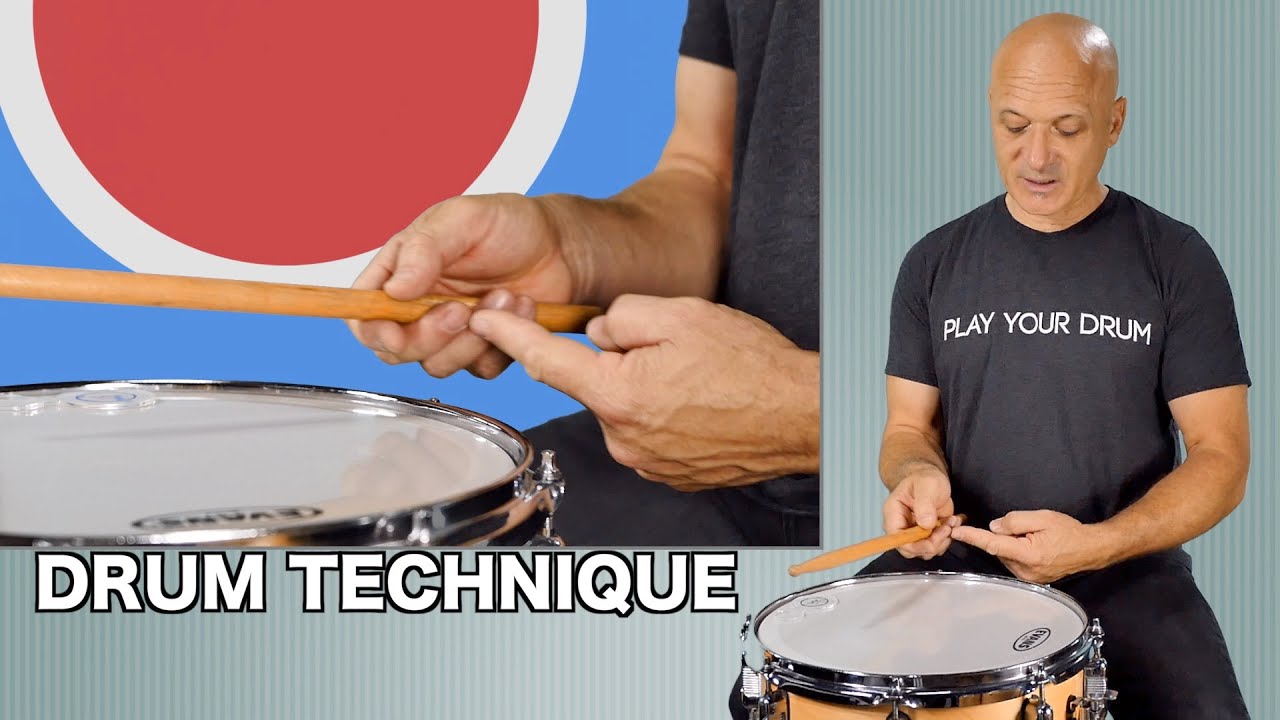
How to Hold a Snare Drum Stick With Matched Grip
Matched grip has three common forms: German, American, and French. The main difference is the angle of the palms and the muscles used to move the sticks.
Step 1: Find the balance point
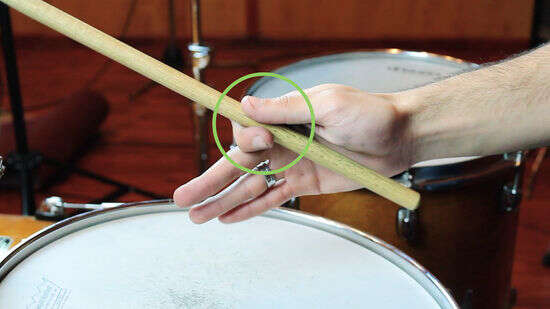
Hold the stick between your thumb and index finger. Let the stick rest across the first joint of your index finger, near the point where the finger bends.
Move your fingers along the stick until you find the place where it balances and rebounds well. This point is often called the fulcrum. It may sit a few inches from the butt end, depending on the stick model and your hand size.
The balance point is not always the exact center of the stick. Test it by dropping the tip lightly onto a practice pad. If the stick bounces freely, you are close to the right spot.
Step 2: Make the fulcrum
Place your thumb across the stick, opposite the index finger. Your thumb and index finger should create a soft pivot point.
Do not pinch the stick. The fulcrum should guide the stick, not trap it. Imagine a door hinge: it controls movement while still allowing the door to swing.
Step 3: Wrap the remaining fingers
Let your middle, ring, and pinky fingers rest around the stick. These fingers support the stick and help control the rebound.
Keep the fingers curved. Do not flatten them against the stick, and do not squeeze them into a fist. The stick should be able to move slightly inside your hand.
Step 4: Set the wrist
Keep your wrist straight and relaxed. Avoid bending it sharply toward the thumb or pinky side.
Your forearm, wrist, and stick should form a natural line. The wrist should lead most basic strokes, while the fingers help with control and faster patterns.
Step 5: Check the stick angle
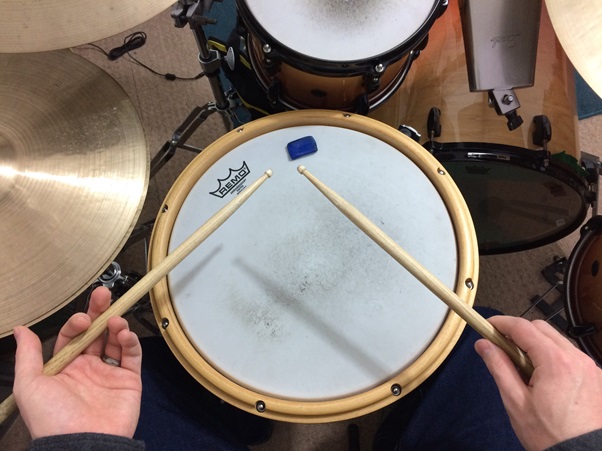
For a basic matched grip, point the sticks toward the center area of the drum. The tips should form a small V shape or remain nearly parallel, depending on your style.
Do not cross the sticks or point them too far outward. A small, natural angle helps both hands reach the playing zone with equal comfort.
Step 6: Test the rebound
Play a single light stroke and allow the stick to bounce. If the stick stops immediately, your grip may be too tight. If it flies away, your fingers may not be supporting it enough.
Repeat the stroke while using less pressure. A relaxed rebound is one of the clearest signs that you are learning how to hold a snare drum stick correctly.
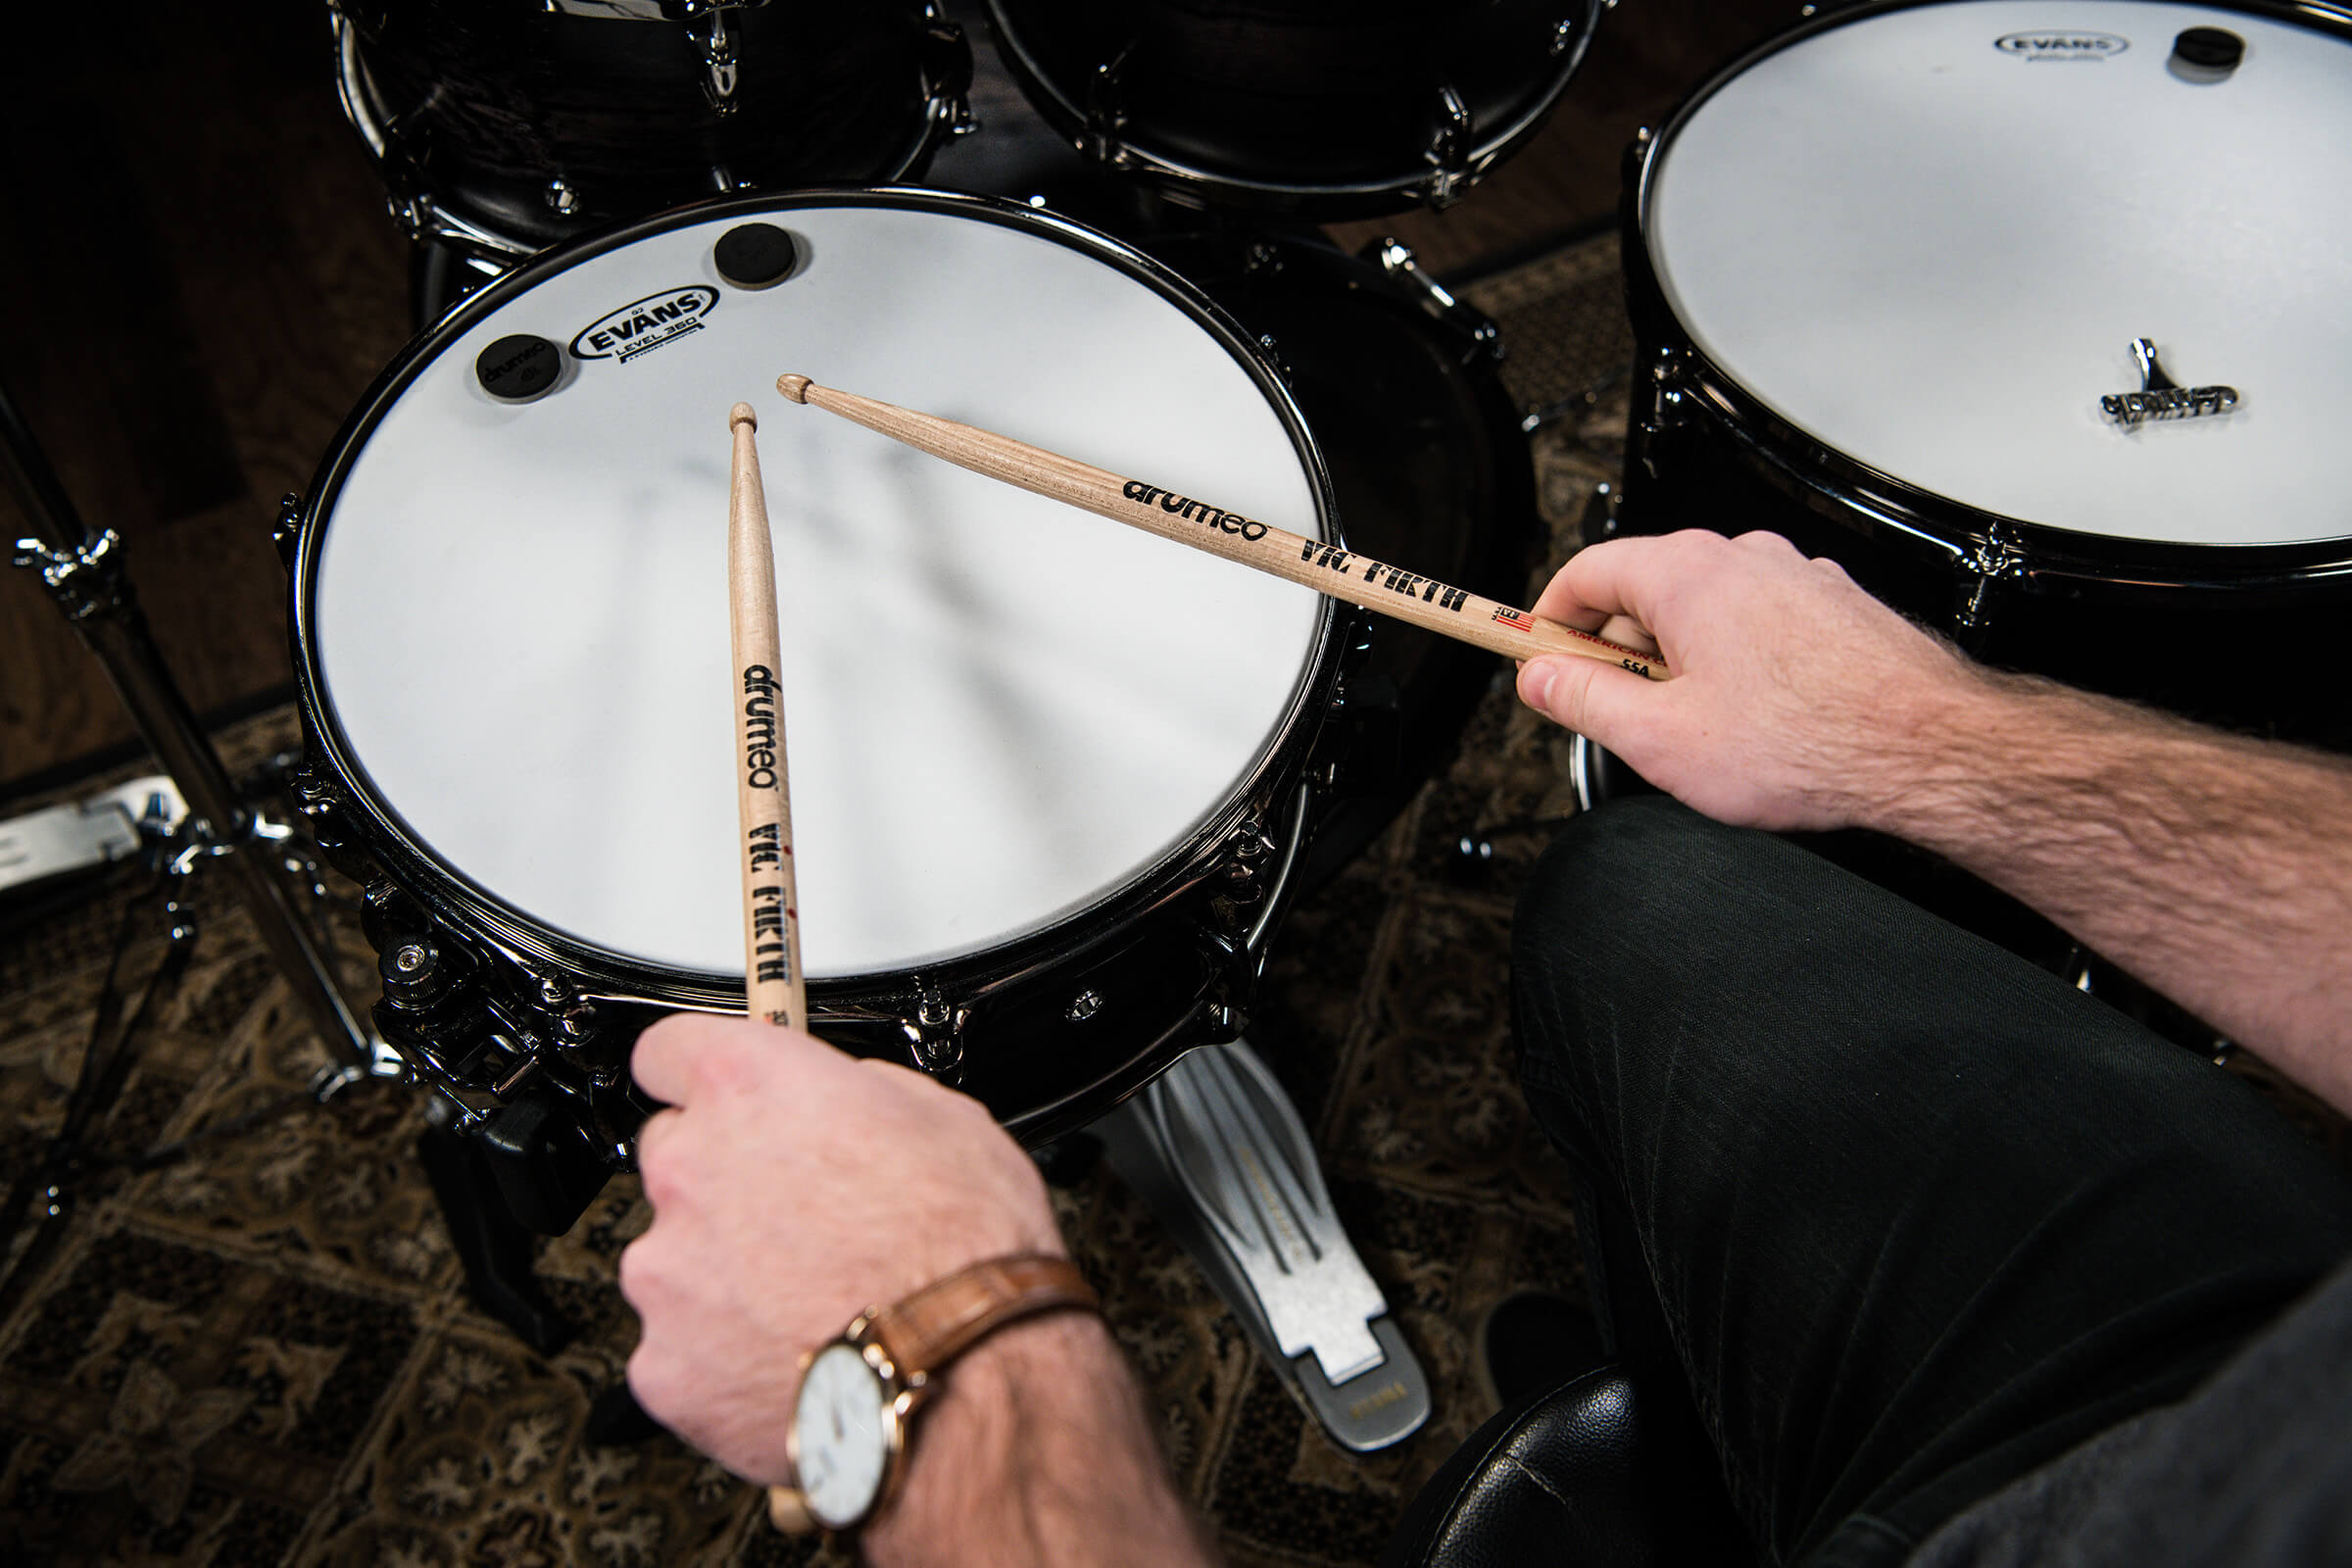
German, American, and French Matched Grip
These three matched-grip positions are useful tools, not strict rules. Many experienced players shift between them during a performance.
German grip
In German grip, the palms face downward. The wrists often provide most of the motion.
This position can produce strong strokes and is useful for full sounds, accents, and controlled power. It may feel natural for beginners because the hands rest in a familiar position.
American grip
American grip sits between German and French grip. The palms turn inward at a comfortable angle.
Many players find this position useful because it balances power, speed, and comfort. It is a practical default for learning how to hold a snare drum stick.
French grip
In French grip, the thumbs often point more toward the ceiling. The fingers control more of the motion.
This grip can help with quick finger strokes and delicate playing. It may feel less powerful at first, but it can be very effective for quiet passages and fast patterns.
Do not force your hands into one position. Your wrist shape, arm length, and playing task all matter. A skilled drummer may use a blend of these grips without thinking about the name.
How to Hold a Snare Drum Stick With Traditional Grip
Traditional grip needs extra care because the left hand holds the stick differently. Take your time, and stop if you feel sharp pain or numbness.
Step 1: Rest the stick under the hand
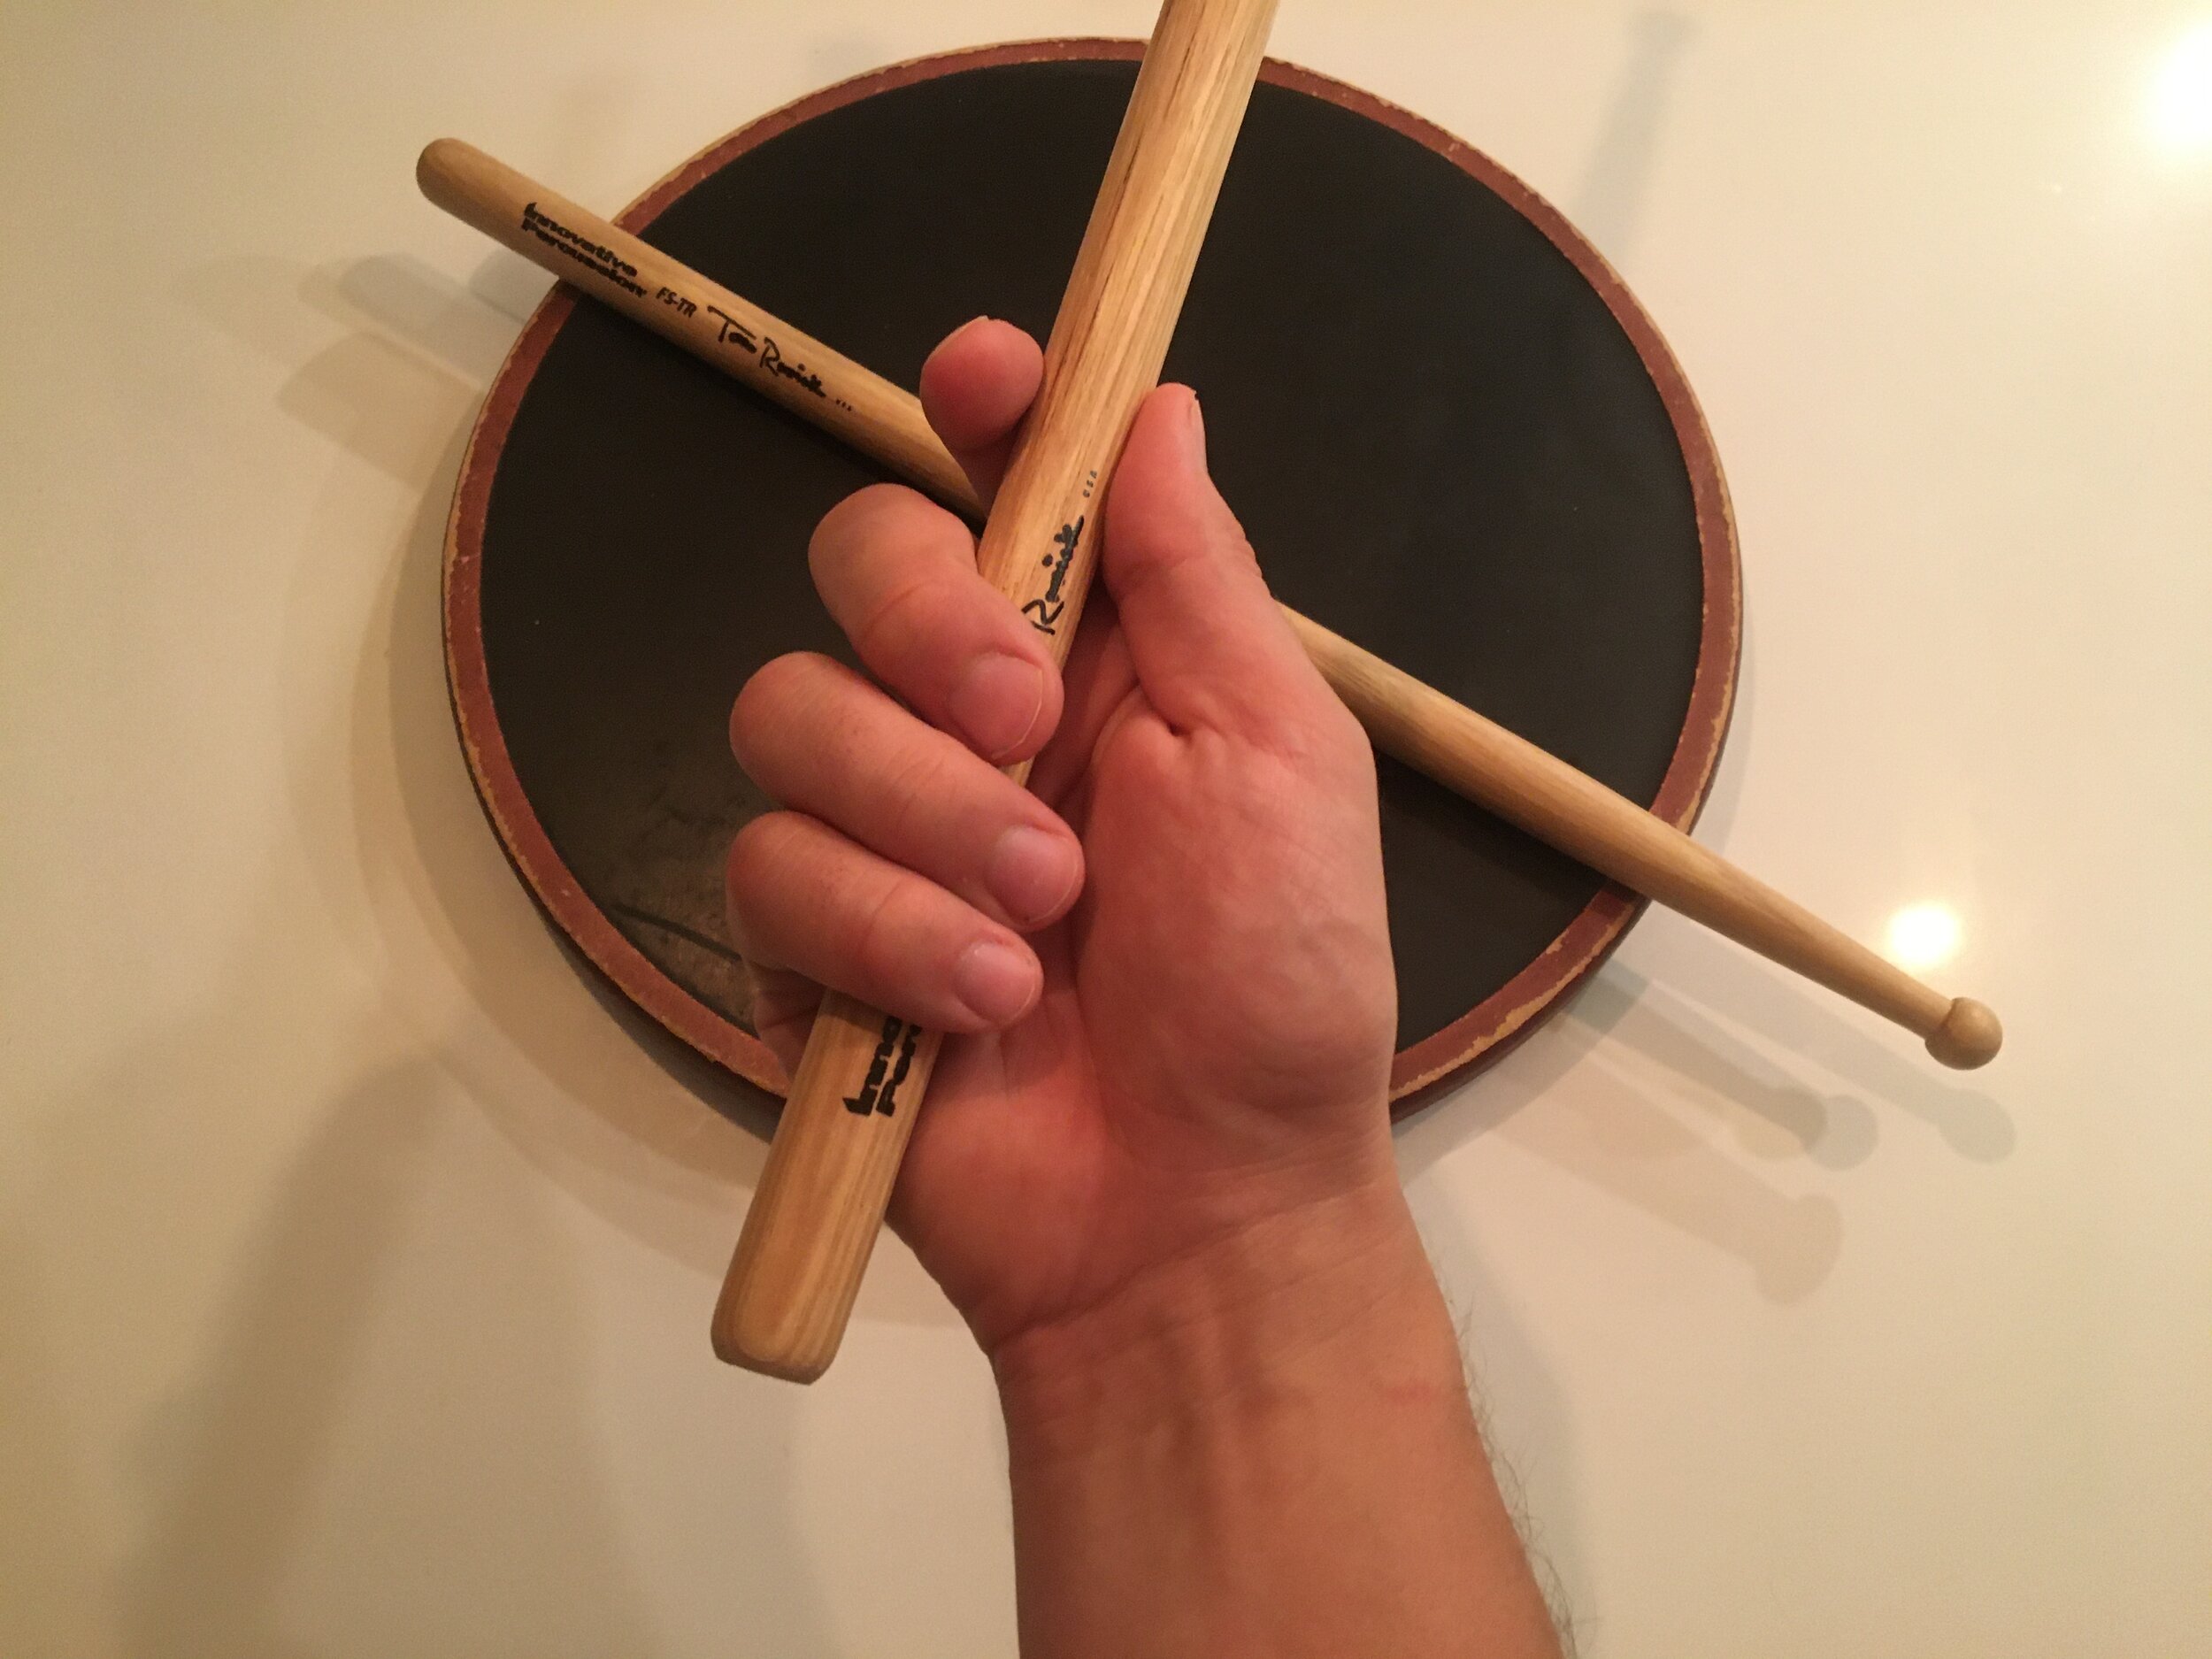
Place the left stick in the space between your thumb and index finger. Let it rest across the ring finger or the area near the base of the index finger.
The stick should sit under the hand rather than across the top of the palm. Its butt end points toward the outside of your hand.
Step 2: Create the left-hand fulcrum
Use the thumb and index finger to guide the stick. The thumb may rest on top of the index finger or along the stick, depending on your technique.
Keep the grip soft. The stick should pivot with the thumb, index finger, and middle finger rather than being squeezed by the whole hand.
Step 3: Keep the wrist neutral
The left wrist may angle slightly, but it should not collapse inward. Raise and lower the stick with a smooth motion.
Traditional grip often feels awkward at first. That is normal. Begin with slow taps and focus on comfort before trying rolls or complex rudiments.
Step 4: Match the sound
The two hands should produce similar volume and tone. Traditional grip can make the left hand sound weaker during the early stages, so practice alternating strokes slowly.
A mirror can help you watch for excess motion. Your sticks do not need to look identical, but your sound should become more even over time.
How Much Pressure Should You Use?
Use the least pressure needed to control the stick. Beginners often squeeze because they are afraid of dropping it. That habit blocks rebound and causes fatigue.
A useful pressure test is to play eight slow taps. After each tap, notice whether your fingers tighten. Try to keep the thumb and index finger firm enough to guide the stick while the other fingers remain flexible.
Your grip may change with volume:
• Soft notes need a lighter grip and smaller motion.
• Medium notes use a balanced grip with natural rebound.
• Loud accents need more arm movement, not only more hand pressure.
This point is important. Volume should come mainly from movement and velocity, not from crushing the stick in your hand.