How To Change Violin Strings With Fine Tuners: Easy Guide
To change violin strings with fine tuners, replace each string carefully while protecting the bridge, soundpost, and instrument.
Learning how to change violin strings with fine tuners is less about strength and more about control. The fine tuners make final tuning easier, but they also add a few details involving string ends, tuner screws, bridge position, and winding direction. This guide explains the full process in clear steps, including common mistakes, setup tips, and ways to help new strings settle faster.

What You Need Before Changing Violin Strings
Gather everything before you loosen a string. A violin can handle a string change well, but rushing to find a tool while the instrument is partly unstrung can cause trouble.
You will need:
• A correct replacement string for each position
• A violin tuner or tuning app
• A soft cloth
• A peg compound, if a peg slips or feels too tight
• A pencil for lubricating the string grooves
• A string winder, optional but useful
• A small screwdriver, only if your fine tuner needs one
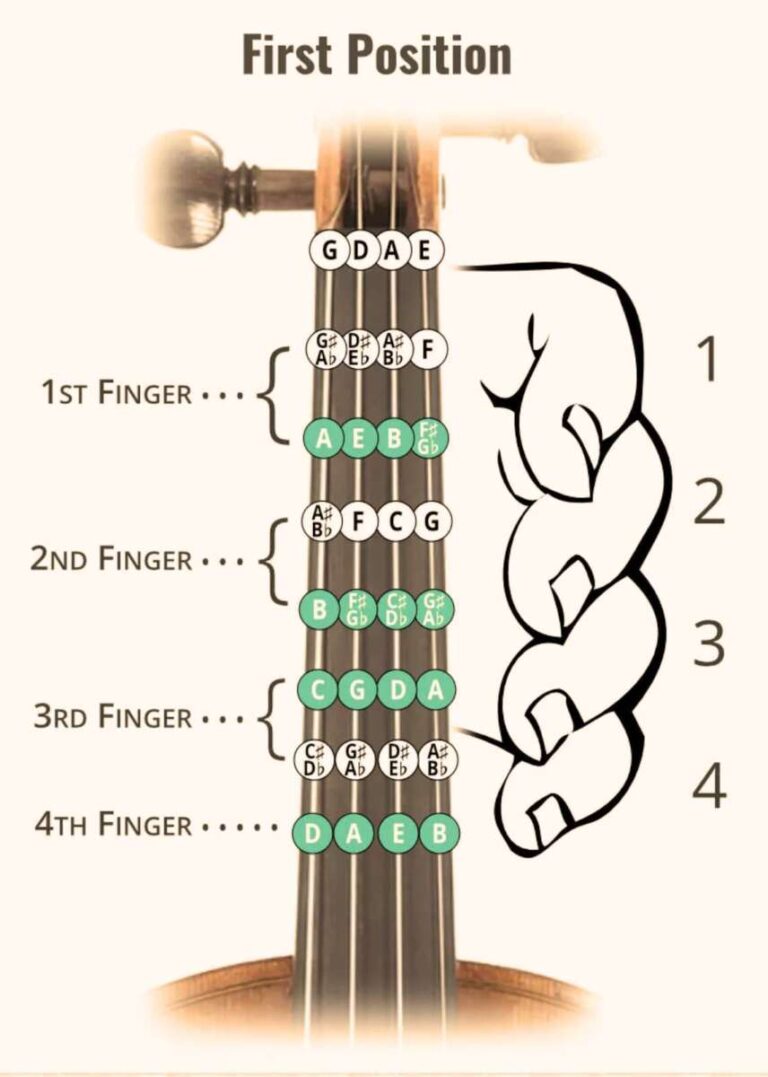
Check your violin’s string setup first. Most violins use four strings: G, D, A, and E. The G string is the thickest and sits on the left side when you hold the violin in playing position. The E string is the thinnest and sits on the right.
Before you begin, place the violin on a clean, padded surface. A folded towel can protect the varnish and keep the instrument from sliding. Never place the violin directly on a hard table.
Understand Your Fine Tuners
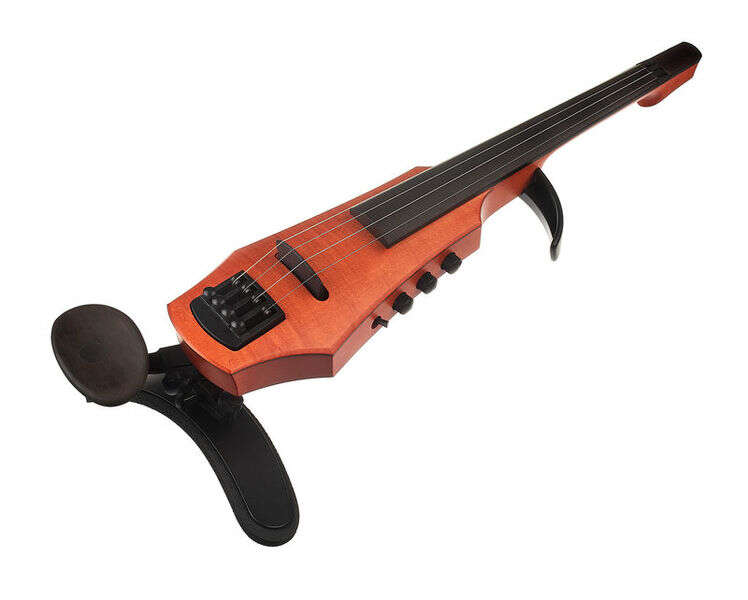
Fine tuners are small devices that make tiny pitch changes. Most are attached to the tailpiece, while some tailpieces have built-in fine tuners. They are especially common on the E string and often appear on all four strings.
A fine tuner has a threaded screw and a small lever or hook. Turning the screw changes the string’s tension by a small amount. It does not replace the tuning peg. The peg makes large pitch changes, while the fine tuner makes small adjustments.
Before changing a string, turn the fine tuner counterclockwise until it is near the top of its travel. Do not remove the screw from the tuner. Leaving room to turn clockwise later gives you enough space to raise the pitch.
If the fine tuner is already screwed almost all the way down, you may not have enough adjustment range. Backing it out before installing the new string is one of the most important parts of learning how to change violin strings with fine tuners.

Should You Change One String or All Four?
For most players, changing one string at a time is the safest method. This keeps the bridge, soundpost, and overall string pressure more stable.
Changing one string at a time also lets you compare the new string with the old setup. You can see the correct winding direction and observe where the bridge feet and top edge should sit.
Change all four strings at once only when you understand how to control the bridge and you are ready to check the instrument afterward. A bridge can lean or fall when all string tension is removed. A loose bridge may also damage the varnish or create poor contact with the violin top.
Replace a string immediately if it:
• Has broken
• Shows rust, winding damage, or sharp kinks
• Sounds dull or false
• Feels rough under the fingers
• No longer stays in tune because the winding has separated
Many teachers and repair professionals recommend changing strings as a complete set when possible. A matched set gives a more balanced response and tone. Still, replacing one string is completely reasonable when you need a quick repair.
How to Change Violin Strings With Fine Tuners
Follow these steps for each string. Work slowly, and keep one hand near the bridge whenever you turn a peg.
1. Identify the Correct Replacement String
Read the string label before opening it. The string should match the correct position: G, D, A, or E.
String colors can vary by brand, so do not rely only on the colored silk winding. The package label is more reliable. Installing the wrong string can create poor tension, an unbalanced sound, or unnecessary stress on the instrument.
Some strings have a ball end, while others have a loop end. Check your fine tuner before installation. Most fine tuners accept a ball end, but certain E-string fine tuners are made for loop-end strings.
2. Loosen the Old String
Turn the tuning peg slowly toward you until the string becomes loose. Do not pull the string tight with your fingers while the peg is still under strong tension.
When the string is slack, remove it from the pegbox first. Then lift the ball or loop from the fine tuner. Keep the old string away from the violin’s top so it does not scratch the finish.
Avoid snapping or cutting a tight string. A sudden release can make the string whip, and sharp ends can scratch the instrument or your hand.
3. Prepare the Fine Tuner
Back the fine-tuner screw out until it has plenty of room for later tuning. Leave the screw engaged in the threads.
The small hook should line up with the string’s ball or loop. If the hook is twisted or the tuner feels stiff, stop and inspect it. A bent fine tuner may not hold the string correctly.
A useful rule is to start with the tuner near the middle or upper part of its range. This gives you room to raise or lower the pitch after the string is installed.
4. Install the String at the Tailpiece
Place the string’s ball end into the fine tuner. If it uses a loop, fit the loop over the hook without forcing it.
Guide the string across the bridge and fingerboard toward the pegbox. Make sure it rests in the correct groove in the bridge. Do not pull hard yet.
Keep the string aligned with the fine tuner, bridge groove, nut groove, and peg hole. A straight path helps the string tune smoothly and reduces unwanted pressure on the bridge.
5. Insert the String Into the Peg
Turn the peg so the hole faces a helpful direction. Insert the string through the peg hole, leaving about 2 to 3 inches of string beyond the hole.
The exact amount is not critical. You need enough extra string to form clean coils, but too much creates a crowded pegbox.
Start turning the peg slowly. Guide the loose end so the coils build neatly beside one another. The string should wind toward the inside of the pegbox, not pile up against the pegbox wall.
6. Wind the String Neatly
Use one hand to turn the peg and the other to guide the string. The first coil should sit near the peg cheek. Later coils should move inward in an even row.
Do not cross the string over itself. Crossed coils can slip, create tuning problems, or damage the string winding.
Keep light tension on the string as you wind. The string should become straight, but do not bring it close to pitch yet. Watch the bridge during this step. Its top edge should remain roughly parallel with the fingerboard and tailpiece.
7. Bring the String to Approximate Pitch
Use the peg to raise the string near its correct pitch. Tune slowly, especially when installing a new E string.
The string may sound flat for a few moments. That is normal. New strings stretch as the core, winding, and end fittings settle. Use the peg for the large adjustment, then use the fine tuner for the final adjustment.
Do not turn the fine tuner through its full range while the peg is already far from pitch. Fine tuners are designed for small corrections, not major tuning changes.
8. Check the Bridge and Nut
After the string reaches approximate pitch, inspect the bridge. Its feet should sit flat on the violin top. The bridge should not lean noticeably toward the fingerboard or tailpiece.
Also check the nut. The string should sit in the correct groove without jumping out. If the string binds in the nut, tuning may feel jerky and the pitch may change suddenly.
Apply a small amount of graphite from a sharpened pencil to the bridge and nut grooves if they look dry. Graphite can reduce friction. Do not use oil, soap, or household lubricant on the violin.
9. Stretch and Tune the String
Gently stretch the string by lifting it a small amount from the fingerboard area. Use light pressure only. You are helping the string settle, not pulling it aggressively.
Tune again with the peg, then finish with the fine tuner. Repeat this stretch-and-tune cycle several times.
New strings often need several short playing and tuning sessions before they hold pitch well. Avoid forcing them far above their intended note. Excess tension can break a string and may stress the instrument.
10. Repeat One String at a Time
Once the string sounds stable and the bridge remains straight, move to the next string.
Keep the violin in a safe position and check the bridge after every replacement. This simple habit prevents many repair problems.
A practical order is G, D, A, then E, although you can replace the strings in another order. Some players replace the A and E last because these strings are thinner and can settle quickly.