How To Stop Hitting Other Strings Violin: Easy Fixes
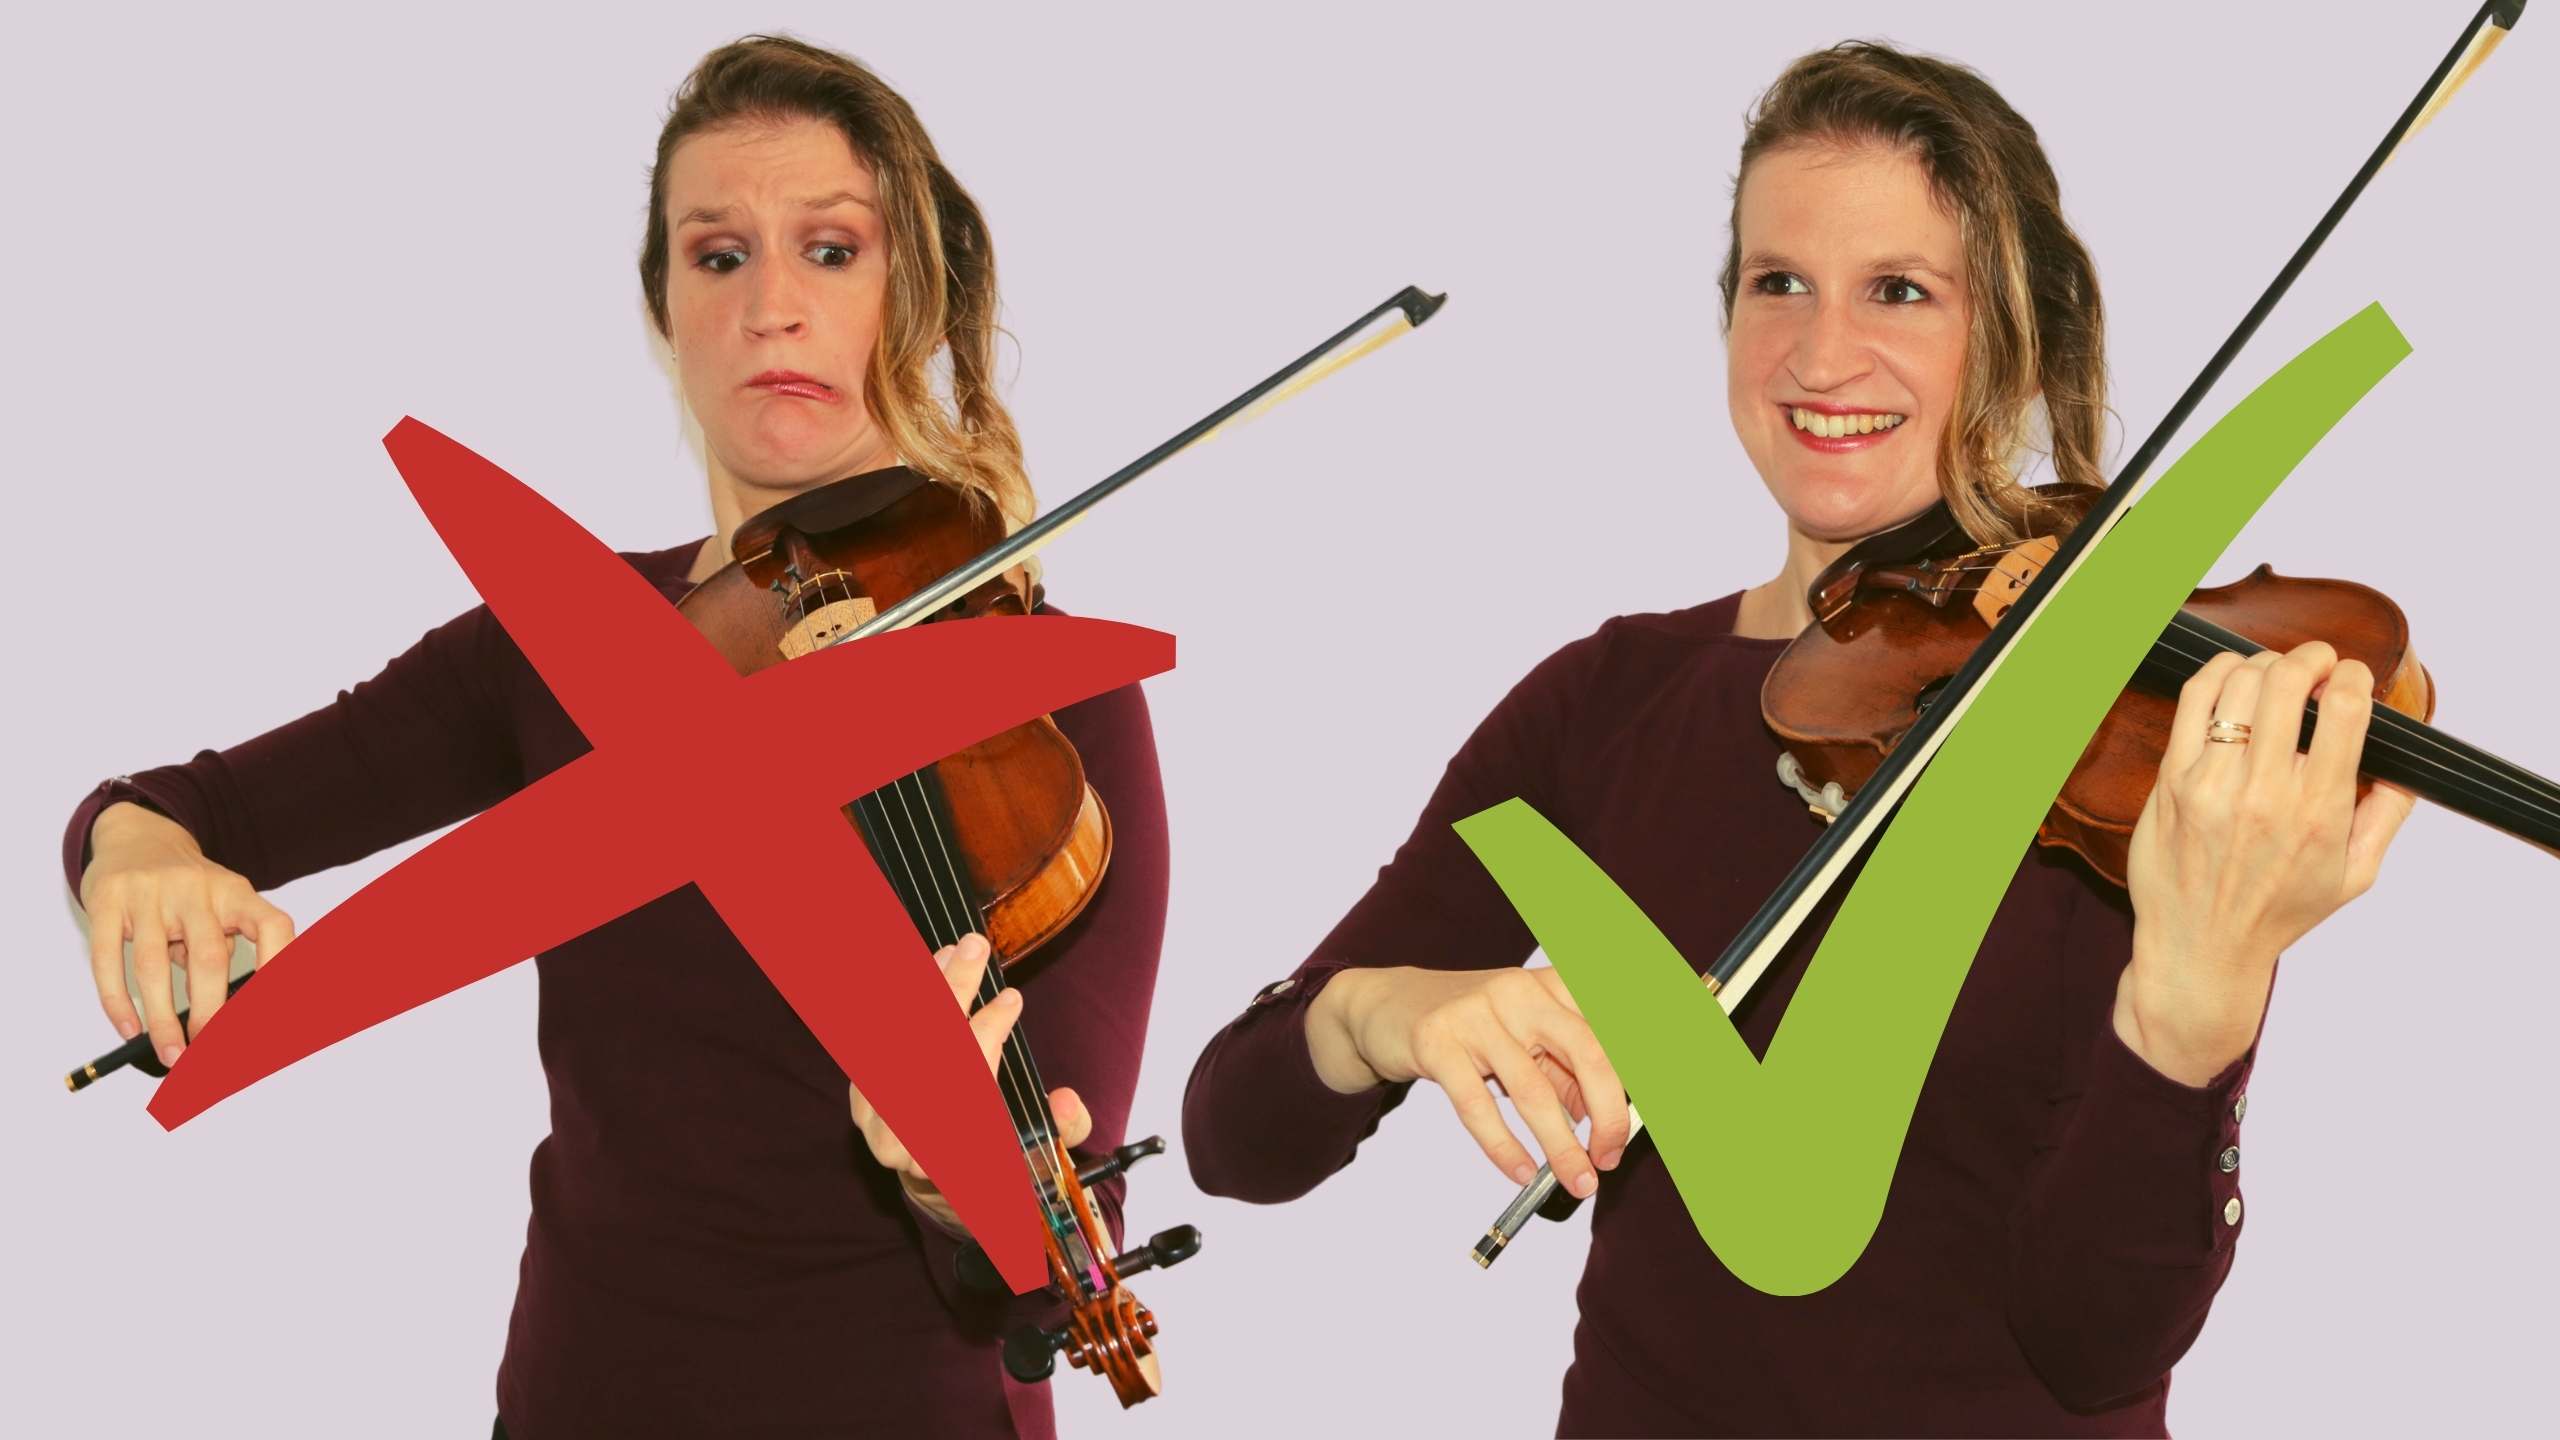
Keep the bow centered between neighboring strings, using small arm movements and a relaxed, balanced grip.
Learning how to stop hitting other strings violin players often struggle with starts with control, not force. The bow must travel on a steady path while your right arm adjusts to the height of each string. With the right setup, slow drills, and careful listening, accidental string crossings can become rare and easy to correct.
Why You Keep Hitting Other Strings on the Violin
Accidentally touching nearby strings usually comes from one of five causes:
• Your bow angle is too flat or too steep.
• Your right elbow is at the wrong height.
• Your bow grip is tense.
• You use too much bow speed or pressure.
• You try to move between strings with your wrist alone.
The violin’s strings sit close together. A tiny change in bow level can make the bow hair touch two strings at once. This is why how to stop hitting other strings violin requires small, controlled movements rather than large arm swings.
Your bow should move across the string in a path that feels almost straight. The arm does not stay fixed, though. Your elbow, forearm, and wrist work together to keep the bow at the right level.
A helpful image is to think of each string as a narrow road. The bow should stay in its own lane. If your arm leans too far toward the next road, you create an unwanted sound.
Check Your Violin and Bow Setup
Before changing your technique, check the equipment. A poor setup can make clean string playing much harder.
Start with the bow. Look at the bow hair while you play open strings. It should make steady contact with the string without sliding toward the fingerboard or bridge. The bow hair should not be so loose that the stick nearly touches the string.
Your violin also needs proper string spacing. If the bridge is poorly shaped, the strings may sit too close together or at uneven heights. In that case, even a skilled player may brush an unwanted string.
Ask a qualified violin teacher or luthier to check these points:
• The bridge shape and string spacing.
• The bridge height and curve.
• The bow hair tension.
• The condition of the strings.
• The alignment of the fingerboard and tailpiece.
A damaged bridge can create serious playing problems. Do not try to reshape it at home with a knife or file. Small changes affect tuning, tone, and playability.
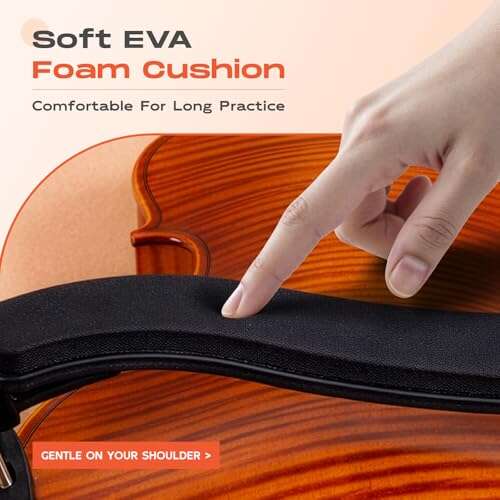
Your shoulder rest and chin rest also matter. If the violin feels unstable, you may grip it with your neck or left hand. That tension often travels into the right arm and makes string crossings less accurate.

Build the Correct Right-Arm Position
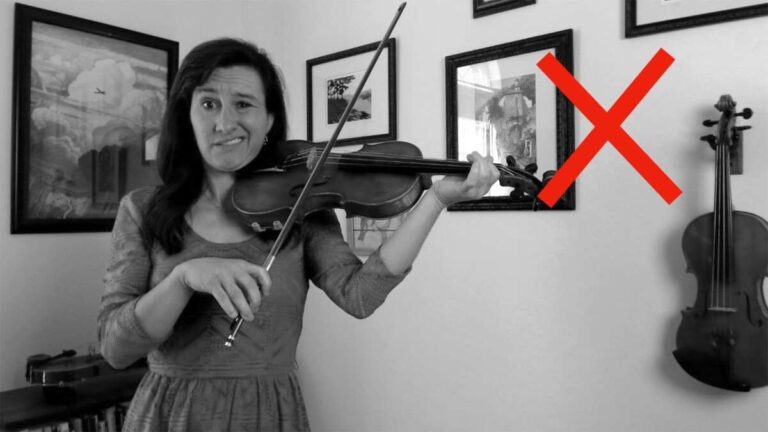
Good bow control begins with a balanced right arm. Your shoulder should stay low and relaxed. Avoid lifting it toward your ear.
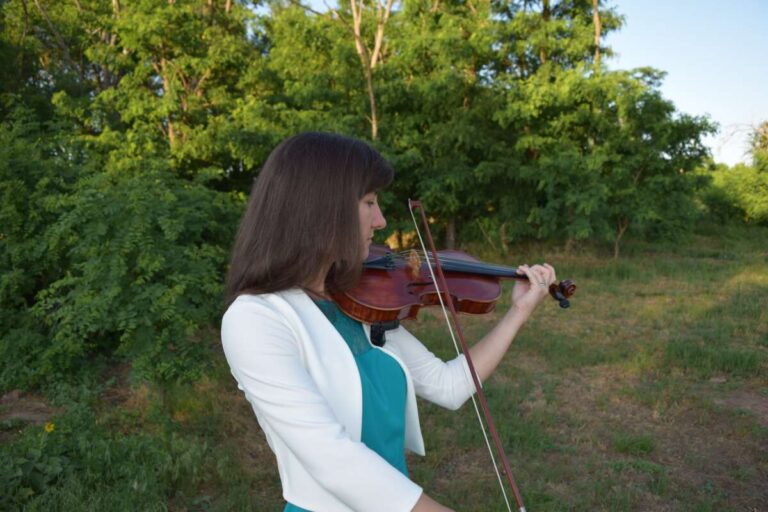
Your right elbow should float at a comfortable height. It will change as you move from the G string to the E string. The elbow is lower for the G string and higher for the E string.
The forearm then guides the bow across the string. The wrist stays flexible, while the fingers respond to the movement. Think of the arm as a chain with no stiff links.
Use this simple position check:
-
Hold the violin in playing position.
-
Place the bow on the middle of the A string.
-
Let the right elbow hang naturally.
-
Move to the D string by lowering the elbow slightly.
-
Move to the E string by raising the elbow slightly.
-
Keep the shoulder relaxed during every change.
Do not lift the entire arm when changing strings. The elbow should make most of the level change. The hand and wrist make smaller adjustments.
This is a central part of how to stop hitting other strings violin students can practice away from music. The goal is to feel the difference between string levels before adding notes, rhythm, or speed.

Practice Open-String Bowing
Open-string practice may seem basic, but it is one of the fastest ways to improve bow accuracy. It removes left-hand work so you can focus on the bow.
Begin with four slow bows on each string. Use the middle of the bow first. Keep the bow moving at a steady speed.
Try this pattern:
• Four bows on the G string.
• Four bows on the D string.
• Four bows on the A string.
• Four bows on the E string.
Watch the bow in a mirror. The bow should stay between the bridge and fingerboard. Listen for a clean tone with no scratch from a neighboring string.
Next, practice two-string changes. Play four slow bows on the D string, then four on the A string. Move back and forth without stopping the bow.
Keep the motion small. If the bow jumps, your movement is likely too large or too fast.
A useful test is to pause after each string change. Place the bow on the new string, check your arm level, and then play. This pause teaches your body where the string is located.
As control improves, remove the pause. The movement should become smooth but never rushed.

Use String-Crossing Exercises
String crossings happen in two main ways. You may change strings during separate bows, or you may cross strings in one continuous bow. Each type needs a slightly different motion.
For separate bows, prepare the new string before the next bow begins. Do not wait until the bow is already moving. This small preparation prevents many unwanted sounds.
For one-bow crossings, use a gentle rocking motion. The elbow and forearm guide the change, while the wrist stays soft.
Practice these patterns slowly:
-
D string to A string and back.
-
A string to E string and back.
-
G string to D string and back.
-
D string to A string to E string.
-
G string to D string to A string to E string.
Start with quarter notes. Then try half notes and whole notes. Later, use eighth notes at a slow tempo.