Cómo Se Afinan Las Cuerdas De Un Violín: Guía Fácil
A violin is tuned by matching its G, D, A, and E strings to the correct musical pitches.
Understanding cómo se afinan las cuerdas de un violín makes playing easier, safer, and more enjoyable. The process combines a reference pitch, small peg movements, fine tuners, and a trained ear. This guide explains the full method in clear steps, including common mistakes, tuning tools, safety tips, and practical advice used by violin teachers and performers.
Understanding Violin String Tuning
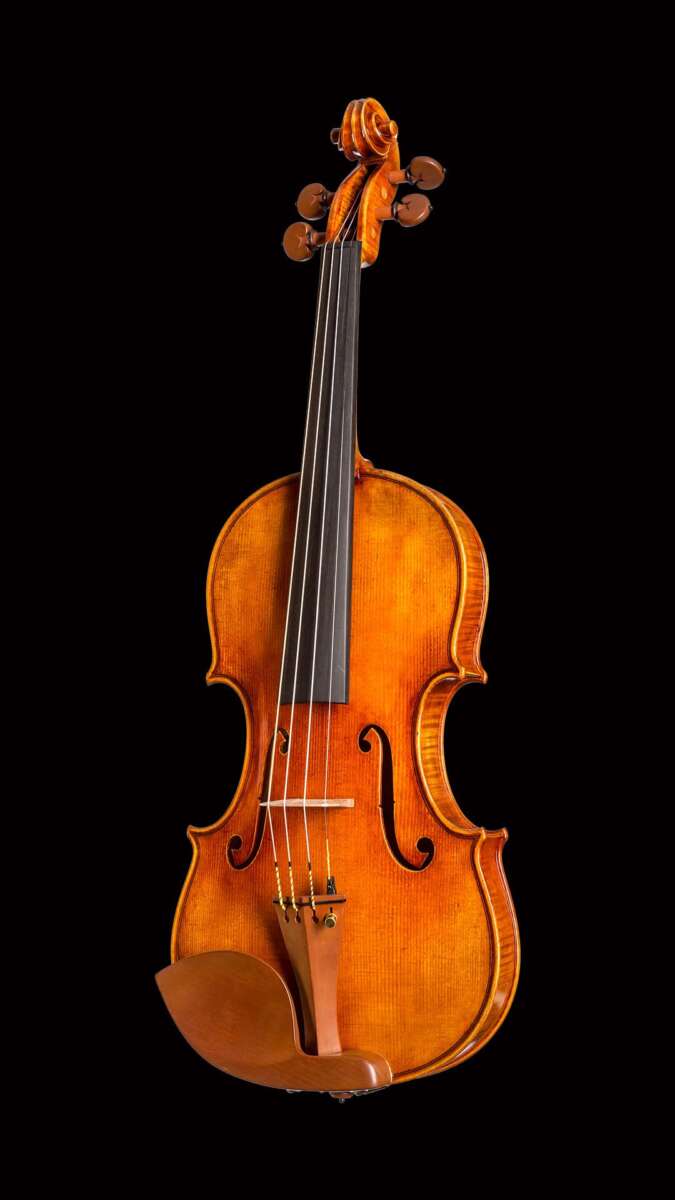
A standard violin has four strings. From lowest to highest, they are:
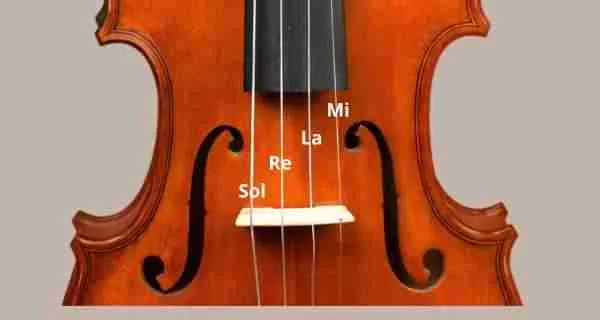
• G3, the lowest string
• D4
• A4
• E5, the highest string
The numbers show the scientific pitch register. Most violinists tune the A string to 440 Hz, often written as A=440. This means the A string vibrates at 440 cycles per second. Orchestras may use A=441, A=442, or a slightly higher pitch, so players should follow the musical group’s chosen standard.
When people ask cómo se afinan las cuerdas de un violín, they usually want to know how to make each string match these notes. The answer is simple in theory: compare each string with a reliable pitch, then tighten or loosen it until the sound matches. In practice, small movements matter because violin strings respond quickly.
The strings are also tuned in perfect fifths. This means the distance from G to D, D to A, and A to E is five scale steps. These fifths create the bright, open sound that defines the violin. Once one string is accurate, you can use it to tune the next string by ear.
A violin does not stay perfectly tuned all day. Temperature, humidity, travel, new strings, and playing pressure can all change the pitch. Regular tuning is part of caring for the instrument, not a sign that something is wrong.

What You Need Before Tuning
The right tools make cómo se afinan las cuerdas de un violín much easier. A beginner does not need expensive equipment, but each tool should be reliable and easy to use.
You may need:
• A chromatic tuner, clip-on tuner, or tuning app
• A stable violin with a correctly placed bridge
• Fine tuners, especially for beginners
• A functioning bow if you plan to check the sound while playing
• Clean hands and a quiet space
• A soft cloth for removing rosin dust
A chromatic tuner is useful because it identifies the note and shows whether the pitch is sharp or flat. “Sharp” means the note is too high. “Flat” means the note is too low. A digital tuner may show this with a needle, colored light, or cents measurement.
A tuning fork set to A=440 can also work well. It requires more ear training because it gives you only one reference note. From A, you can tune the D string, then G and E by listening to the intervals.
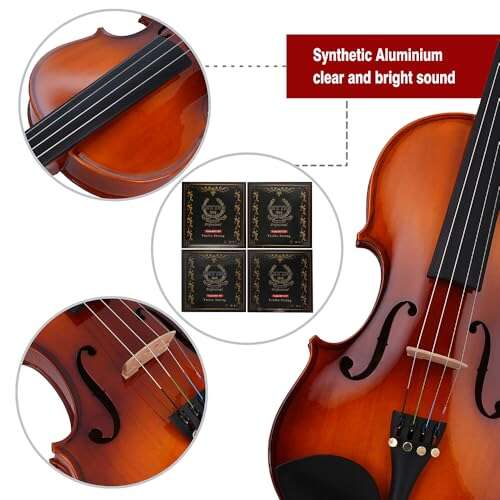
Many violins have fine tuners built into the tailpiece. These small screws make tiny pitch changes. The tuning pegs make larger changes and need a gentle touch. A well-fitted peg should turn smoothly but should not slip after you release it.
Before tuning, check the bridge. It should stand upright between the f-holes, with its feet flat on the violin’s top. If the bridge leans sharply toward the fingerboard, stop and ask a violin teacher or luthier for help. Tuning can pull the bridge forward and cause it to fall.

How to Tune a Violin Step by Step
Learning cómo se afinan las cuerdas de un violín is easiest when you follow the same order each time. Move slowly, listen carefully, and check the tuner after every adjustment.
1. Place the violin safely
Sit down with the instrument in a stable position. Support the violin under your chin or place it carefully on your lap while making large peg adjustments. Keep the scroll away from hard surfaces.
Do not hold the violin by the strings or press heavily on the bridge. Your goal is to keep the instrument steady while allowing the strings to vibrate freely.
2. Turn on the tuner
Set the tuner to chromatic mode. Place a clip-on tuner on the violin scroll if possible, or put a phone tuner close to the instrument. A quiet room gives better results than a noisy room.
If you use an app, check that it listens to the violin rather than nearby voices or instruments. Some apps offer different calibration settings. Use A=440 unless your teacher, orchestra, or ensemble gives you another reference.
3. Start with the A string
The A string is the usual starting point because it is the main reference string in orchestras. Play the open A string with the bow, using a slow and even stroke.
Compare the note with the tuner:
• If the pitch is flat, raise it carefully.
• If the pitch is sharp, lower it carefully.
• If the pitch is correct, leave it alone.
Use the fine tuner first when the string is close to the correct pitch. Turn it only a small amount, then play the string again. If the fine tuner is almost fully tightened or loosened, reset it to the middle and use the peg for the larger adjustment.
4. Tune the D string
After the A string is accurate, tune the D string. You can use the tuner, or compare the D string with the A string by playing both open strings.
A well-tuned D and A should form a smooth perfect fifth. The sound may create gentle, slow pulses when the notes are almost matched. As the tuning improves, these pulses become slower. When the interval is accurate, the sound feels stable and clear.
Beginners should use the tuner first. Ear training develops over time, and a tuner provides a useful safety check.
5. Tune the G string
Tune the G string against the tuner or compare it with the open D string. The G string is thick and may respond more slowly than the E string. Make small changes and give the note time to settle.
The G string should sound full but not loose. If it feels unusually soft, rattles, or refuses to hold its pitch, inspect the peg, fine tuner, string winding, and bridge before forcing the adjustment.
6. Tune the E string
The E string is thin and carries high tension. It can rise in pitch very quickly, so use especially small peg movements. Many players use the fine tuner for the E string whenever possible.
Pluck or bow the open E string gently. Avoid aggressive tuning because a thin string can break. Keep your face and eyes away from the peg area while making larger adjustments.
7. Check every string again
Tuning one string can slightly change the tension across the bridge. After all four strings seem correct, check them again in this order:
- G
- D
- A
- E
Then play the open strings once more. If you are preparing for practice or performance, check the tuning again after a few minutes.
This repeated check is an important part of cómo se afinan las cuerdas de un violín. Tuning is not always a single pass. It is more like balancing four connected parts.

How to Use the Pegs and Fine Tuners
The pegs and fine tuners serve different purposes. Knowing when to use each one prevents sudden pitch changes and reduces the chance of damaging a string.
Fine tuners
Fine tuners are best for small adjustments. Turn the screw clockwise to raise the pitch on most standard fine tuners. Turn it counterclockwise to lower the pitch. However, always watch the tuner because some hardware can feel different.
Use short movements, such as one-eighth or one-quarter of a turn. Play the string after each change. If the screw reaches the end of its range, stop and reset it rather than forcing it.
Tuning pegs
Use the peg when the string is more than a little out of tune. Push the peg gently inward as you turn it. This helps the tapered peg stay in its hole.
Move the peg by tiny amounts. A small turn can change the pitch more than expected, especially on the E string. If the peg slips, the violin may need professional peg fitting or appropriate peg compound.
A useful technique is to lower the string slightly below the target, then raise it slowly to the correct pitch. This can help the peg seat more securely. Do not repeatedly twist the peg back and forth with force.
What I have learned from common tuning mistakes
One of the most common beginner mistakes is turning a peg too far because the tuner needle moves slowly. The player keeps turning, then suddenly overshoots the note. A better habit is to pause after every small movement and let the string respond.
Another mistake is tuning only by plucking. Plucking is convenient, but bowing reveals how the string behaves during real playing. I recommend plucking for a quick check, then using a smooth bow stroke before practice.
The most important lesson is simple: patience protects both the instrument and the player’s confidence. A violin often needs several small corrections, not one large twist.

Tuning by Ear Without an Electronic Tuner
Electronic tuners are excellent tools, but ear training remains important. Learning cómo se afinan las cuerdas de un violín by ear helps you notice problems during rehearsals, lessons, and performances.
Start with a reliable A reference. You can use a piano, tuning fork, digital tone, or another well-tuned instrument. Play the A and listen until your violin’s A matches it.
Next, compare neighboring strings:
• Play open D and open A together.
• Play open G and open D together.
• Play open A and open E together.
Listen for beats. When two notes are close but not equal, the sound may pulse or shimmer. The pulses become slower as the notes approach the correct interval. A clean fifth sounds focused and stable.
Do not expect perfect ear tuning at once. Room noise, fatigue, poor posture, and a weak bow stroke can make the task harder. Use a tuner as a guide while your ear gradually learns the sound of accurate fifths.
Experienced players often combine both methods. They use a tuner for an objective reference and their ears for the final musical adjustment. This approach is practical because a tuner tells you the frequency, while your ears judge the quality and stability of the interval.
Why Violin Strings Go Out of Tune
Even a well-maintained violin can lose its tuning. Understanding the causes helps you respond calmly instead of forcing the pegs.
Common causes include:
• New strings stretching during their first hours or days
• Changes in temperature and humidity
• Frequent travel or case movement
• Pegs that do not fit correctly
• A bridge that has shifted or tilted
• Loose fine tuners
• Worn strings
• Strong changes in bow pressure or playing style
New strings often need repeated tuning. This is normal because the materials are settling under tension. Synthetic-core strings may take longer to stabilize than some steel strings, although the exact time varies by brand, instrument, and environment.
Cold or dry air can affect wood and string tension. Sudden changes are more concerning than small, gradual changes. Keep the violin in its case when you are not playing, and avoid leaving it near a heater, radiator, window, or car dashboard.