How Do I Paint A Guitar: Easy DIY Guide
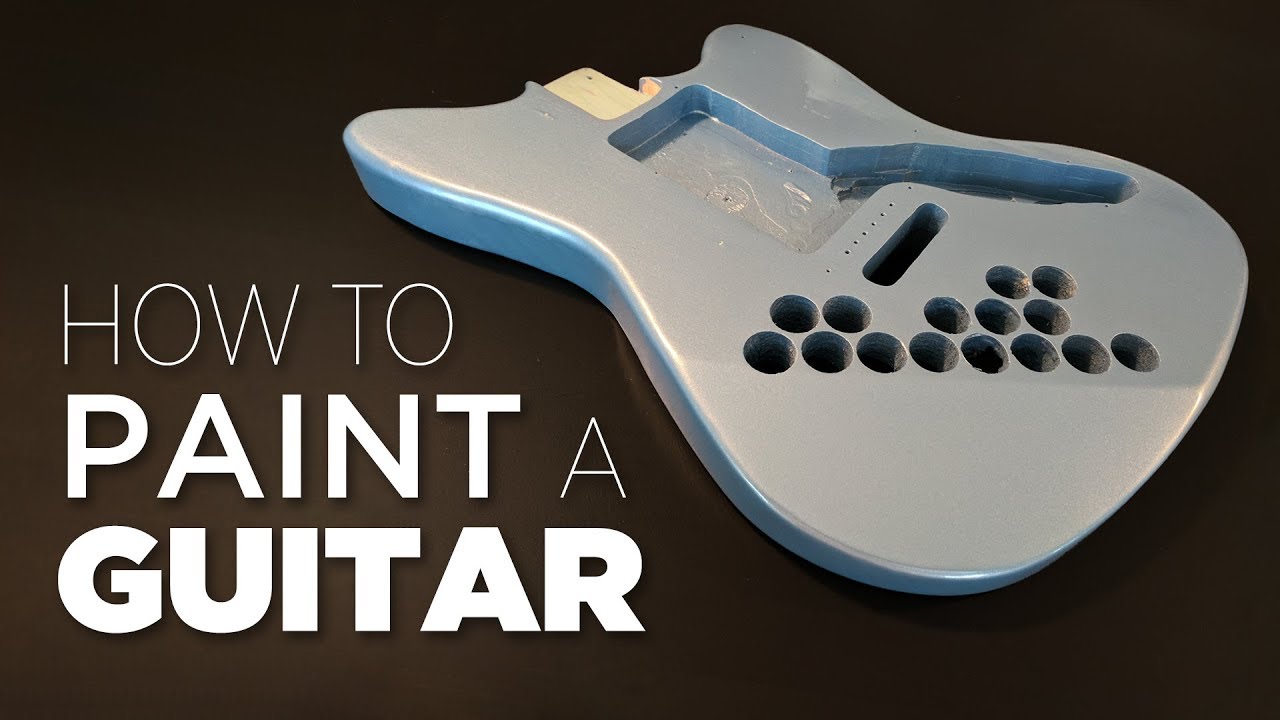
Painting a guitar means removing its hardware, preparing the surface, applying thin paint coats, and protecting the finish.
Learning how to paint a guitar can turn a plain instrument into a personal work of art. The best results come from patience, careful sanding, compatible products, and a clean workspace. This guide explains each step, from choosing paint to polishing the final coat, so you can avoid the common mistakes that ruin guitar finishes.
Before You Paint a Guitar
Before learning how to paint a guitar, decide whether the instrument is a good candidate for refinishing. A solid-body electric guitar is usually the easiest choice because its body is stable and has fewer delicate parts. A bass guitar can also work well, although its larger body needs more paint and more drying space.
An acoustic guitar is much harder to paint. Its thin wood top affects vibration, and added paint can change its tone. Never spray thick paint over the soundboard without understanding how the finish may affect the instrument.
Also consider the guitar’s value. A cheap project guitar is a safe place to experiment. A rare vintage guitar may lose value if you remove its original finish. If the instrument has collector value, ask a professional repair shop for advice first.
Tools and Materials You Need
The right tools make the process easier and safer. You do not need an expensive spray booth, but you do need clean equipment and products that work together.
Gather these basic supplies:
• Screwdrivers and small containers for hardware
• Painter’s tape and masking paper
• Nitrile gloves and safety glasses
• A respirator rated for paint vapors
• Sandpaper in 180, 240, 320, 600, and 800 grits
• Sanding blocks or flexible sanding pads
• Wood filler for dents and deep scratches
• Tack cloths and clean lint-free cloths
• Compatible primer
• Guitar-safe color paint
• Clear coat
• A spray gun, aerosol cans, or a suitable brush
• A guitar stand, hanging hook, or stable support
• Polishing compound and soft polishing cloths
For indoor work, use strong ventilation and keep paint away from flames, heaters, and sparks. Many solvent-based products release harmful vapors and can catch fire. Always read the product label and safety data sheet before use.
A useful rule is to stay within one finish system. For example, use a lacquer primer, lacquer color coat, and lacquer clear coat unless the manufacturer confirms that the products can be mixed. Incompatible layers may wrinkle, crack, or stay soft.

How to Prepare the Guitar
Preparation is the most important part of learning how to paint a guitar. Paint does not hide poor preparation for long. Scratches, dents, dust, and oily fingerprints often become more visible after the color coat is applied.
Follow these steps:
-
Remove the strings, pickups, bridge, knobs, tuners, neck plate, jack plate, and other hardware.
-
Take clear photos before disconnecting wires.
-
Label wires and screws in small bags.
-
Remove the neck if the guitar has a bolt-on design.
-
Cover any part that you cannot remove with painter’s tape.
-
Clean the body with a product approved for the existing finish.
-
Inspect the wood for dents, cracks, holes, and loose areas.
If the guitar has a glued-in neck, do not try to remove it. Mask the neck joint carefully. The same rule applies to truss rod openings, fretboards, bridge posts, and pickup cavities.
Deep dents may need wood filler. Apply a small amount, let it dry fully, and sand it level. Do not use household wall filler on a guitar body because it may shrink or crack under the finish.

Sanding the Original Finish
Sanding gives the new finish a surface that can grip. It does not always mean removing every layer of the old finish. In many cases, scuff sanding the existing finish is safer than sanding down to bare wood.
Start with 180 or 240 grit if the old finish is thick or damaged. Use a sanding block on flat areas. A block helps prevent uneven dips and waves. Sand with steady, even strokes rather than pressing hard.
Move to 320 grit when the surface feels even. Stop when the glossy shine is gone and the body has a consistent dull look. If you see bare wood in a few areas, that is usually fine, but large uneven patches may need a sealer or primer.
Be careful around body edges. It is easy to sand through them because they receive more pressure. Rounded edges also hold less paint, so avoid making them too sharp.
One common workshop lesson is that over-sanding creates more work than it solves. It can expose soft wood, change the body shape, or reveal glue lines. Sand only as much as needed for a smooth, clean surface.

Applying Filler, Sealer, and Primer
Wood grain can show through a painted finish, especially on ash, mahogany, and other open-grain woods. If you want a flat, factory-style finish, use grain filler before primer.
Apply grain filler according to its label. Work it across the grain, allow it to dry, and sand it smooth. Several thin applications may work better than one thick layer.
A sealer helps control how the wood absorbs primer. Primer then creates an even base and makes the color coat more consistent. Light colors often need a light primer, while dark colors may work better over gray or dark primer.
Spray primer in thin passes. Keep the can or spray gun moving before you begin and after you pass the body. Overlapping each pass by about half helps create even coverage.
Allow the primer to dry for the time listed by the manufacturer. Dry to the touch does not always mean fully cured. Once dry, sand lightly with 320 or 400 grit until the surface is smooth.
Clean the body with a tack cloth before painting. Do not use a wet rag that leaves moisture or lint behind.

Choosing the Best Paint for a Guitar
The best paint for a guitar depends on the existing finish, your tools, and the look you want. Common choices include nitrocellulose lacquer, acrylic lacquer, polyurethane, and water-based finishes.
Nitrocellulose lacquer can create a classic look and is common on some vintage-style instruments. It takes time to cure and releases strong vapors. It also needs careful handling because it remains more sensitive to heat and chemicals than many modern finishes.
Polyurethane and polyester finishes are durable and common on modern guitars. They can produce a thick, hard finish, but they are less forgiving when you need to repair mistakes. Water-based products have lower odor and easier cleanup, but they still require proper ventilation and a compatible clear coat.
When choosing paint, check these points:
• The paint must bond to the primer.
• The clear coat must be compatible with the color coat.
• The product must be suitable for wood or finished wood.
• The color coat should not react with the old finish.
• The product should be legal and safe to use in your area.
Test the full paint system on scrap wood first. This small test can reveal wrinkling, poor adhesion, slow drying, or an unexpected color change.