How To Fix Guitar Finish Scratches Without Repainting: Quick
Use polishing, fillers, and touch-up drops to repair scratches without repainting your guitar.
I have worked on many guitars as a player, tech, and hobbyist. I will show you safe, proven ways to fix guitar finish scratches without repainting. This guide explains types of finishes, how to judge damage, step-by-step repair methods, tools you need, and when to stop and see a pro. Read on and you will learn how to fix guitar finish scratches without repainting with clear steps and real tips from hands-on experience.
Understanding guitar finishes and scratch types
Guitars commonly use two finish families. One is nitrocellulose lacquer. The other is modern polyurethane or polyester. Nitrocellulose feels thinner and ages with wear. Polyurethane is thicker, tougher, and more resistant to solvent. Knowing which finish you have helps decide how to fix the scratch.
Scratches fall into simple surface marks or deeper gouges. Surface scratches only affect the clear coat. They often polish out. Deeper scratches reach the color or wood. Those need filling and blending, not just polish. Learning to spot the depth is the first repair skill.
Knowing finish type and scratch depth lets you choose the right method. This knowledge is the backbone of how to fix guitar finish scratches without repainting. It saves time and keeps your guitar original.

How to assess scratches before repair
Start with clean hands and a soft light. Wipe the area with a microfiber cloth and a small amount of mild cleaner. This removes oils and grime that hide the real damage. Use a magnifier if available.
Do a fingernail test. If your nail catches, the scratch is likely deep. If the nail glides, it is probably a surface scratch. Mark the area lightly with a pencil if you plan staged work. This keeps repairs precise.
Take photos before you start. Photos help you judge progress and document the original state. This step is useful if you later consult a luthier. Good assessment is key to learning how to fix guitar finish scratches without repainting.

Step-by-step fixes for light and surface scratches
These methods work when the clear coat is intact. They are reversible and safe for most finishes.
Preparation steps
- Clean the area with a soft cloth and mild guitar cleaner.
- Remove hardware nearby to avoid accidental damage.
- Work in good light and on a stable surface.
Polishing method
- Use a fine polish or dedicated guitar polish on a microfiber cloth.
- Rub gently with small circular motions.
- Wipe and check progress often to avoid over-polishing.
Compound and polish sequence
- Start with a very mild polish or swirl remover.
- Move to a slightly finer polish if needed.
- Finish with a cleaner polish to restore shine.
Toothpaste trick for tiny marks
- Use plain, non-gel toothpaste as a mild abrasive.
- Apply a small drop to a soft cloth and rub gently.
- Rinse and dry. This can work for very light surface scratches.
Scratch remover kits and pens
- Scratch remover kits use compounds plus pads for controlled polishing.
- Scratch pens are more for filling tiny clear-coat lines.
- Use the pen sparingly and follow the manufacturer’s directions.
These simple steps are the most frequent answer when people ask how to fix guitar finish scratches without repainting. They are quick, safe, and often effective.
Fixes for deeper scratches without repainting
When the scratch reaches the color or wood, you still have options that do not require repainting.
Filling with clear CA (cyanoacrylate) or thin super glue
- Clean the scratch and remove loose fibers.
- Apply thin CA into the scratch in small amounts.
- Let it cure fully, then level carefully with fine sanding paper.
Sanding and blending
- Use very fine wet/dry sandpaper, starting around 1000 grit and moving to 2000+.
- Wet-sand gently to level the filled area with surrounding finish.
- Keep sanded area minimal to avoid dulling finish around the repair.
Rebuilding thin clear coats with drop fill
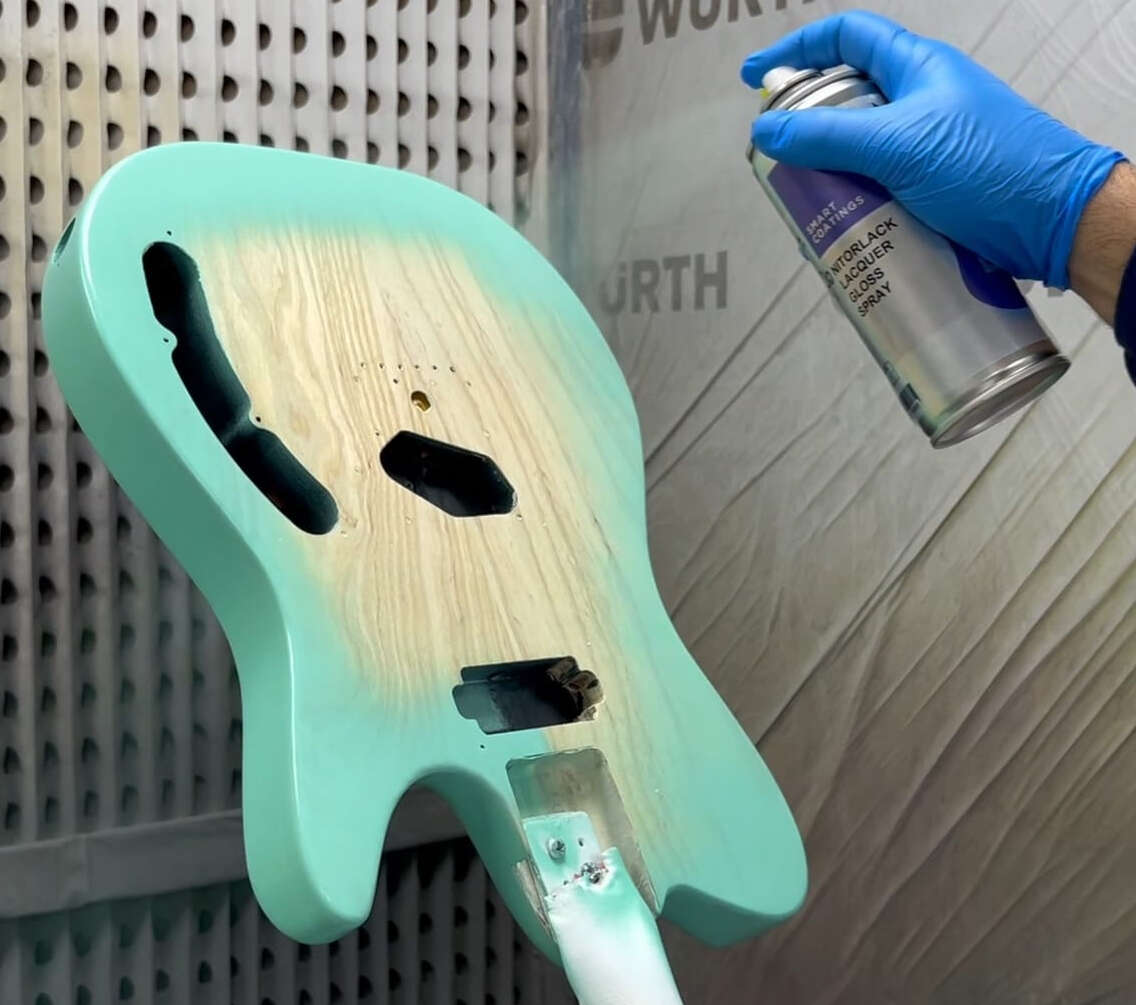
- Use a clear lacquer or clear coat drop approved for the finish type.
- Apply tiny drops to build up level above the scratch.
- Wet-sand and polish once fully cured to blend.
Color touch and blending
- For scratches that remove color, use a matching touch-up marker or dye.
- Apply color sparingly and seal with a clear fill method.
- Blend final gloss with polish to hide repair edges.
These methods show how to fix guitar finish scratches without repainting by filling, leveling, and blending. They keep the original finish and avoid full refinish work.

Tools and products you need
A small toolkit helps you do repairs well. Invest in a few quality items and replace low-cost mistakes later.
Essential items
- Microfiber cloths for cleaning and polishing.
- Mild guitar cleaner or isopropyl alcohol diluted for degreasing.
- Fine polishing compounds and swirl removers.
- Very fine wet/dry sandpaper (1000, 1500, 2000 grit).
- Cyanoacrylate (thin CA) and CA accelerator for filling.
- Touch-up markers or dyes matched to your finish.
- Small brushes or toothpicks for precise application.
- Buffing pads and a drill buffer if you plan many repairs.
Optional but helpful
- Scratch removal kits designed for guitars.
- Masking tape to protect surrounding areas.
- A magnifying glass or jeweler’s loupe.
Having the right tools makes it easier to fix guitar finish scratches without repainting. I prefer spending on one good polish and a few sandpapers. It saves time and gives cleaner results.
Safety, limits, and when to call a pro
Work in a ventilated area. CA fumes and solvent fumes can be harmful. Wear gloves and eye protection when needed. Always test a small hidden area before larger work.
Know the limits of DIY. If the finish is nitrocellulose and the scratch is large or through to bare wood, a full refinish may be required for a perfect match. If the guitar has high collectible value, consult a professional luthier before attempting fixes.
A pro is needed when structural issues exist, the finish is original and rare, or you lack confidence with sanding and blending. Being honest about limits helps preserve the guitar’s value and prevents costly mistakes. These safety and limit checks are central to learning how to fix guitar finish scratches without repainting.

Personal experience and practical tips
I once repaired a favorite player’s poly finish dreadnought. A deep scratch ran along the top. I used thin CA to fill and leveled with 1500 grit. A final polishing compound made the repair nearly invisible under stage lights. The owner was relieved and the guitar stayed original.
Lessons I learned
- Less is more. Small, careful steps beat aggressive sanding.
- Patience matters. Let fills cure fully before sanding.
- Test on an old instrument before working on a prized guitar.
Common mistakes to avoid
- Over-sanding into the surrounding finish.
- Using wrong solvents on nitro finishes.
- Rushing the cure time on CA glue.
These tips come from real repairs and will help you confidently fix guitar finish scratches without repainting.

Frequently Asked Questions of how to fix guitar finish scratches without repainting
What is the easiest way to remove light finish scratches?
Use a dedicated guitar polish and a clean microfiber cloth. Rub gently in small circles and repeat until the mark fades.
Can I use automotive polish on my guitar?
Yes, many automotive polishes work, but test on a hidden spot first. Avoid aggressive compounds on thin nitrocellulose finishes.
Will super glue forever fix a deep scratch?
Thin CA glue can fill deep scratches well, but it must be sanded and polished to blend. It is durable but needs careful finishing.
How do I match color if the paint is scratched?
Use touch-up markers, dyes, or thin paint matched to the finish and seal with a clear fill method. Blend the gloss with fine sanding and polish.
When should I take my guitar to a luthier?
If the finish is rare, the scratch is extensive, or you are unsure about sanding and blending, see a luthier. Expert work preserves value and looks.
Conclusion
You can often restore a guitar’s look without repainting. Start by identifying the finish and assessing scratch depth. Use cleaning, polishing, filling, and careful sanding to level and blend repairs. Work slowly, use the right tools, and test before you act.
Take action: pick one small scratch and try the gentle polish method first. If you like the outcome, move to more advanced techniques. Share your results, ask questions, or subscribe for more repair tips.

Senior Music Reviewer
Alex Carter is a seasoned music reviewer with over a decade of experience in the world of sound and instruments. Passionate about helping musicians and enthusiasts make informed choices, he brings sharp insights and in-depth knowledge to every review. From classical instruments to modern gear, Alex combines technical expertise with a love for music to deliver content that resonates with readers.
As a Senior Music Reviewer and expert author on Tuneluma.com, Alex is dedicated to sharing honest evaluations, practical advice, and thoughtful commentary to guide readers in their musical journey.