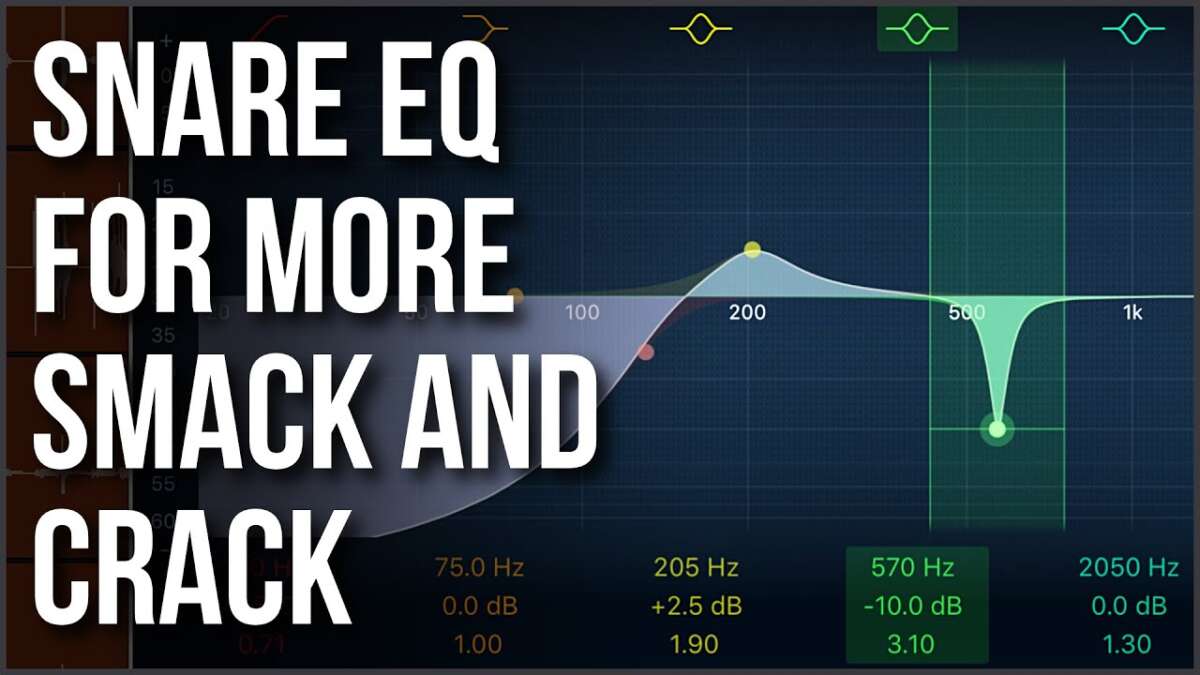
How To EQ Snare Drum: Pro Mixing Tips
To EQ a snare drum, cut unwanted ring, shape its body, and add attack without making it harsh.
Learning how to EQ snare drum tracks is less about using fixed numbers and more about hearing what the drum needs. A good snare must sit between the kick, vocals, guitars, and cymbals while still feeling sharp and alive. This guide explains a clear EQ process, useful frequency ranges, common mistakes, and practical settings for different styles of music.
Why Snare Drum EQ Matters
The snare is one of the main focus points in most mixes. It often carries the backbeat, so its tone affects the energy of the entire song. If the snare sounds weak, muddy, thin, or harsh, the mix can feel wrong even when every other track is well balanced.
Learning how to EQ snare drum audio starts with understanding its main parts:
• Low body gives the drum weight and depth.
• Midrange provides its woody or boxy character.
• Upper mids create crack and attack.
• High frequencies add snap, wire sound, and brightness.
The exact balance depends on the drum, microphone, player, tuning, room, and music style. A deep maple snare may need less low-mid support than a thin steel snare. A close mic may sound sharp, while an overhead mic may capture more shell and room tone.

Prepare the Snare Before You EQ
EQ cannot fix every snare problem. Before reaching for a plugin, check the source. Listen to the raw track in the full mix, not only in solo. A sound that seems dull alone may fit perfectly once the guitars and vocals play.
Start with these checks:
• Confirm that the snare is in tune and free from unwanted rattles.
• Check the microphone position and angle.
• Listen for phase problems between the close mic and overheads.
• Set a healthy gain level before processing.
• Remove silent sections or excessive bleed only when needed.
• Compare the snare with the kick, bass, guitars, and vocals.
Microphone placement has a major effect on EQ. Pointing a mic toward the center of the head often gives more attack. Moving it toward the rim can add tone and reduce some sharpness. A microphone placed too close may create extra proximity effect, which adds low-end buildup.
One common mistake is to use EQ to repair poor recording choices. If the snare is badly tuned or the microphone is in the wrong place, heavy processing may make it louder but not better. Treat EQ as a shaping tool, not a replacement for a strong source.

Snare Drum Frequency Guide
Knowing the usual snare drum frequency ranges makes EQ decisions faster. These ranges are starting points, not strict rules. Every drum has its own voice.
| Frequency range | What you may hear | Common EQ action |
|---|---|---|
| 40–80 Hz | Rumble and stage noise | Use a high-pass filter when needed |
| 80–150 Hz | Weight and depth | Boost gently for a fuller snare |
| 150–250 Hz | Body and warmth | Boost for thickness or cut for mud |
| 250–500 Hz | Boxiness and cardboard tone | Cut if the drum sounds closed in |
| 500–900 Hz | Hollow or nasal tone | Reduce when the snare lacks openness |
| 1–2 kHz | Knock and mid attack | Shape the main character |
| 2–4 kHz | Crack and presence | Boost for impact and clarity |
| 4–7 kHz | Stick attack and snap | Add definition with care |
| 7–12 kHz | Wire sound and brightness | Add air or control harshness |
The snare’s fundamental pitch often falls somewhere around 100 to 250 Hz, but this varies widely. A low-tuned 14-inch snare may have a strong fundamental near the lower part of that range. A tightly tuned piccolo snare may sit much higher.
When learning how to EQ snare drum recordings, use these ranges as listening zones. Do not boost every area. The goal is to find the few frequencies that support the song and remove the ones that compete with it.
How to EQ Snare Drum Step by Step
A simple order helps you make smaller and more musical moves. Insert an EQ on the snare channel, lower the monitoring level slightly, and listen to the full mix.
1. Set the right level first
Before EQ, adjust the snare fader. A snare that is too quiet may seem dull, while one that is too loud may seem harsh. Set a useful balance against the kick and vocal first.
Use bypass often. If the processed signal is only louder, match the output level so you can judge the tone fairly.
2. Remove useless low end
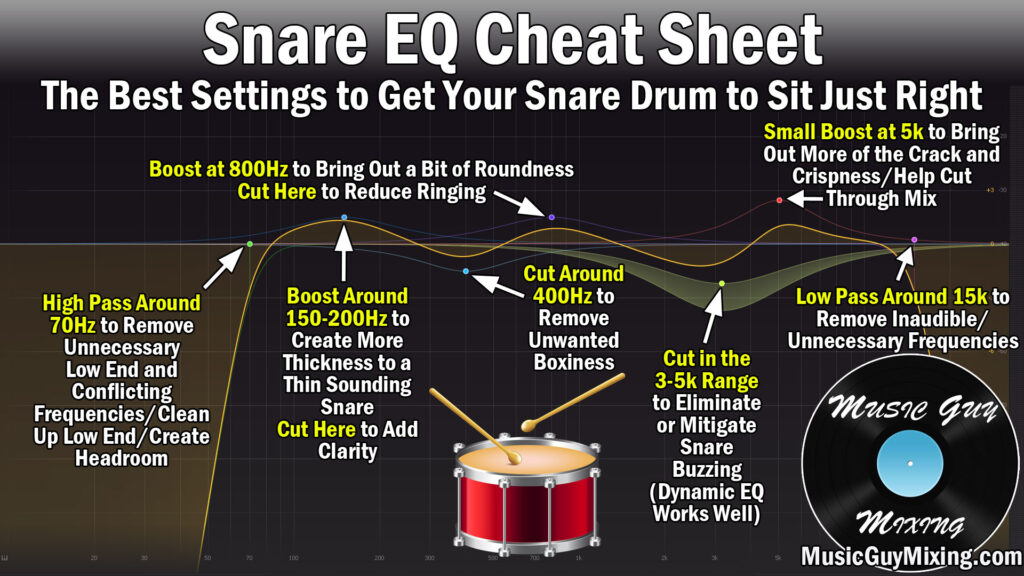
A high-pass filter can remove rumble, handling noise, and low-frequency bleed. Start around 50 to 80 Hz with a gentle slope. Raise the cutoff until the snare loses weight, then back it down slightly.
Do not automatically high-pass every snare at a high setting. Some drums need low-end body, especially in rock, hip-hop, and cinematic music. The best approach to how to EQ snare drum tracks is to remove only what does not help the mix.
3. Shape the low body
Sweep gently between 100 and 200 Hz. Listen for the area that gives the snare a solid chest-like weight. If the drum feels too thin, try a broad boost of 1 to 3 decibels.
If the snare makes the mix feel cloudy, try a small cut in the same region. This problem often comes from the snare fighting with the kick, bass, or low guitars.
Use a wide bell curve for body changes. A narrow boost can sound artificial and may emphasize one ugly note.
4. Control boxiness
Boxiness often appears between 250 and 500 Hz. It can make the snare sound like it was recorded inside a small wooden box. A cut of 2 to 4 decibels may open the sound.
Sweep a narrow band through this area to find the worst tone. Once you locate it, widen the filter and reduce the amount. The sweep helps you identify the problem, but the final EQ should usually sound smooth.
5. Add crack and presence
The snare’s forward attack often lives between 2 and 4 kHz. A small boost here can help it cut through guitars and dense instruments. Start with 1 to 2 decibels using a medium-width bell.
Too much energy in this area can make the snare sound aggressive or tiring. If the vocal already has strong presence in the same range, use a smaller boost or try dynamic EQ instead.
6. Shape the snap
The stick sound and snare-wire detail often sit between 4 and 8 kHz. A gentle boost can add snap, especially when the drum feels soft or buried.
This range also contains harshness. Boost slowly, then listen to the chorus at a realistic volume. If the snare hurts your ears or makes the cymbals seem louder, reduce the boost.
7. Add or control the top end
A high shelf above 8 or 10 kHz can add brightness and wire texture. This works well for a dull recording, but it may also raise hi-hat bleed and room noise.
If the top end sounds brittle, use a narrow cut around the harsh frequency instead of removing all the air. A dynamic EQ band can reduce the sharp tone only when the snare hits hard.
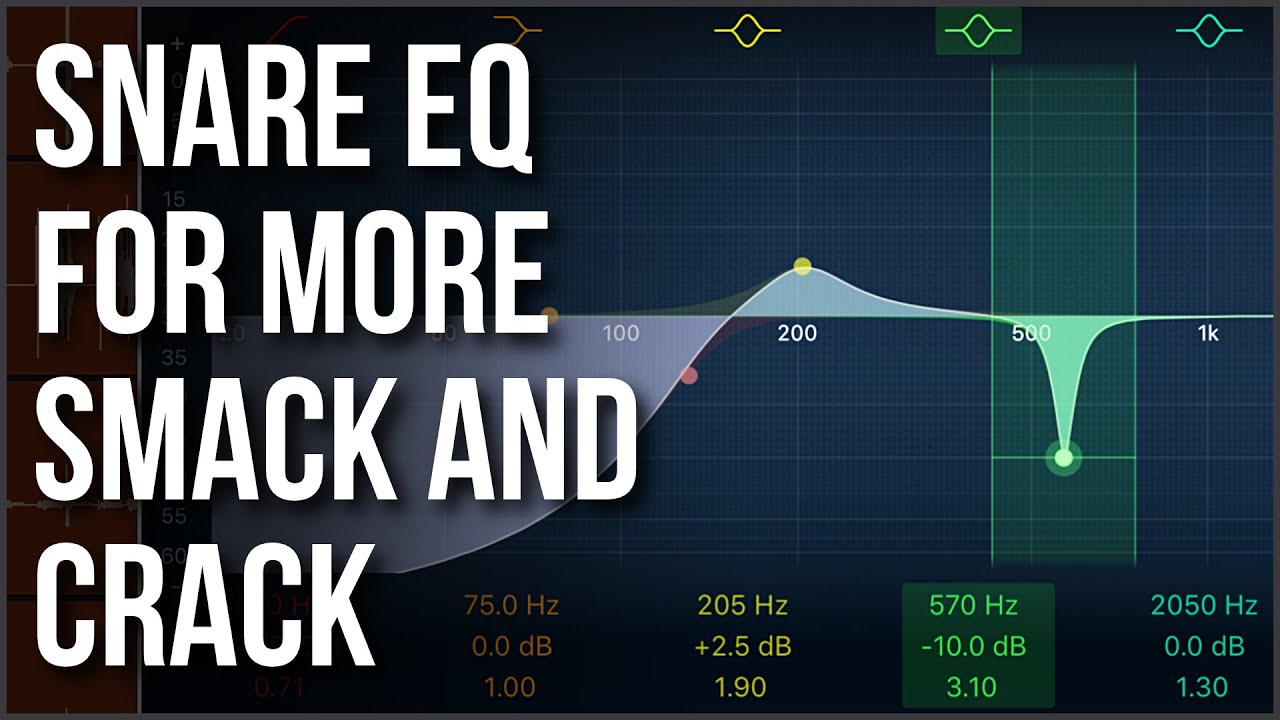
A Practical Snare EQ Starting Point
Here is a useful starting curve for a close-miked snare:
• High-pass filter around 60 Hz with a gentle slope.
• Broad boost of 1 to 2 decibels around 140 Hz for body.
• Cut of 2 to 3 decibels around 350 Hz if the sound is boxy.
• Small boost around 2.5 kHz for crack.
• Small boost around 5 kHz for stick attack.
• High-shelf boost of 1 decibel around 10 kHz if the drum needs air.
These settings are not a preset that works on every recording. They are a map for your ears. The right way to EQ snare drum tracks is to make the fewest moves needed to support the song.
For example, a raw snare in a sparse blues mix may need warmth and very little high-end boost. A modern metal snare may need more upper-mid attack and tighter low mids. A pop snare may need controlled brightness so it stays clear beside bright vocals and programmed percussion.

How to EQ Snare Drum for Different Music Styles
Rock
Rock snares often need strong body, clear crack, and enough brightness to cut through guitars. Try shaping 120 to 200 Hz for weight, reducing boxiness near 300 to 450 Hz, and adding presence around 2 to 4 kHz.
Do not over-brighten the snare if the cymbals are already strong. A balanced midrange can make a rock snare feel powerful without making it sharp.
Pop
Pop mixes often need a clean, controlled snare. Reduce muddy low mids, add a focused attack, and control harsh transients with compression or dynamic EQ.
The snare should support the vocal rather than compete with it. If the vocal sounds crowded, check the 2 to 4 kHz area before boosting the snare.
Hip-hop
Hip-hop snare and clap sounds often need a firm midrange hit and clear top-end detail. The best EQ depends on whether the snare is thick, short, bright, or layered with a clap.
High-pass unnecessary rumble, shape the body around the drum’s fundamental, and add attack only as needed. Leave room for the kick and bass to control the low end.
Metal
Metal snares often need fast, sharp attack that remains clear beside distorted guitars. Cuts in muddy low mids and boosts in the upper mids can help.
Be careful with excessive 4 to 8 kHz energy. Dense guitars and cymbals already create a lot of brightness, so a dynamic EQ may work better than a permanent boost.