How To String A Violin With Fine Tuners: Easy Guide
To string a violin with fine tuners, replace one string at a time, seat it, and tune slowly.
Learning how to string a violin with fine tuners is easier when you understand the path each string follows. The fine tuners change the final tuning process, but they do not change the basic string replacement method. This guide explains the tools, string order, winding technique, bridge safety, tuning steps, and common mistakes so you can work with confidence.
What Fine Tuners Do on a Violin
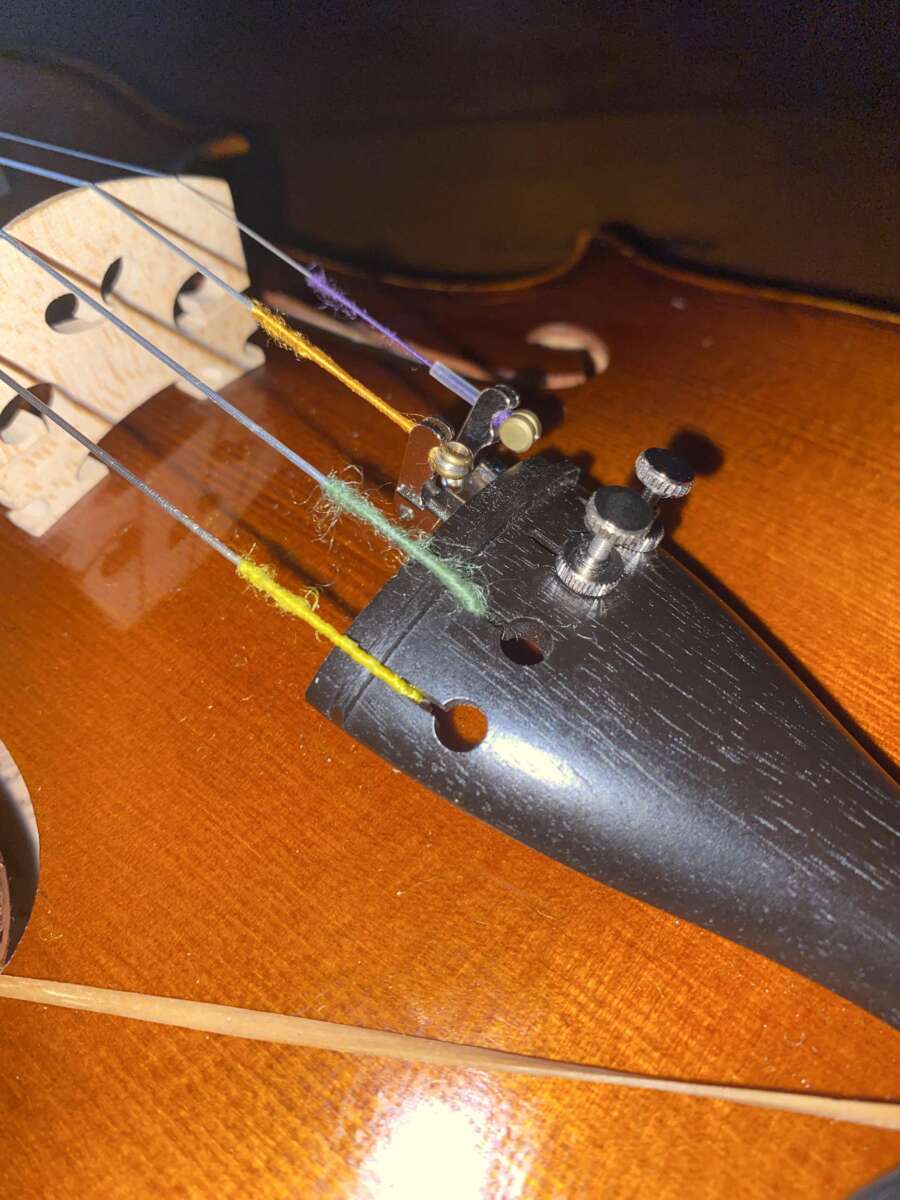
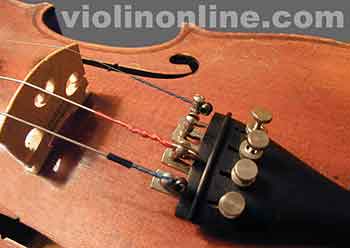
Fine tuners are small screw mechanisms attached to the tailpiece. They make tiny pitch changes after the string is installed and tuned close to the correct note with the peg.
Many student violins have four fine tuners. Some violins have only one fine tuner for the E string. The E string is thin and can be hard to tune with a peg, so players often use a fine tuner for quick and safe adjustments.
When learning how to string a violin with fine tuners, remember that the tuner does not hold the string at the peg. The string still needs to pass through the tailpiece or fine tuner, cross the bridge, travel over the nut, and wind around the correct peg.
Fine tuners offer several benefits:
• They allow very small pitch changes.
• They help beginners tune with less risk of turning a peg too far.
• They make quick tuning easier during lessons, rehearsals, and performances.
• They are useful for strings that shift slightly after installation.
Fine tuners also have limits. If a tuner is screwed all the way in or nearly all the way out, it cannot make much more adjustment. Set each tuner near the middle of its range before installing a new string.
Tools and Materials You Need
Before you learn how to string a violin with fine tuners, prepare a clean work area. A soft towel can protect the violin from scratches and keep it from sliding on a hard table.
You will need:
• A correctly sized replacement violin string
• A violin peg compound, if a peg slips or sticks
• An electronic chromatic tuner or tuning app
• A peg winder, used gently
• A soft cloth
• A pencil
• A small ruler, if you want to check bridge position
Choose a string that matches your violin and playing needs. Violin strings differ in tension, material, tone, and response. A set designed for a full-size violin may not fit a fractional-size instrument correctly.
Check the label before opening the package. Common violin string notes are:
• G string: lowest and thickest string
• D string: second lowest string
• A string: second highest string
• E string: highest and thinnest string
Never remove all four strings at once unless a qualified violin technician has told you to do so. The bridge and soundpost depend on string tension. Removing every string can allow the bridge to fall and may cause the soundpost to move.
That point is central to how to string a violin with fine tuners safely: change only one string at a time.

Prepare the Violin Before Removing the Old String
Place the violin face up on a padded, stable surface. Keep the scroll supported so the instrument does not roll or slide.
Turn the fine tuner screw until it sits near the middle of its travel. Do not force it. If the screw feels rough, remove tension first and have the tuner checked.
Look at the bridge before you begin. The bridge should stand upright, with its feet flat on the violin top. It may lean slightly toward the tailpiece, but it should not bow sharply or tip forward toward the fingerboard.
It helps to take a quick photo of the string winding at the peg. This gives you a visual guide if you are new to violin maintenance.
Loosen the old string slowly:
-
Turn the correct peg toward you or away from you, depending on the pegbox side.
-
Watch the string tension decrease.
-
Pull the loose string from the peg hole.
-
Remove its ball end from the fine tuner or tailpiece.
-
Place the old string aside so it does not scratch the violin.
Do not let the peg spin freely while the string is under tension. A sudden release can make the bridge shift or cause the string to whip against the instrument.
While removing the string, check the bridge and fine tuner. Look for sharp edges, deep grooves, loose screws, or metal parts that touch the violin top. These problems can damage the finish or cause repeated string breakage.

How to String a Violin With Fine Tuners
The following method explains how to string a violin with fine tuners from start to finish. Work slowly, and keep the new string under light control at every step.
1. Match the New String to the Correct Position
Open only the string you plan to replace. Confirm its note and thickness. Do not rely only on the color of the silk winding, since colors vary by brand.
The G string belongs on the left side when you hold the violin in playing position. The E string belongs on the right side. The D and A strings sit between them.
2. Set the Fine Tuner
Back the fine tuner screw out slightly if it is fully tight. Then turn it in until you have roughly half of the adjustment range available.
This gives you room to raise or lower the pitch later. If the screw is already near its limit, the violin may become difficult to tune accurately.
3. Attach the Ball End
Most modern violin strings have a small metal ball at one end. Insert that ball into the slot or hook on the fine tuner.
Make sure the ball sits fully in place. If it rests on the edge, the string may slip when you tighten it. Some strings use a loop end instead of a ball end, so check the string design before installation.
4. Guide the String Over the Bridge
Lay the string in the correct bridge groove. The groove should match the string’s position and width.
The string must also pass through the correct nut groove near the scroll. Keep it centered in both grooves as you work.
Do not pull the string hard enough to drag the bridge. At this stage, use only enough tension to keep the string in place.
5. Insert the String Into the Peg
Feed the free end through the hole in the correct tuning peg. Push it through about 1/8 to 1/4 inch, or enough to keep it from slipping while you turn the peg.
For most strings, the winding should build neatly toward the pegbox wall. Leave a small gap between the coils and the pegbox cheek. The coils should not rub against the wood.
6. Wind the String Neatly
Turn the peg slowly while guiding the string with your other hand. Keep light pressure on the string between the bridge and pegbox.
Each coil should sit beside the previous coil. Avoid crossing one coil over another. Crossed windings can pinch the string, make tuning unstable, or damage the string near the peg hole.
The first few turns should lock the string in place. After that, continue winding until the string has enough tension to produce its correct note.
7. Check the Bridge
As tension rises, stop several times to inspect the bridge. The bridge can slowly lean toward the fingerboard because the strings pull it forward.
Place both thumbs or fingers near the bridge feet and gently guide the top edge back toward the tailpiece if needed. Use very small movements. Never push hard.