How To Mic Drums For Live Performance: Pro Setup Tips
How to mic drums for live performance starts with clear placement, phase control, and a focused soundcheck.
Learning how to mic drums for live performance is less about owning many microphones and more about making smart choices. The right mic, placement, gain level, and monitor mix can turn a noisy drum kit into a clear, powerful part of the band. This guide explains the full process in simple steps, with practical tips for small clubs, houses of worship, theaters, and large stages.
What you need to mic a drum kit live
Before placing a microphone, decide what the venue and sound system need. A small room may need only kick, snare, and one overhead mic. A larger stage may benefit from close microphones on every tom, separate overheads, and a dedicated hi-hat mic.
The main goal is balance. Each microphone should capture a useful part of the kit without adding too much bleed, feedback risk, or stage clutter.
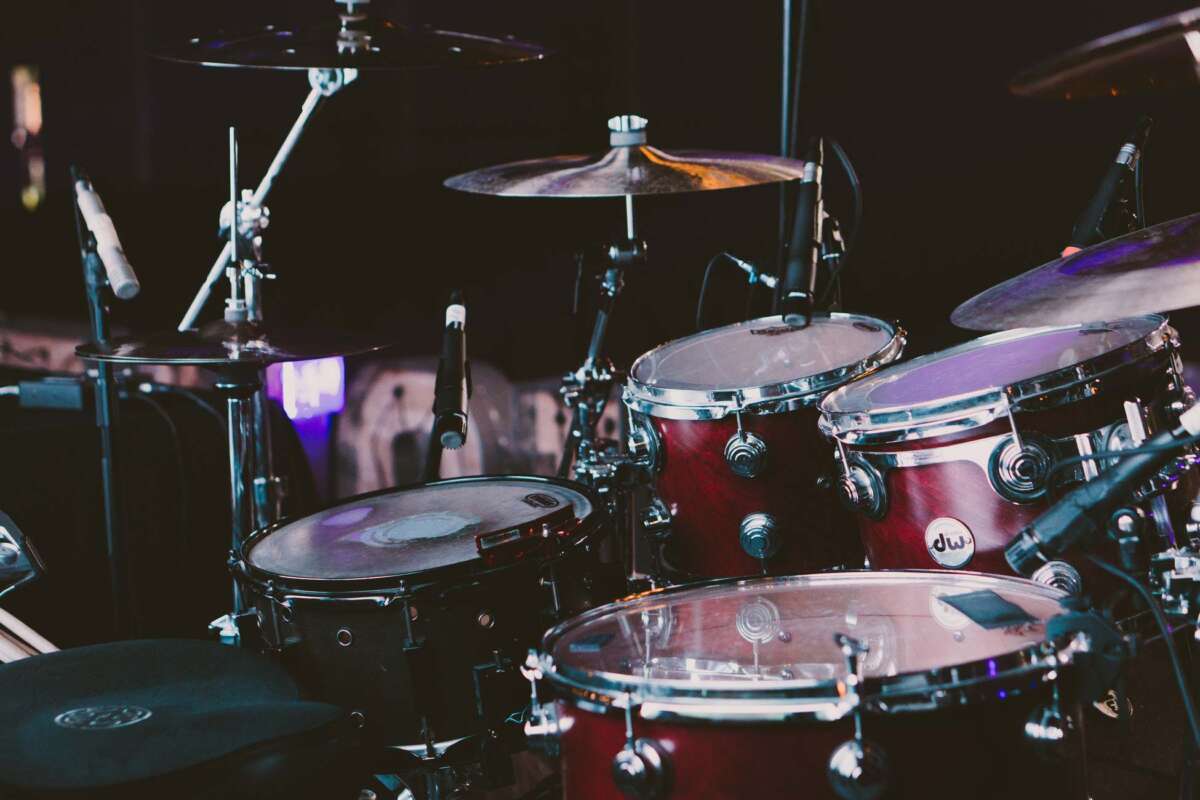
A common live drum microphone setup includes:
• Kick drum microphone for low-end punch and attack
• Snare microphone for crack, body, and presence
• Tom microphones for fills and larger drum accents
• Hi-hat microphone for articulation
• Overhead microphones for cymbals and the overall kit image
• Room microphones for ambience in larger venues
Dynamic microphones are popular for close miking because they can handle high sound pressure levels and reject some sound from nearby instruments. Condenser microphones often work well as overheads because they capture more detail, but they also pick up more stage noise.
Your mixer also matters. You need enough microphone inputs, clean preamps, phantom power for condenser microphones, and enough equalization to shape the kit. A reliable microphone stand, clip, cable, and drum shield can be just as important as the microphone itself.

How to mic drums for live performance: start with the room
The room affects the drum sound before you connect a single cable. Hard walls create reflections and harsh cymbal energy. Soft surfaces absorb some high frequencies. Low ceilings can make the kick and toms feel thick and unclear.
Walk around the venue while the drummer plays. Listen for spots where the kick sounds full, where the snare cuts through, and where cymbals become too bright. This quick check helps you understand what the microphones will hear.
Stage volume also changes your approach. If guitar amps are loud, the drum microphones will capture those amps. If the drummer plays hard, the cymbals may dominate the overheads. Good microphone placement cannot fully fix a poor stage balance.
Try to improve the source before reaching for equalization:
• Ask guitarists to aim amps across the stage instead of at the drum microphones.
• Keep monitor speakers out of the main pickup area of vocal and drum microphones.
• Use rugs or stage treatment to reduce unwanted reflections.
• Ask the drummer to balance the kit with touch, not only with force.
• Keep the drum kit away from corners when possible.
A great live mix starts with a controlled stage. Think of microphones as cameras. If the scene is messy, a better camera will not solve the problem.
Choosing microphones for each drum
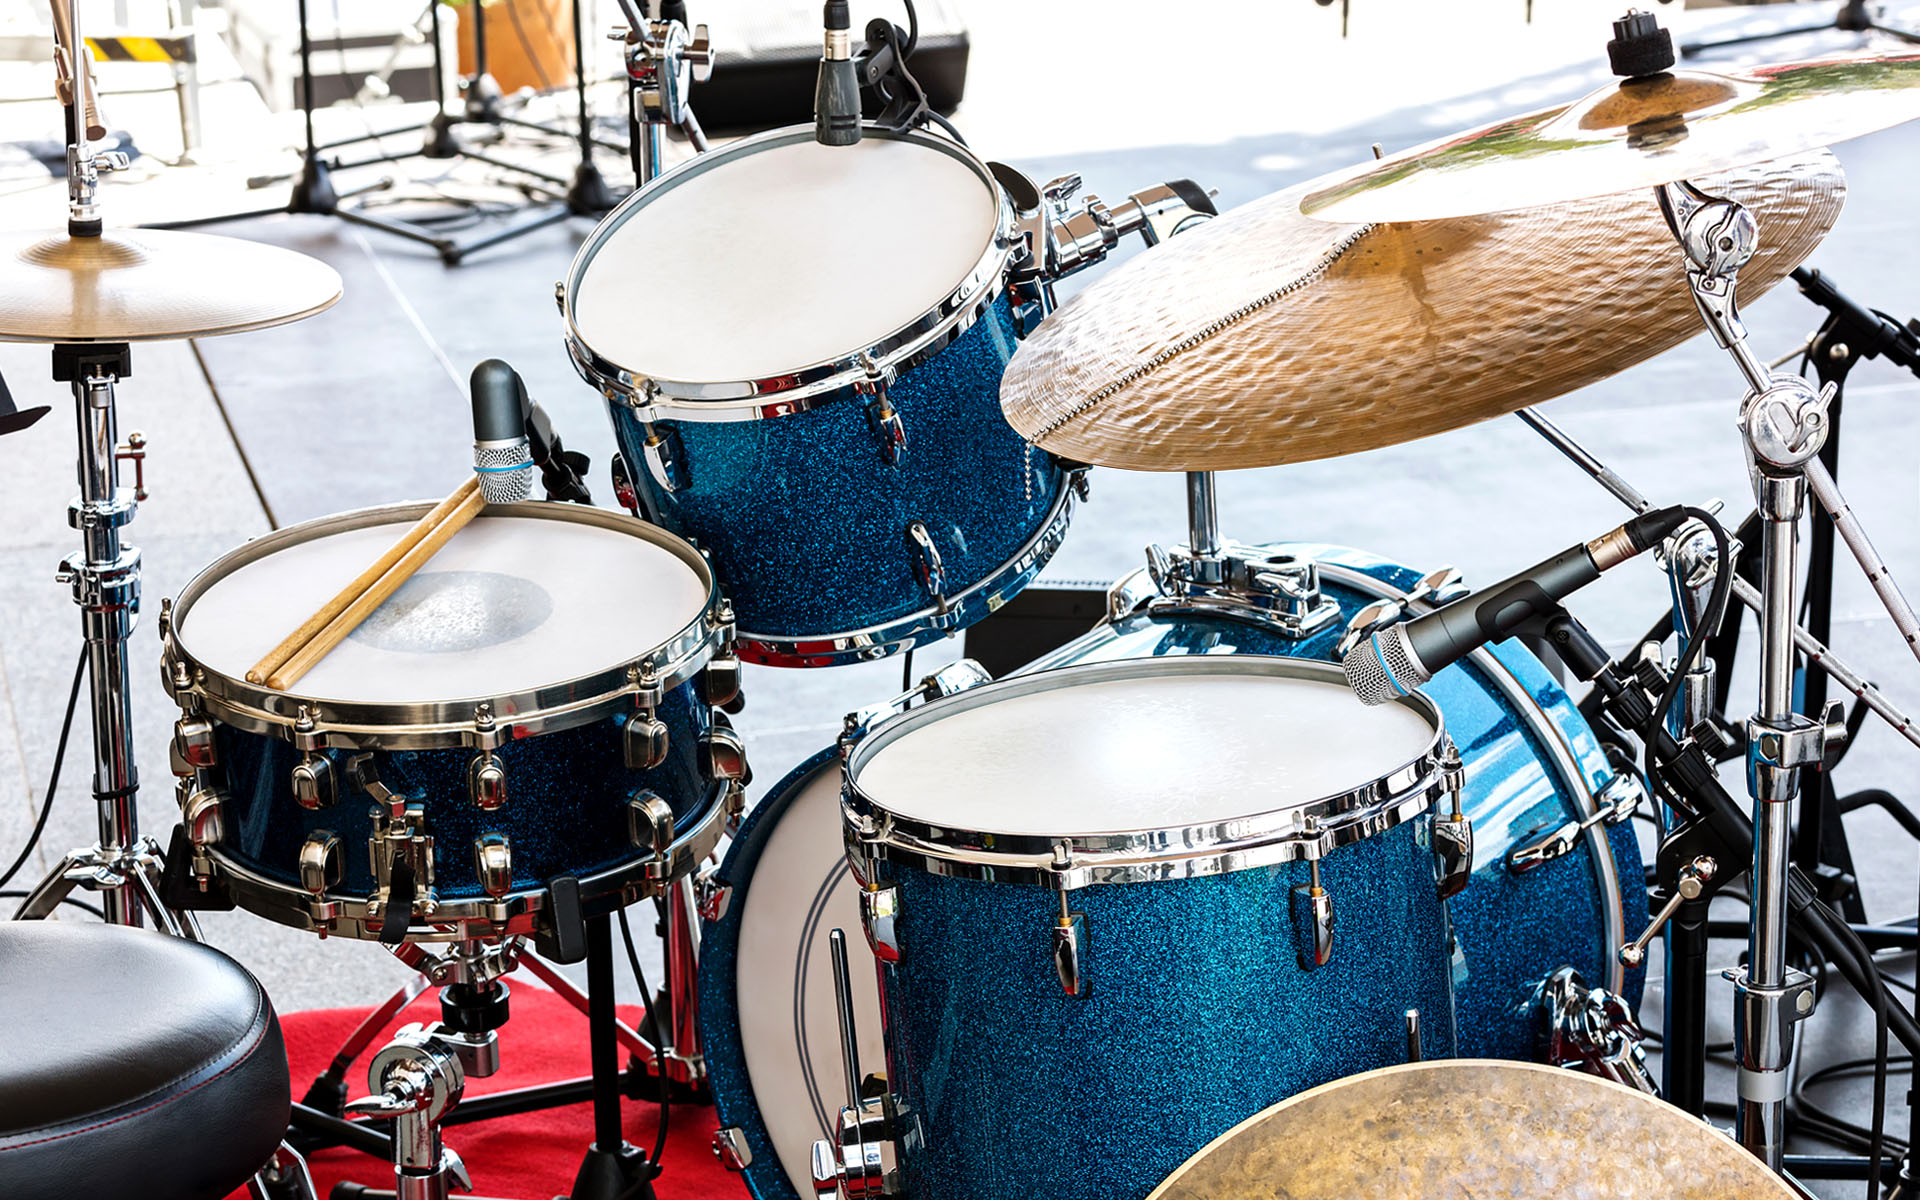
There is no single perfect microphone for every drum. The best choice depends on the drum, the player, the room, and the rest of the band. Still, some microphone types are reliable starting points.
Kick drum
A kick microphone should capture both low-end weight and beater attack. A mic placed near the resonant head sounds rounder and more natural. A mic placed inside the port, near the beater, sounds tighter and more aggressive.
For a modern rock or pop mix, place the microphone inside the port about 3 to 6 inches from the beater impact area. Pointing it slightly away from the center can reduce excessive click. For jazz, folk, or acoustic music, placing it outside the front head may provide a fuller sound.
Do not bury the microphone deep inside the drum without listening. The inside of a kick drum can produce a strong, narrow tone that may sound impressive alone but harsh in the full mix.
Snare drum
A dynamic microphone above the snare is the usual starting point. Aim it toward the center for more attack, or toward the rim for a softer and fuller tone. Keep the mic close enough to reject nearby cymbals, but not so close that the drummer may strike it.
A second microphone under the snare can capture wire response and brightness. If you use one, reverse its polarity or check its phase relationship with the top microphone. The two capsules hear the drum from opposite sides, so their low frequencies may cancel if the polarity is wrong.
Toms
Clip-on dynamic microphones save space and reduce the chance of a stand being hit. Standard microphones on short stands can sound excellent, but they require careful placement.
Aim each tom microphone toward the area between the center and rim. Keep the capsule a few inches above the head and angle it away from the nearest cymbal. Too much angle can make the tom sound thin, while pointing directly at the center may create too much attack.
Hi-hat
A hi-hat microphone is useful when the cymbal needs definition in a dense mix. Place it above the edge of the hats, aimed across the top cymbal rather than straight down at it. This reduces the sharp “chick” sound and limits bleed from the snare.
Many live kits do not need a hi-hat mic. Overheads often capture enough hat sound, especially in smaller bands.
Overheads
Overhead microphones capture cymbals, stick detail, and the shape of the entire kit. They should not be treated as cymbal-only microphones. If the overheads sound balanced, the full kit will usually feel more natural.
Place a matched pair in an XY, ORTF, spaced pair, or recorderman-style arrangement. Keep the left and right distances from the snare and kick consistent when possible. Small distance differences can make the kit image pull to one side.
Condenser microphones are common overhead choices, but dynamic microphones can work well on loud stages. Always check the manufacturer’s instructions before using phantom power, especially with unusual or active ribbon microphones.

How to place drum microphones correctly
Microphone placement is one of the most important parts of how to mic drums for live performance. Move the microphone a small amount, listen, and move it again. A few inches can change the sound more than several equalizer adjustments.
Use these starting points:
-
Place the kick microphone inside the port or just outside the resonant head.
-
Put the snare microphone 1 to 2 inches above the rim.
-
Angle the snare microphone toward the center for attack or toward the edge for body.
-
Place tom microphones several inches above the heads.
-
Aim tom microphones away from nearby cymbals.
-
Set overheads at equal distances from the snare when you want a centered snare image.
-
Keep microphone clips and cables clear of moving drum hardware.
The microphone should never interfere with the drummer’s movement. Ask the drummer to play the hardest parts of the song while you watch for stick collisions and stand movement.
One common mistake is placing every microphone too close. Close miking can reduce bleed, but it can also create an unnatural kit sound. The drum may lose its air and resonance. Start close for control, then move the microphone away if the sound feels boxed in.
Another mistake is aiming every microphone directly at the center of each head. The center gives more attack, while the edge gives more warmth. Use that difference as a tone control before you touch the console.

Gain staging and phase for a clear drum mix
Good gain staging keeps the drum mix clean and gives the engineer room to shape the sound. Ask the drummer to play the loudest section of the set, not just a gentle verse. Set each preamp so peaks remain below clipping with some headroom.
Avoid turning up a weak signal too much after the fact. Excessive gain can raise stage bleed, hiss, and feedback. It is usually better to improve microphone placement first.
Phase is another key part of how to mic drums for live performance. When two microphones capture the same drum from different distances, their waveforms may not arrive together. This can weaken low frequencies and make the kit sound hollow.
Check phase between:
• Kick drum and overheads
• Snare top and snare bottom
• Toms and overheads
• Close microphones and room microphones