How Do You Attach A Guitar Strap: Easy Step-By-Step Guide
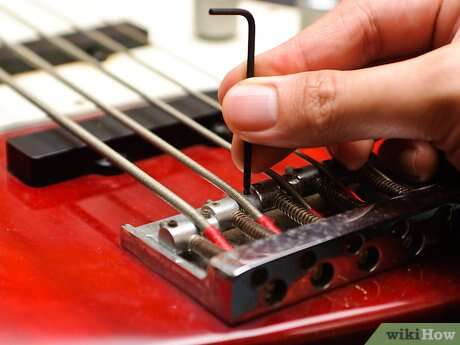
Attach the strap buttons to the guitar, then press each strap end firmly over the buttons and check the fit.
Learning how do you attach a guitar strap is simple, but doing it safely takes a little care. The right method depends on whether your guitar has two strap buttons, one button, or no buttons at all. This guide explains each option, shows common mistakes, and shares practical tips for comfort, balance, and guitar safety.

What You Need Before Attaching a Guitar Strap
Before learning how do you attach a guitar strap, check the guitar and the strap. Most electric guitars and many acoustic guitars have two metal strap buttons. One sits near the bottom of the body, while the other is near the neck joint or upper horn.
You may need different parts if your guitar has only one button or none. Gather these items first:
• A guitar strap with two leather or synthetic strap ends
• Strap buttons already fitted to the guitar
• Strap locks, if you want extra security
• A screwdriver, if you need to install buttons
• A soft cloth to protect the guitar’s finish
• A strap adapter or soundhole hook for some acoustic guitars
Check the strap for damage. The holes should not be stretched, cracked, or soft around the edges. A weak strap end can slip off during a song and send the guitar to the floor.
How to Attach a Guitar Strap to a Guitar With Two Buttons
This is the most common setup. It is found on many electric guitars, basses, and acoustic guitars designed for strap use.
Step-by-step method
-
Hold the guitar in a stable position with the front facing you.
-
Find the strap button at the bottom of the guitar.
-
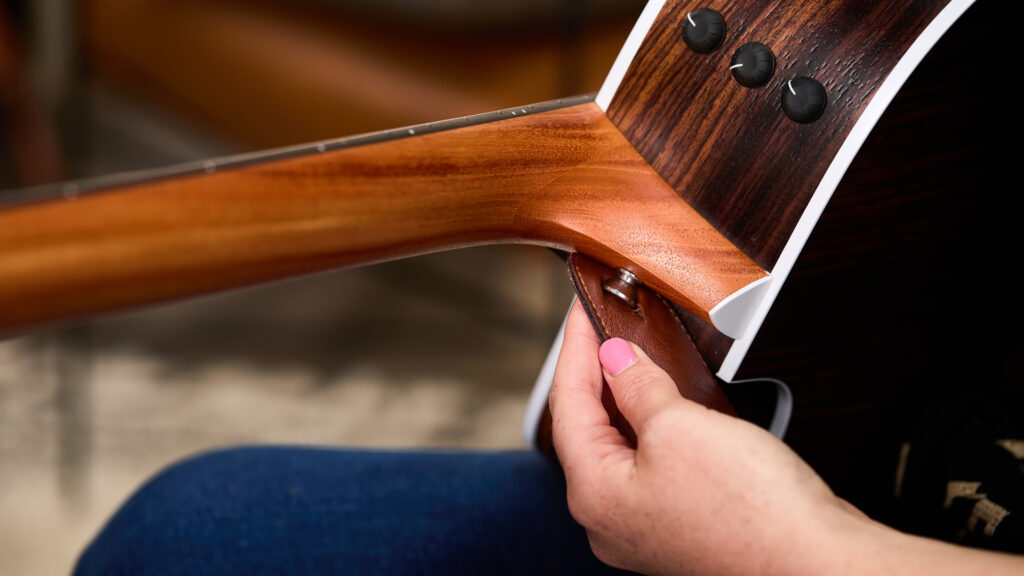
Place one strap end over the button.
-
Push the button through the strap hole until the strap sits flat.
-
Find the second strap button near the neck joint or upper horn.
-
Fit the other strap end over that button.
-
Pull the strap gently to confirm that both ends are secure.
-
Put the strap over your shoulder and adjust its length.
The strap should sit flat against each button. Do not twist the strap end while fitting it. A twisted strap can pull at an angle and may come loose more easily.
If the strap hole feels tight, work it over the button with slow pressure. Do not use a knife or screwdriver to force it open. Sharp tools can damage the strap or scratch the guitar.
Learning how do you attach a guitar strap is mostly about checking both connection points. A quick tug test before playing can prevent a costly accident.

How to Attach a Strap to an Acoustic Guitar With One Button
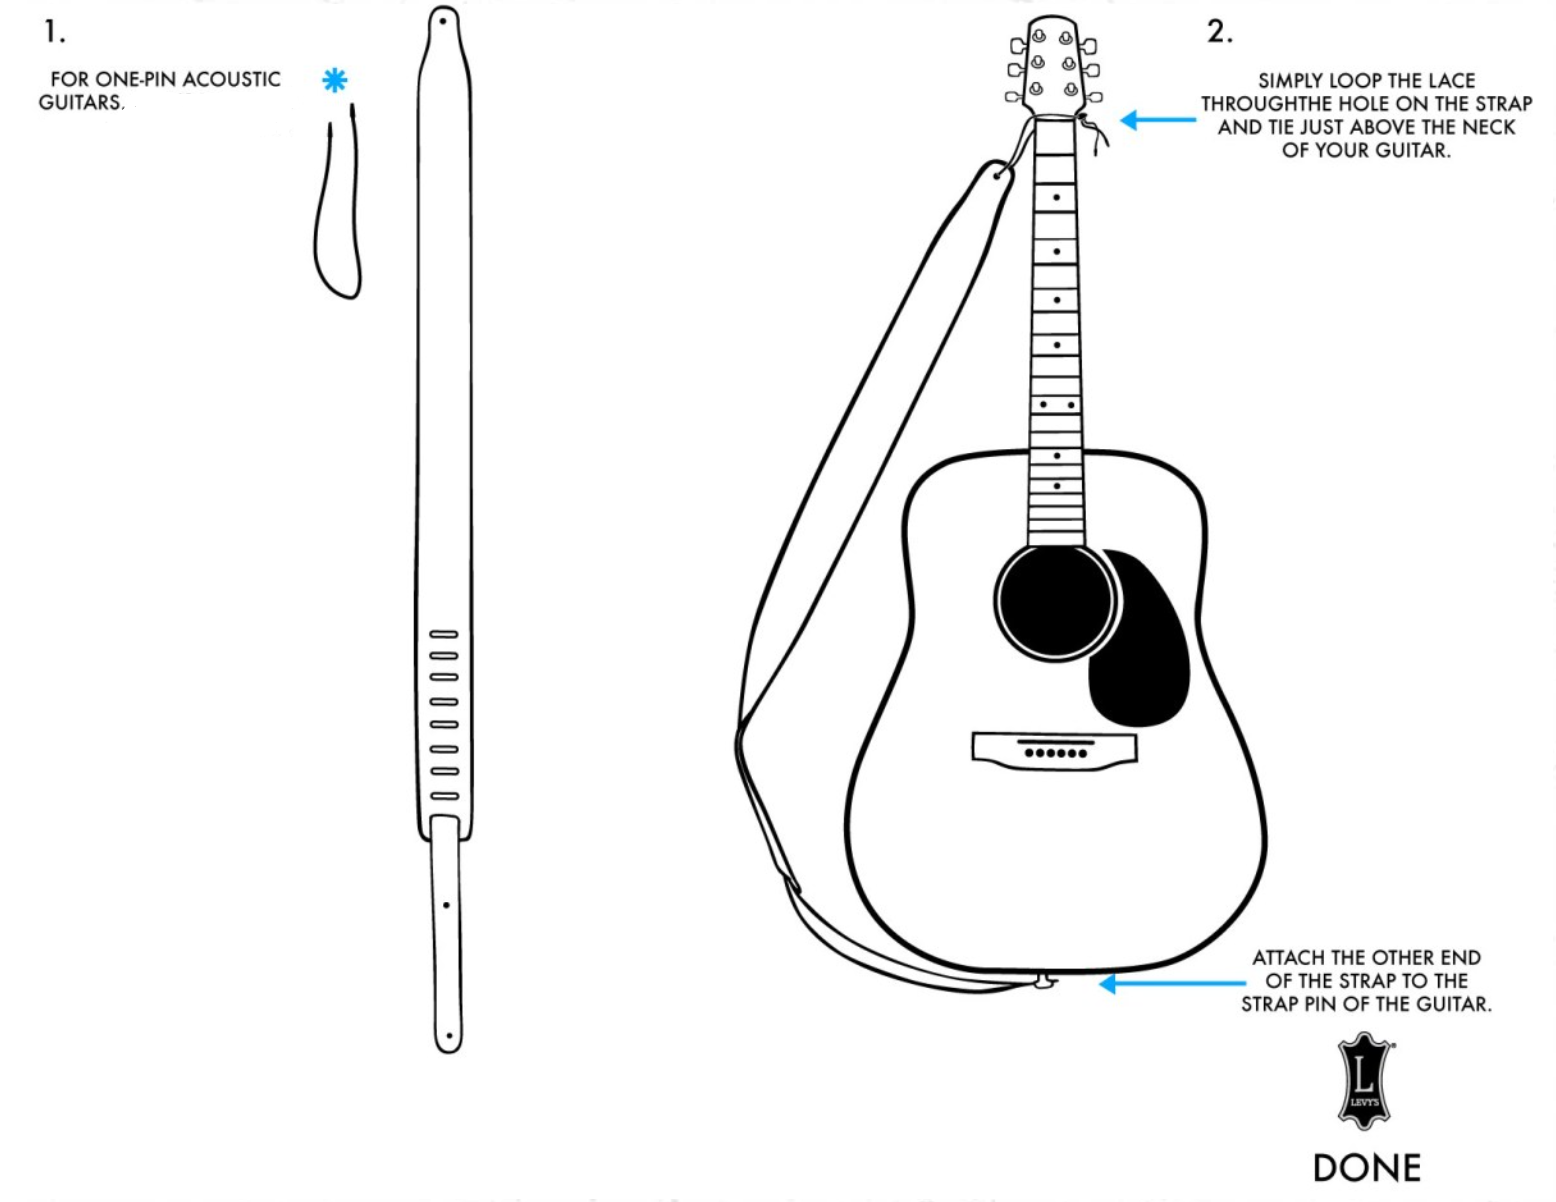
Many acoustic guitars have one strap button at the bottom but no button near the neck. In this case, the bottom of the strap attaches to the guitar, while the other end must connect near the headstock.
You can use a small strap tie, lace, or purpose-made acoustic guitar strap adapter. Follow these steps:
-
Attach one end of the strap to the bottom button.
-
Run the other end toward the headstock.
-
Place the tie under the strings behind the nut, or around the headstock above the nut.
-
Feed the tie through the strap hole.
-
Tie it firmly, but do not press hard against the strings.
-
Check that the knot does not interfere with tuning.
Avoid tying the strap around the tuning machines. The cord may catch on a tuner or pull the strings out of tune. Place the tie on the solid part of the headstock instead.
A headstock strap adapter is often more secure and cleaner than a loose shoelace. It also reduces the chance of rubbing the guitar’s finish.
How to Attach a Guitar Strap Without Strap Buttons
Some classical guitars, vintage guitars, and small acoustic guitars have no strap buttons. You still have safe options, but each one has limits.
Use a soundhole strap
A soundhole strap has a hook or support that rests at the edge of the soundhole. The other end usually connects around the headstock.
To use one:
• Place the hook carefully at the soundhole edge.
• Keep the hook away from the thin inner edge if the design allows.
• Attach the upper end around the headstock with a soft tie.
• Check that the hook cannot slide into the soundhole.
Soundhole straps are useful for temporary use. However, they may not feel as stable as two fixed buttons, especially during active playing.
Use an adhesive strap button
Adhesive buttons are easy to install, but they are not ideal for every guitar. Heat, sweat, age, and finish type can weaken the adhesive. Test the product on an unseen area only if the maker permits it.
Ask a guitar repair professional
A repair technician can install a strap button in a strong location. This matters because the wrong spot may split the wood or weaken the neck joint. On a valuable or vintage guitar, professional installation is the safest choice.
When people ask how do you attach a guitar strap to a guitar without buttons, the best answer is to choose a method that matches the guitar’s design. Do not drill into a valuable instrument without knowing where the bracing, neck joint, and wiring are located.

How to Install Strap Buttons Safely
If your guitar lacks a button, installing one can be a useful upgrade. Still, the job requires care. A strap button creates a point of stress, so it must sit in solid wood.
The lower button often goes into the end block at the base of the guitar. The upper button may go into the heel of the neck or a strong part of the body. On an acoustic guitar, drilling into the wrong area can damage internal bracing.
A safe installation usually involves:
-
Choosing a strong mounting location.
-
Marking the position with low-tack painter’s tape.
-
Selecting a drill bit smaller than the screw core.
-
Drilling a shallow pilot hole.
-
Adding a small amount of wax to the screw threads.
-
Tightening the button until it is snug.
-
Avoiding excessive force.
The pilot hole helps prevent the wood from splitting. The screw should fit firmly, but the button should not crush the finish or sink deeply into the body.