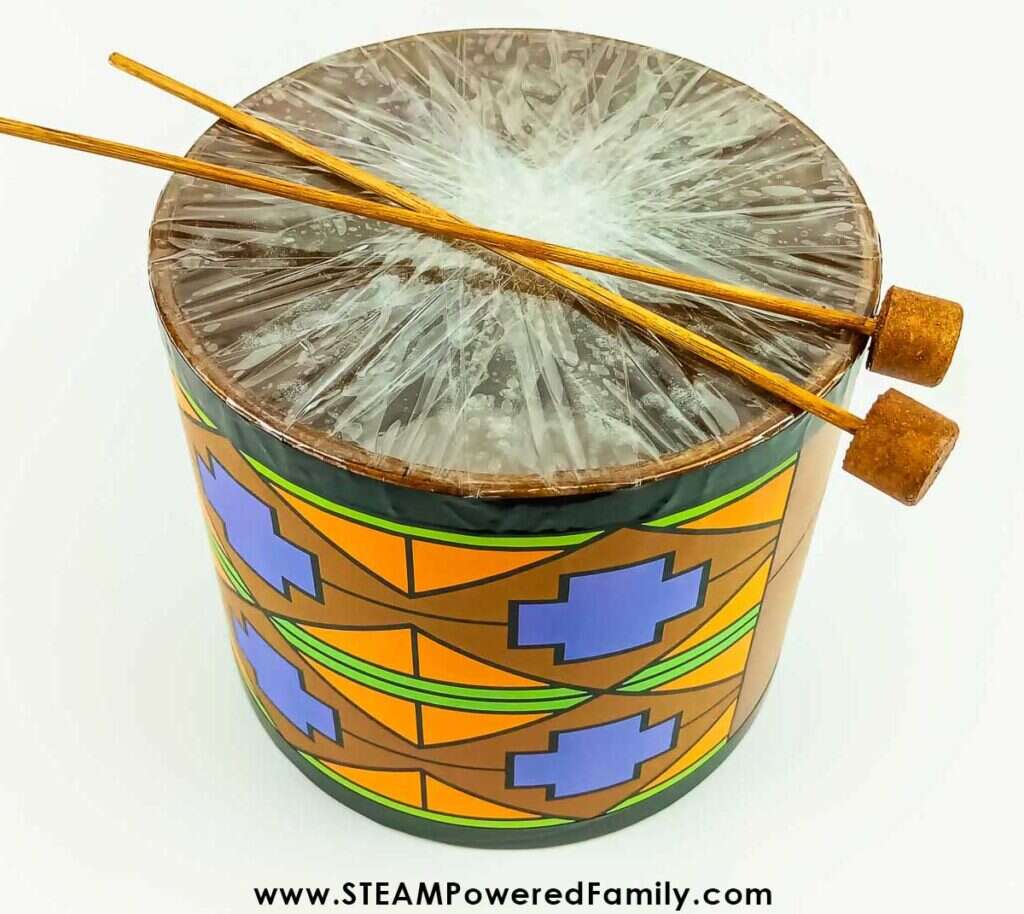
How To Make A Homemade Drum: Easy DIY Guide
Make a homemade drum with a clean container, a tight balloon membrane, and simple tools in less than an hour.
Learning how to make a homemade drum is a fun way to explore rhythm, sound, and basic acoustics. With a few safe household items, you can build a drum that looks good, makes a clear beat, and gives children or beginners a hands-on music project.
What You Need to Make a Homemade Drum
The easiest homemade drum uses a hollow container and a stretched membrane. The container acts as the drum shell, while the membrane vibrates when you tap it. That vibration moves air inside the shell and creates sound.
For a simple homemade drum, gather:
• One empty oatmeal canister, coffee can, food container, or sturdy cardboard tube
• One or two large balloons
• Scissors
• Strong tape, such as duct tape or packing tape
• One or two rubber bands
• A ruler
• Colored paper, markers, or paint for decoration
• Two wooden dowels, pencils, or unsharpened chopsticks for drumsticks
Choose a container with a smooth rim. A sharp edge can tear the balloon and may cause a cut. If you use a metal can, cover the rim with several layers of tape before adding the drumhead.
A wider container usually produces a deeper tone. A narrow container often makes a higher, sharper sound. This simple rule helps you choose the right shell for the sound you want.
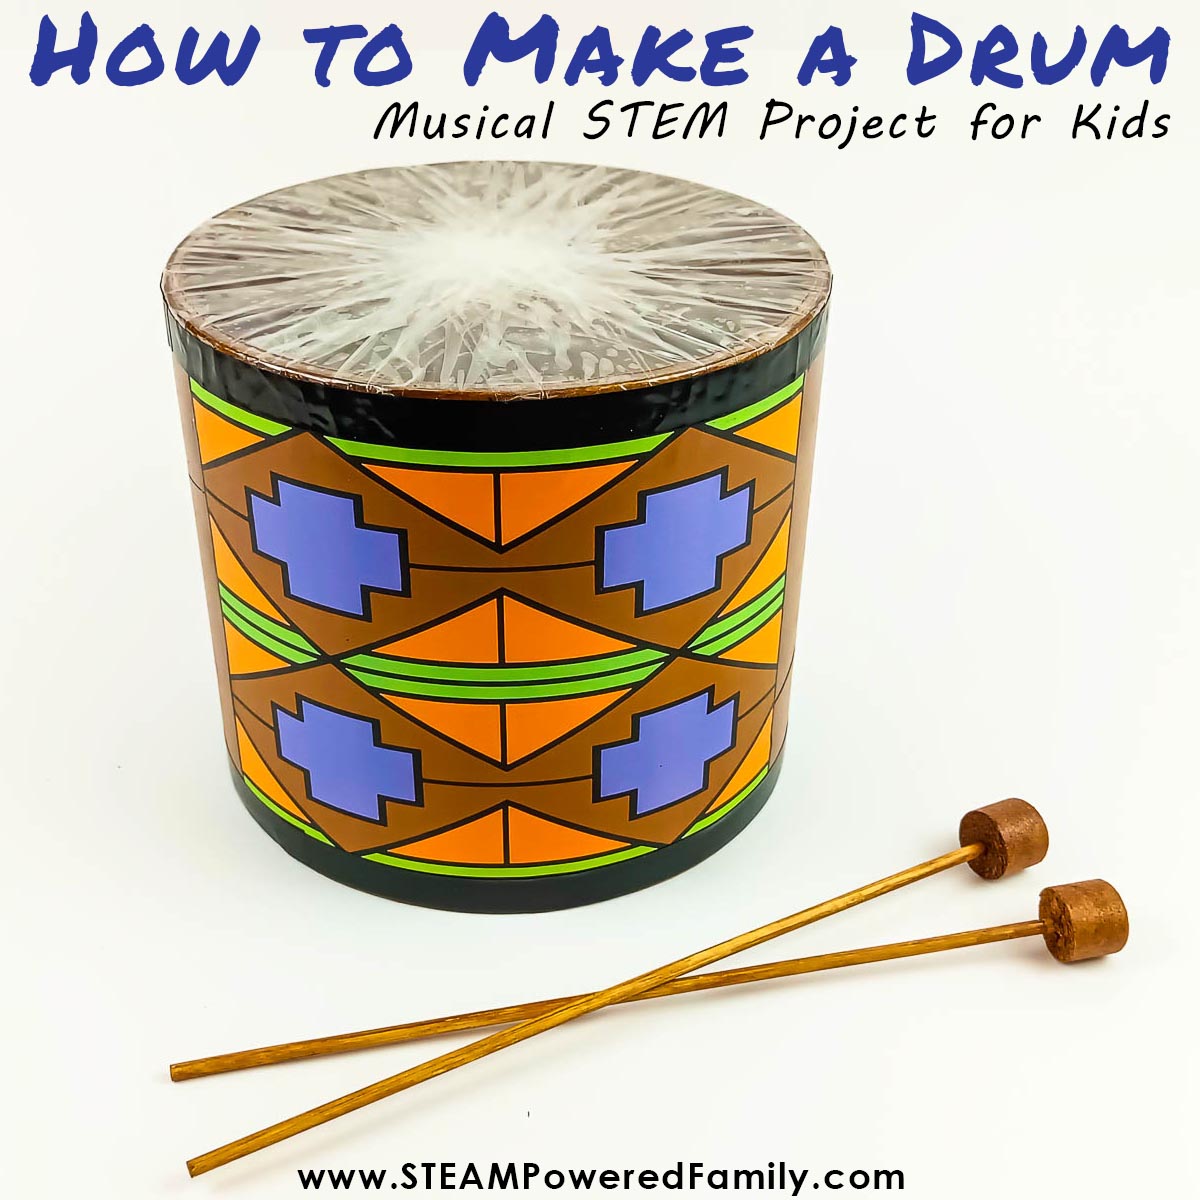
How to Make a Homemade Drum Step by Step
Follow these steps to build a basic homemade drum. The project usually takes 20 to 45 minutes, depending on the decorations.
1. Clean and prepare the container
Wash the container and let it dry fully. Remove loose labels, crumbs, and adhesive from the outside.
Check the rim with your finger. It should feel smooth. Add tape around any rough spot. Do not use a container with rust, cracks, or a damaged edge.
2. Cut the balloon
Cut off the narrow neck of the balloon. Keep the wide, round part because it will become the drumhead.
You can use one balloon for a soft sound or two balloons for a stronger drumhead. If you use two, cut both balloons and place one over the other.
3. Stretch the balloon over the opening
Pull the balloon across the top of the container. Stretch it evenly so the surface is flat.
This step may take some effort. Ask another person to hold the container while you pull the balloon. Avoid stretching so hard that the rubber becomes thin or tears.
4. Secure the drumhead
Hold the balloon in place with a strong rubber band. Then wrap tape around the outside edge for extra support.
Keep the center of the balloon clear. Tape placed across the playing surface can make the drum sound dull.
5. Test the tension
Tap the center of the drumhead with one finger. The surface should feel firm but not extremely tight.
If the sound is weak, pull the balloon tighter and secure it again. If the balloon makes a high squeak or begins to split, reduce the tension.
6. Add drumsticks
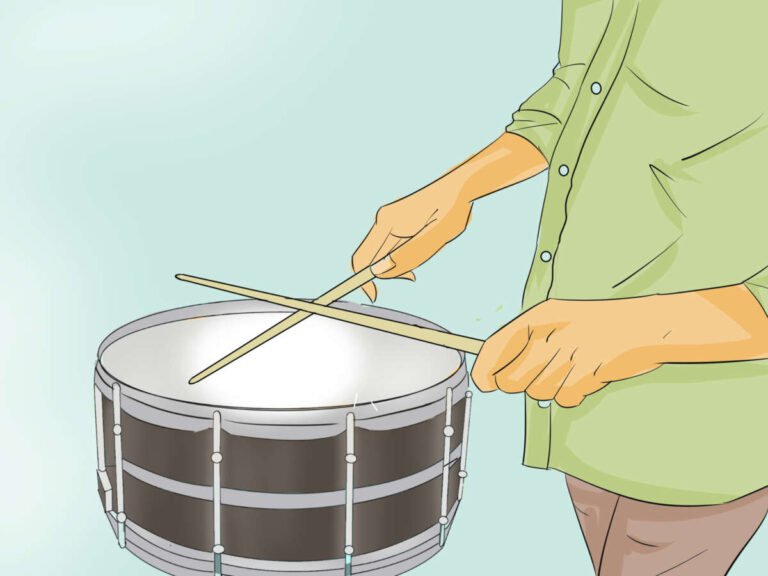
Use pencils, wooden dowels, or chopsticks as drumsticks. Wrap a small piece of felt or fabric around the tips if you want a softer sound.
Never use sharp sticks. Sand rough wood or cover the ends with tape before playing.

How the Drum Produces Sound
A drum creates sound through vibration. When you hit the balloon membrane, it moves up and down very quickly. That movement pushes the air inside the container and sends sound waves into the room.
The drum shell helps shape the sound. A larger shell holds more air and often creates a deeper tone. A smaller shell holds less air and tends to sound brighter.
Tension also matters. A tight drumhead vibrates faster and produces a higher pitch. A loose drumhead moves more slowly and produces a lower, softer tone.
The material of the membrane changes the sound as well. A balloon creates a light, flexible drumhead. Thick plastic may sound louder but can be harder to stretch. Paper can work for a short project, but it tears more easily.
Think of the drumhead as a trampoline. A tight trampoline gives a quick bounce, while a loose one gives a slower bounce. The same idea applies to a homemade drum.
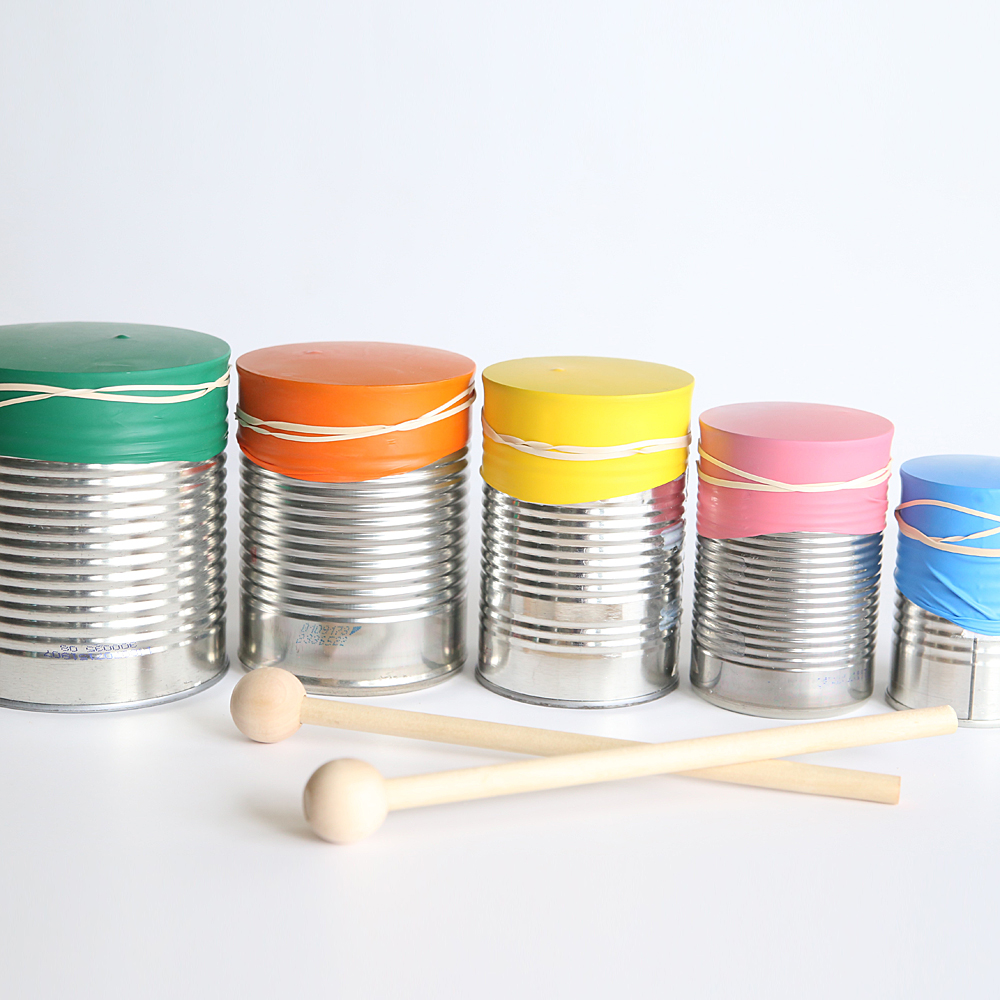
How to Improve the Sound of a Homemade Drum
The first version may sound quiet or uneven. That is normal. Small changes can make a large difference.
Try these adjustments:
• Use a larger container for a deeper sound
• Use a smaller container for a higher sound
• Stretch the drumhead evenly around the rim
• Add a second balloon layer for more strength
• Place the drum on a soft towel to reduce unwanted vibration
• Try tapping the center, edge, and side to hear different tones
• Use your fingers for a soft sound and padded sticks for a stronger beat
• Add tape around the rim if air leaks or the membrane slips
One of the most common mistakes is stretching the balloon more on one side than the other. The drum may still work, but the sound will be uneven. Work around the rim slowly and check the tension as you go.
Another lesson I have found useful in hands-on drum projects is to change only one feature at a time. If you change the shell, membrane, and sticks together, you will not know which change improved the sound.

Homemade Drum Ideas for Kids and Classrooms
Making a homemade drum can become more than a craft. It can introduce children to rhythm, science, design, and teamwork.
For a simple music activity, ask children to copy a four-beat pattern. Tap the drum four times, pause, and let them repeat it. Later, add rests, faster beats, or a second homemade instrument.
You can also compare different containers. Give each student a container made from a different material, such as cardboard, plastic, or metal. Ask them to describe the pitch, volume, and tone of each drum.
Safe decoration ideas include:
• Wrapping the shell in colored paper
• Drawing music notes, stars, or geometric shapes
• Adding fabric around the outside
• Using washable stickers
• Painting cardboard only with child-safe, non-toxic paint
Keep small parts away from young children. Supervise the use of scissors, tape dispensers, and wooden sticks. Children should also avoid hitting the drum near their ears or using excessive force.

How to Make a Homemade Drum from a Bucket
A plastic bucket can create a larger and louder homemade drum. This version works well for outdoor play, group activities, and simple percussion practice.