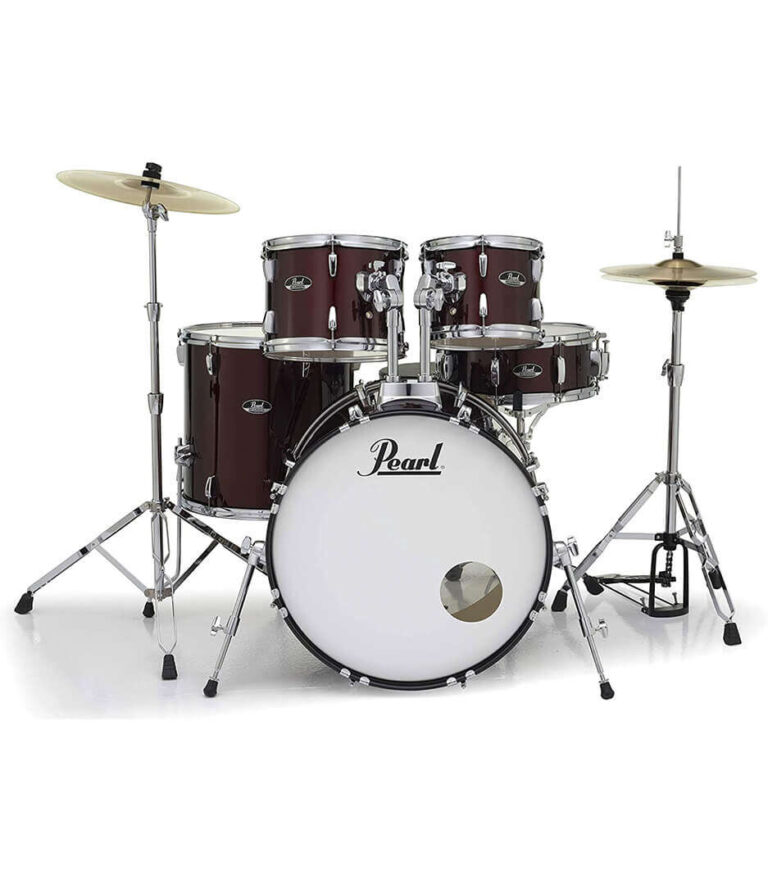
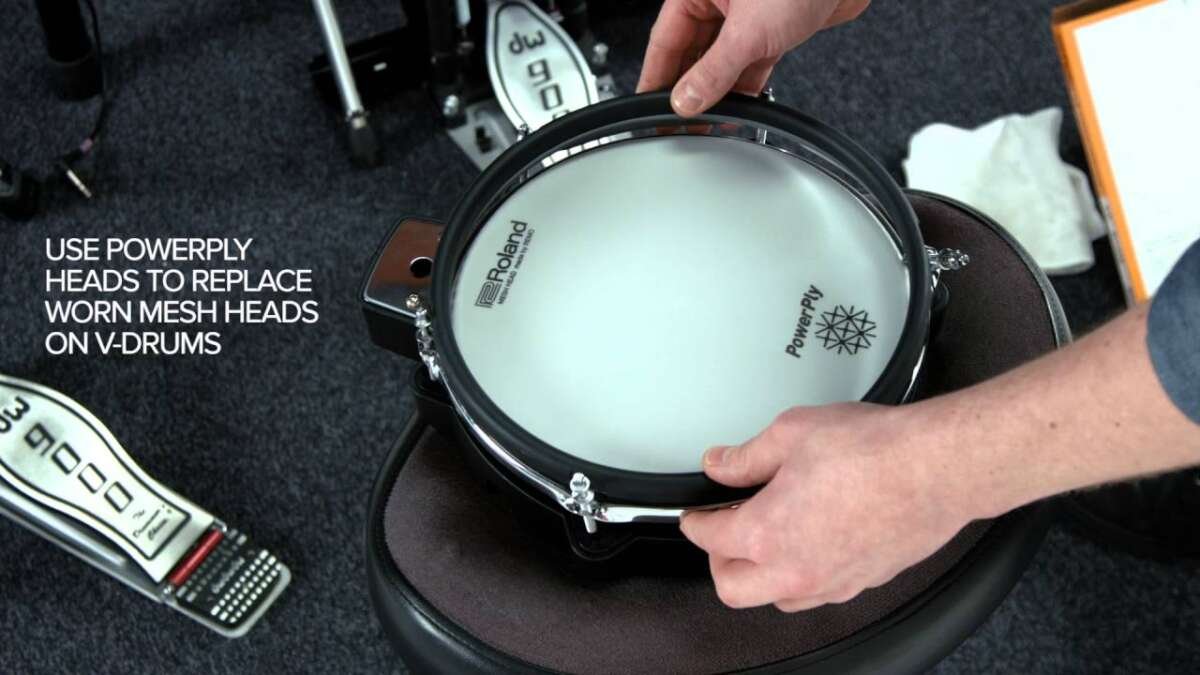
How To Replace Drum Heads: Easy Step-By-Step Guide
To replace drum heads, remove the old head, clean the shell, fit the new head, and tune it evenly.
Knowing how to replace drum heads can transform a tired, dull kit into a clear and lively instrument. The process is simple, but small details matter. Proper seating, even tension, and the right head type all affect tone, tuning stability, attack, and sustain. This guide explains the full method used by players and drum technicians, along with practical tips that help you avoid common mistakes.
Why replace drum heads?
Drum heads wear out from repeated stick strikes, rimshots, heat, moisture, and normal stretching. A worn head may sound flat, lose its tuning quickly, or show dents and wrinkles even after careful tuning.
Replacing drum heads can improve:
- Tone and projection
- Tuning stability
- Attack and response
* Sustain and resonance - Playing comfort
- The overall look of your drum kit
A head does not need to split before it needs replacement. Many drummers change a snare head when it develops a deep center dent or loses its lively response. Tom heads may last longer, while bass drum heads often depend on playing style and the desired amount of punch.
A fresh head will not fix every drum problem. Poor bearing edges, loose hardware, damaged hoops, and an uneven shell can still affect the sound. However, new heads are often the most affordable and noticeable upgrade for an aging kit.

Tools and supplies you need
Before learning how to replace drum heads, gather everything you need. The job is easier when you do not have to stop halfway to find a missing tool.
Basic supplies include:
- A replacement drum head in the correct size
- A drum key
- A clean, soft cloth
- A small brush or toothbrush
- A mild cleaner for stubborn dirt
- A towel or padded work surface
- A small amount of bearing-edge-safe lubricant, if recommended by the manufacturer
A drum key is usually enough to remove and tighten tension rods. You may also use a torque key or drum tuner, but these tools are optional. Your ears and fingers remain important because equal tension does not always produce the best musical sound.
Measure the drum by its shell diameter, not by the outside edge of the hoop. A 14-inch snare drum needs a 14-inch head, but unusual drums may require special sizes. Check the old head, shell label, or manufacturer information before ordering.
Avoid household oils, silicone sprays, and harsh cleaners. They can damage finishes, weaken plastic, or collect dust around the bearing edge.

Choose the right drum head
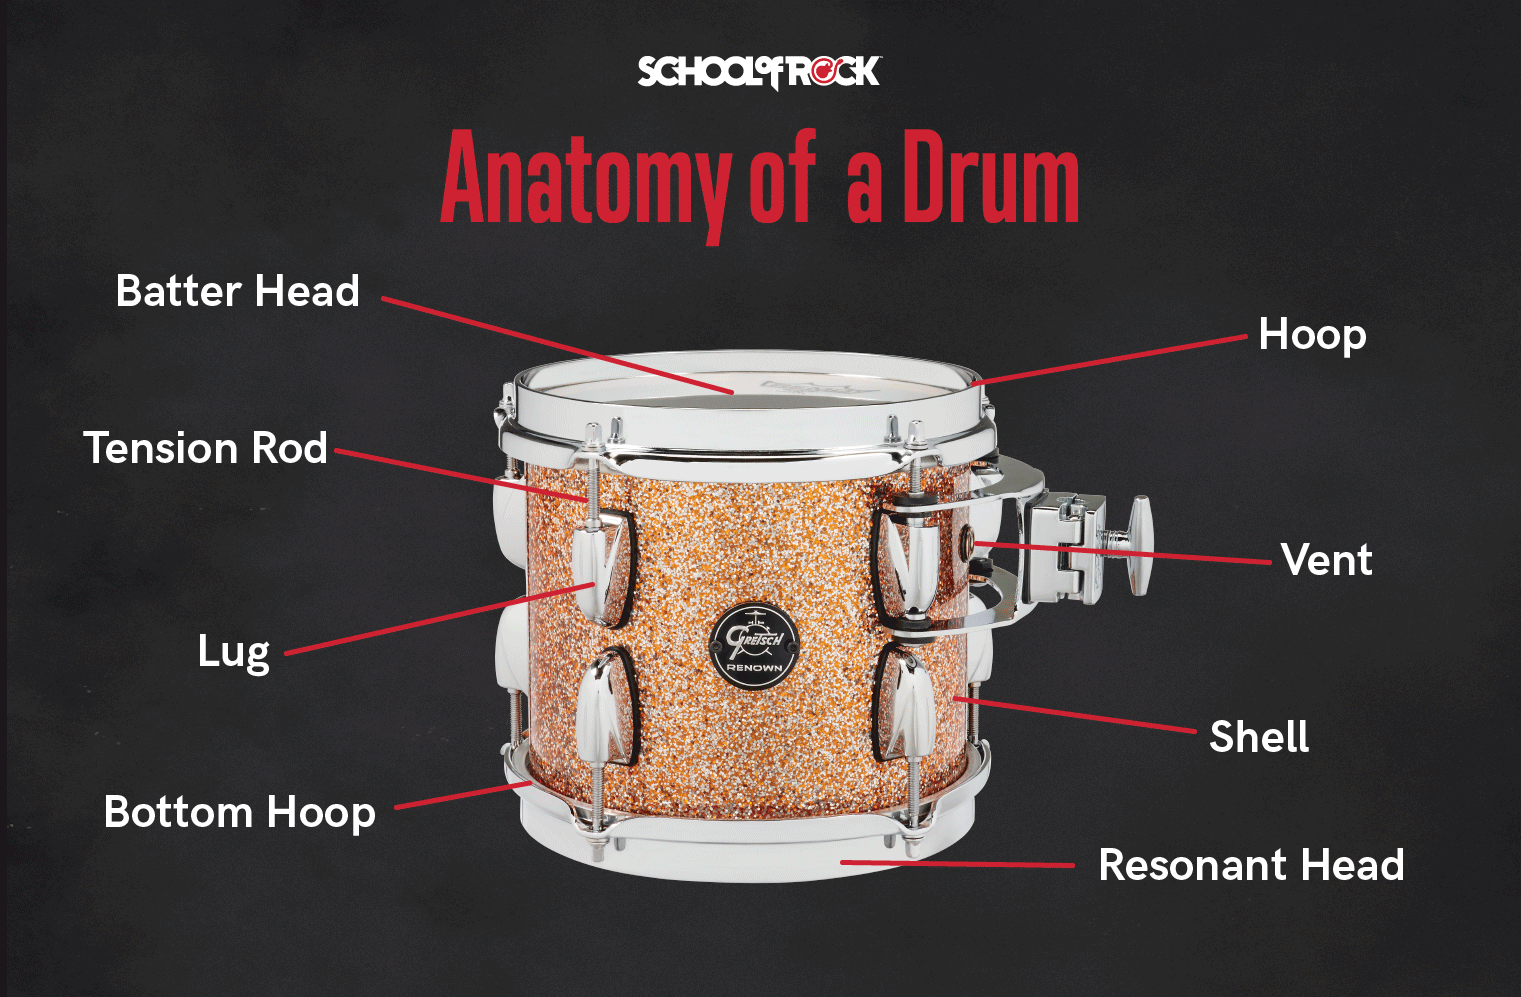
The correct head depends on the drum, your playing style, and the sound you want. Drum heads generally fall into two main groups: batter heads and resonant heads.
The batter head is the surface you strike. It must handle direct impact, so it is often thicker or more durable. The resonant head sits on the opposite side and shapes sustain, sensitivity, and tone.
Common choices include:
- Single-ply heads for open tone, sensitivity, and longer sustain
- Two-ply heads for durability, control, and a fuller sound
- Coated heads for warmth, texture, and brush response
- Clear heads for brightness, attack, and projection
- Pre-damped heads for a shorter, controlled sound
- Specialty heads for vintage, low-volume, or electronic-style effects
For a snare drum, a coated batter head is a common starting point. For toms, clear or coated heads can work well. Bass drums often use thicker heads or built-in damping to create a focused low-end sound.
Head choice is not a strict rule. A jazz player may prefer a thin, open head on a snare, while a rock player may need a strong two-ply model. If you are unsure, use the same type that came with the drum or follow the recommendation from the head maker.

Prepare the drum
Place the drum on a stable, padded surface. A folded towel protects the shell and stops the drum from rolling while you work.
Loosen every tension rod gradually. Do not remove one rod completely while the others remain tight. Instead, turn each rod a few times in a crisscross pattern. This reduces stress on the hoop and shell.
Once the rods are loose, remove the hoop and old head. Keep the tension rods, washers, hoop, and old head together. Small washers can disappear quickly on a busy workbench.
Inspect the drum before installing the new head:
- Check the bearing edge for dents or rough spots
- Look for cracks in the hoop
- Make sure each tension rod turns freely
- Inspect washers for rust or bending
- Check that the lug casings are secure
- Look for dirt, hair, or wood chips around the edge
A damaged bearing edge can prevent a head from seating evenly. If you find a serious chip, crack, or warped hoop, repair it before expecting a perfect tune.

Clean the shell and bearing edge
Cleaning is a small step, but it has a large effect on how to replace drum heads correctly. Dirt under the head can create high spots, buzzing, or uneven tension.
Use a dry, soft cloth to wipe the bearing edge and the inside of the hoop. For stuck dust, use a lightly damp cloth and dry the area at once. Do not soak the shell.
Run your fingertip gently around the bearing edge. You are checking for rough areas, not pressing hard. A smooth edge lets the head sit flat and vibrate evenly.
You can place the new head on the shell before tightening it. Rotate it slowly and feel for areas where it catches. If the head will not sit flat, check for debris or a damaged edge.
Some technicians apply a very small amount of lubricant to tension rod threads. This can help produce more consistent tension, but use only a product that is safe for drum hardware. Never lubricate the bearing edge unless the manufacturer specifically allows it.

Install the new drum head
Place the new head over the shell with the printed side facing the direction you want. On most batter heads, the logo faces the audience, but orientation does not change the sound.
Set the hoop over the head and line up the tension rods with the lugs. Thread each rod by hand first. This step matters because cross-threading can damage the lug or rod.
Tighten the rods until they are just snug. Do not use force yet. The head should still move slightly, and the hoop should remain level.
Now use a crisscross pattern:
- Choose one tension rod.
- Tighten the rod about half a turn.
- Move to the rod directly across from it.
- Continue around the drum in a star-like pattern.
- Repeat until the head begins to gain tension.
The goal is even pressure around the drum. Tightening neighboring rods in a circle can pull the hoop to one side and create uneven tuning.
This process is central to how to replace drum heads because installation and tuning are connected. A head that is installed unevenly may never sound right, even with careful tuning later.
Seat the head properly
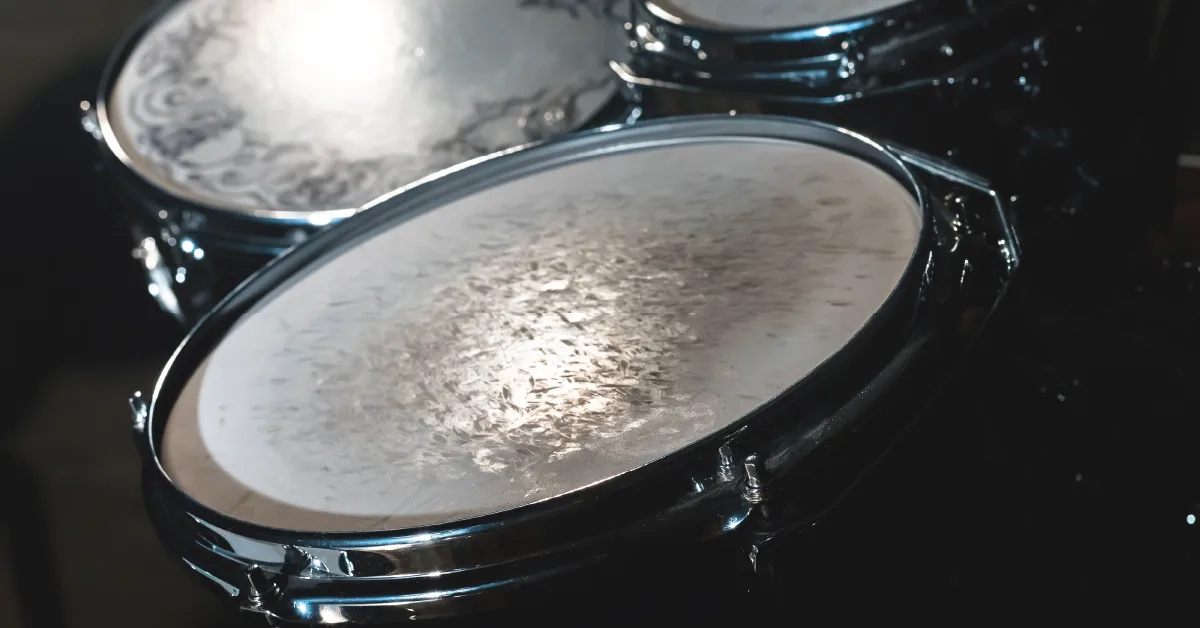
New heads often need to settle onto the bearing edge. Seating helps remove large wrinkles and gives the head a stable starting point.
After bringing the head to light tension, press gently with your palm in the center. Use controlled pressure. You are not trying to stretch the plastic aggressively.
You may hear soft cracking or popping sounds. This is usually the collar and film settling into place, but stop if you hear a sharp snap or feel the head shift suddenly.
Check the hoop from several angles. It should sit evenly above the shell. If one side is much higher, loosen the rods and correct the position before continuing.
Some modern heads need little or no forceful seating. Excessive pressure can shorten head life or create an uneven playing surface. When in doubt, use the head maker’s instructions.

Tune the drum evenly
Once the head is seated, tune it by comparing the pitch near each tension rod. Lightly tap the head about one inch from the rim beside each rod.
Listen for differences:
- A high note means that area may be too tight
- A low note means that area may be too loose
- A choked sound can mean excessive tension
- A buzzing sound may come from uneven contact or a loose area
Adjust in small amounts. One-eighth or one-quarter turns are often enough. Always compare opposite points and then check the full circle again.
For a batter head, tune low for a deep and soft sound, medium for a balanced tone, or higher for more attack and response. The resonant head can be tuned close to the batter head for a full sound, higher for more focus, or lower for a looser feel.
There is no single correct pitch for every drum. The best tuning depends on shell size, shell material, room acoustics, music style, and personal taste.

Tune snare, tom, and bass drum heads
Each drum responds differently, so how to replace drum heads varies slightly across the kit.
Snare drum
Start with the resonant snare-side head. It is thin and sensitive, so tighten it carefully and evenly. A medium to high tension usually gives good sensitivity, but avoid extreme tension.
Install the batter head and tune it until the wrinkles disappear. Adjust the snare wires so they sit centered and make firm contact without choking the drum.
If the snare buzzes too much, check the resonant head, wire alignment, and nearby tom tuning before simply tightening the wires. Snare buzz is often caused by sympathetic vibration, not a bad head.
Tom drums
Toms usually sound best when the batter and resonant heads work together. Tune the resonant head slightly higher, equal, or lower than the batter head depending on the desired sustain and pitch.
A higher resonant head can add pitch and sustain. A lower resonant head can create a deeper, looser sound. Tune each tom to a distinct musical interval so the kit sounds clear when you move across it.
Bass drum
Place the bass drum head evenly and make sure the hoop is centered. Many players use a small pillow, pad, or built-in muffling ring to control sustain.
Do not over-tighten a bass drum head. It often works best at low to medium tension, with enough pressure to remove major wrinkles. A very loose head may feel slow, while an overly tight head can sound thin.
Common mistakes to avoid
Even experienced drummers can make head changes harder than they need to be. Avoid these common errors:
- Installing the wrong diameter head
- Tightening rods in a circular pattern
- Ignoring dirt on the bearing edge
- Using too much force to seat the head
- Tuning only by looking at the tension rods
- Leaving the hoop visibly crooked
- Replacing a head without checking the hardware
- Adding too much muffling to hide poor tuning
- Expecting a new head to sound perfect immediately
One mistake I often see in beginner setups is tuning one rod until it feels tight, then matching every other rod by hand pressure. Tension rods can feel similar while producing different pitches. Tapping near each rod gives a more reliable result.
Another common mistake is judging the drum in a bedroom. Small rooms create strong reflections and low-end buildup. Always test the drum from the playing position and, when possible, ask someone else to play while you listen several feet away.
How long do drum heads last?
There is no fixed replacement schedule. A drummer who plays softly once a week may keep a head for many months. A touring player who uses heavy rimshots may need a new snare head after several shows.
Replace a head when you notice:
- A deep dent in the striking area
- Cracks, tears, or visible stretching
- A dull tone that will not tune out
- Frequent loss of pitch
- Poor rebound or slow response
- Excessive buzzing without an obvious setup cause
Bass drum and tom resonant heads often last longer because they receive less direct impact. Still, older resonant heads can become less lively over time. If a drum feels hard to tune, replacing both sides may restore its response.
Keep a spare snare batter head and drum key in your gig bag. A broken snare head can end a performance quickly, while a spare takes little space.
Practical tips for better results
A few habits make how to replace drum heads faster and more reliable.
- Take a photo of the old setup before removing it.
- Mark the position of the hoop if it has a preferred alignment.
- Keep tension rods in their original locations during the first change.
- Tune in a quiet room with the drum at playing height.
- Give a new head time to settle before making final judgments.
- Check the sound again after playing for 10 to 20 minutes.
- Use small tuning changes instead of large turns.
- Record a short phone video before and after the replacement.
In my experience with drum setups, the biggest improvement often comes from patience rather than expensive gear. A clean edge, a level hoop, and small tuning adjustments can do more than a premium tuner used carelessly.
Room temperature also matters. Plastic heads can respond differently after moving from a cold car into a warm venue. Let the kit adjust for a short time, then make final tuning changes.
Frequently asked questions about how to replace drum heads
How often should I replace drum heads?
Replace drum heads when they become dented, cracked, dull, or difficult to tune. Playing style matters more than a strict calendar, so heavy players may replace heads much sooner than light players.
Do I need to replace the resonant head too?
Not always. Replace the resonant head if it is damaged, badly stretched, or no longer helps the drum produce a clear tone. Many drummers change resonant heads less often than batter heads.
Can I replace drum heads without a drum tuner?
Yes. A drum tuner is helpful, but it is not required. You can achieve a strong result by using a crisscross tightening pattern and comparing the pitch near each tension rod.
Why does my new drum head sound bad?
The head may not be seated, the tension may be uneven, or the bearing edge may have dirt or damage. Check the hoop position, tap around the rim, and make small tension changes before adding muffling.
Should the top and bottom drum heads have the same tension?
They do not have to match. Equal tension can create a balanced tone, while a tighter resonant head often adds pitch and sustain. Experiment with small changes and choose the sound that fits your music.
How do I stop a new snare drum head from buzzing?
First check the resonant head tension, snare wire alignment, and nearby tom tuning. Adjust the wires only after confirming that the head sits evenly and the snare-side head is properly tensioned.
Conclusion
Learning how to replace drum heads is one of the most useful skills a drummer can develop. Remove the old head carefully, clean the bearing edge, install the new head evenly, seat it gently, and tune with small adjustments.
The process becomes easier with practice. Keep your drum key nearby, listen closely, and do not rush the final tuning. Try these steps on one drum this week, compare the result before and after, and share your setup or questions with other drummers for even more practical ideas.

Senior Music Reviewer
Alex Carter is a seasoned music reviewer with over a decade of experience in the world of sound and instruments. Passionate about helping musicians and enthusiasts make informed choices, he brings sharp insights and in-depth knowledge to every review. From classical instruments to modern gear, Alex combines technical expertise with a love for music to deliver content that resonates with readers.
As a Senior Music Reviewer and expert author on Tuneluma.com, Alex is dedicated to sharing honest evaluations, practical advice, and thoughtful commentary to guide readers in their musical journey.