How To Use Behringer Lm Drum: Quick Setup & Tips
Connect the pads, route outputs to a mixer or DAW, set sensitivity and MIDI mapping.
I’ve worked with electronic percussion for years and tested the Behringer LM Drum in studio and live settings. This guide explains how to use Behringer LM Drum from unboxing to stage-ready setup. You’ll get clear steps, setup checks, sound tips, and troubleshooting advice that I use in real sessions. Read on to confidently set up, tune, and play the LM Drum like a pro.

Understanding the Behringer LM Drum
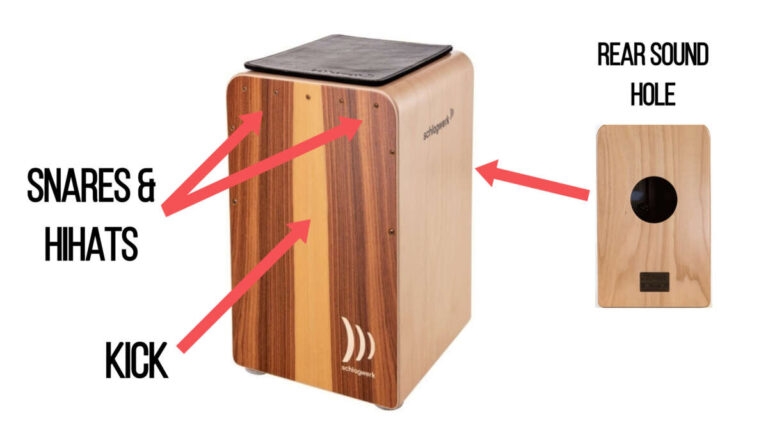
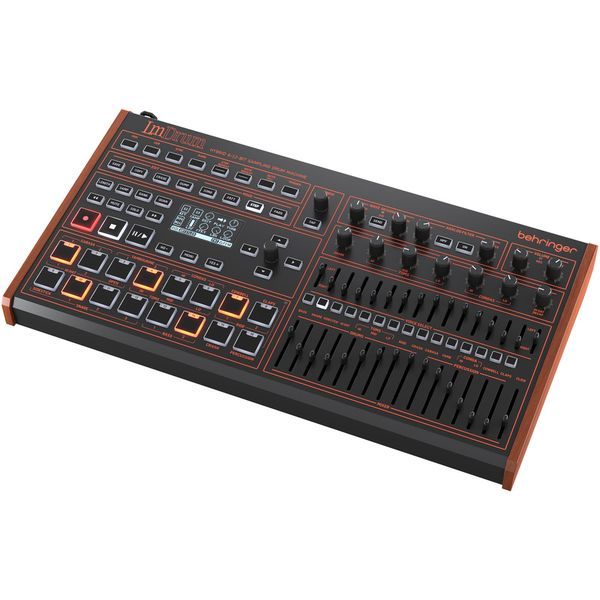
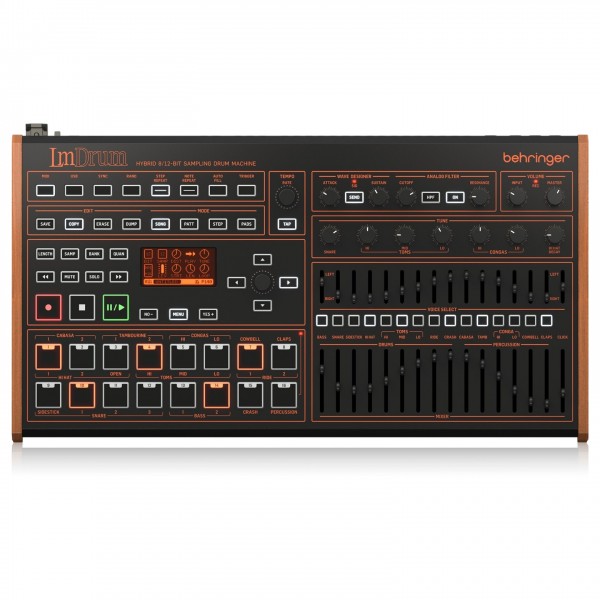
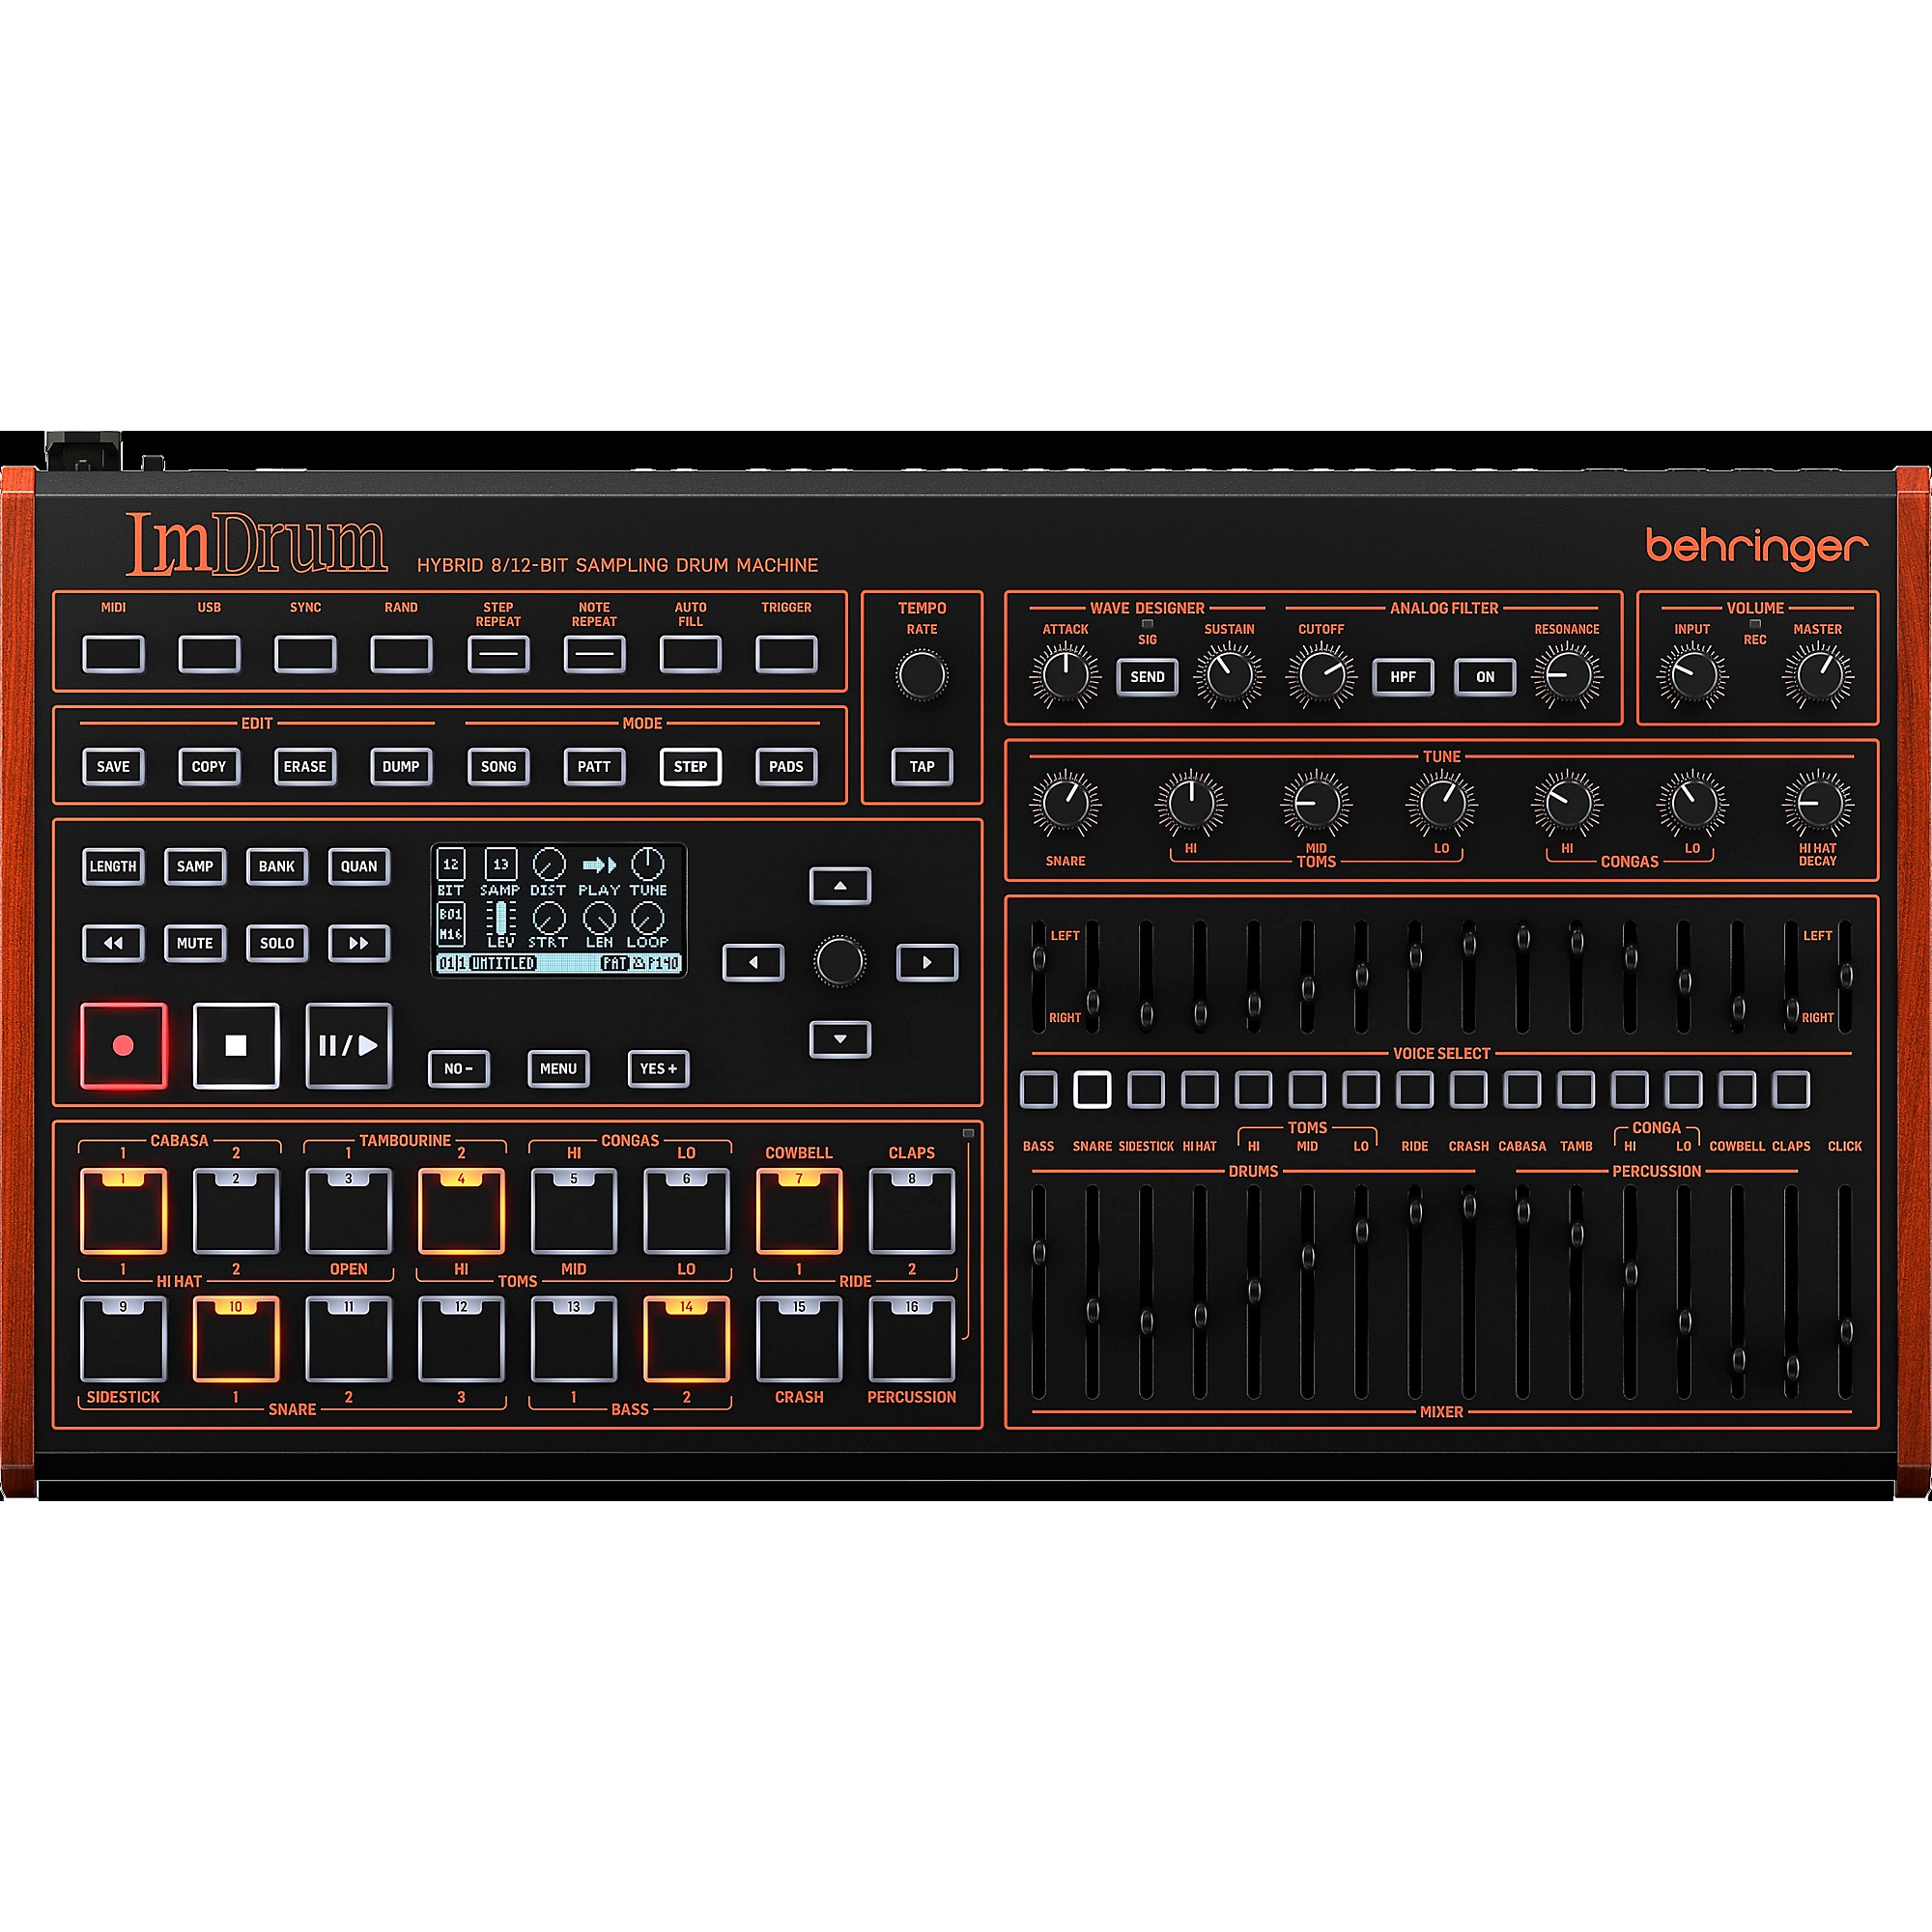
The Behringer LM Drum is a compact electronic drum module designed for triggering drum sounds and samples. It accepts trigger pads and offers analog outputs, MIDI, and basic tone shaping. The unit is useful for practice, small gigs, and integrating into larger rigs. Knowing its inputs, outputs, and controls is the first step to using it well.
Common features you’ll use:
- Trigger inputs for pads and piezo sensors.
- Individual gain/sensitivity controls.
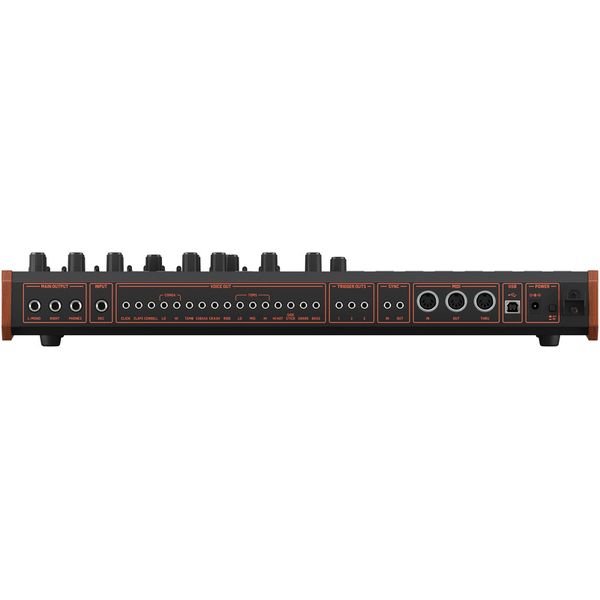
- Main audio outputs and headphone output.
- MIDI or trigger outputs for external modules.
How to use Behringer LM Drum starts with understanding these parts. That makes setup faster and more reliable.
What you need before you start
Prepare simple gear to reduce surprises. Gather everything before you plug in the LM Drum.
- Behringer LM Drum unit and power supply.
- Trigger pads or piezo-equipped acoustic pads.
- Patch cables for 1/4" TS or TRS as required.
- Mixer or audio interface for sound output.
- Computer with a DAW if you plan to use MIDI or sample playback.
I also recommend spare cables and a small screwdriver for pad adjustments. Having these ready speeds setup and prevents mid-session delays.
Step-by-step setup: hardware and connections
Follow this clear order to avoid routing mistakes.
- Place the LM Drum on a flat surface or rack.
- Connect the power supply. Turn off the module until all cables are plugged.
- Plug trigger pad cables into the LM Drum trigger inputs.
- Connect the LM Drum main outputs to your mixer or audio interface. Use balanced outputs where possible.
- Plug headphones into the headphone jack for quiet testing.
- Power on the mixer and then the LM Drum. Check levels at low volume.
I learned the hard way that powering the module last avoids pops through PA systems. This step-by-step helps you use the LM Drum safely and predictably.

Configuring pads, sensitivity, and MIDI/trigger settings
Tune sensitivity for clean hits and low false triggers.
- Adjust pad gain slowly while tapping. Raise until consistent hits register.
- Lower sensitivity if you get double triggers. Test with varied strike strength.
- If using MIDI, set channel and mapping to match your DAW or sound module.
- Use mute or choke functions if the LM Drum supports them for hi-hat style control.
Tip from my sessions: test with brushes, sticks, and hands. This exposes false triggers you might miss with one playing style. Proper pad setup is the backbone of how to use Behringer LM Drum reliably.
Routing the LM Drum to mixer and DAW
Routing depends on your goals: live mix, recording, or sample playback.
- For live gigs: send the LM Drum main outputs to a mixer channel. Use an insert for EQ if needed.
- For recording: connect outputs to an audio interface inputs. Record dry to apply processing later.
- For MIDI integration: route the LM Drum MIDI to your DAW and map triggers to virtual instruments.
When I record, I track both the LM Drum audio and the MIDI. That gives me fix-up options later. That dual-route approach shows practical ways to use Behringer LM Drum in studios.
Sound editing, layering, and performance tips
Making the LM Drum sound musical takes small tweaks and practice.
- Layer acoustic samples with the LM Drum for warmth.
- Use EQ to cut boxiness around 250–500 Hz on percussive sounds.
- Add light compression for consistent level in live mixes.
- Practice dynamics: adjust pad sensitivity and playing force for quiet and loud passages.
A common mistake is over-processing. Start with subtle fixes. I often dial one change at a time while playing. That approach keeps your sound honest and useful in mixes.

Troubleshooting common issues and quick fixes
Here are fast checks for common problems when learning how to use Behringer LM Drum.
- No sound: confirm power, output cables, and mixer gain. Test headphones.
- False triggers: lower pad sensitivity, check cable grounding, secure pad mounts.
- Weak hits: increase pad gain or check pad/cable continuity.
- MIDI not working: confirm channel match and MIDI cable orientation.
PAA-style quick questions:
What do I do if the LM Drum double-triggers? Reduce sensitivity slightly and secure the pad mounting.
Can I use piezo discs as pads? Yes, piezo discs work but need proper shielding and mounting to avoid noise.
Why is the sound thin on stage? Check PA EQ and add a low-shelf or layer with a sample to add body.

Frequently Asked Questions of how to use behringer lm drum
How do I connect drum pads to the LM Drum?
Use the module’s trigger inputs with 1/4" cables. Secure pads and test sensitivity to avoid false triggers.
Can the LM Drum send MIDI to a DAW?
Yes. Set the LM Drum MIDI channel to match your DAW’s input. Enable MIDI mapping in the DAW and test each pad.
How do I stop the LM Drum from double-triggering?
Lower the pad sensitivity and check pad mounting. Replace noisy cables and test different strike strengths.
Is the LM Drum good for live performance?
Yes. It’s compact and reliable for small gigs. Use a mixer for sound shaping and bring spares like cables and pads.
What are best practices for recording with the LM Drum?
Record both the LM Drum audio and MIDI when possible. Keep levels clean and use light EQ during tracking.
Can I layer samples with the LM Drum?
Yes. Route LM Drum MIDI or audio to a sampler or DAW. Layer to add depth and warmth to triggers.
Conclusion
You now have a clear path to how to use Behringer LM Drum for practice, recording, and live work. Start with clean hardware setup, tune sensitivity carefully, route signals clearly, and test with both audio and MIDI. Try my dual-record approach: capture audio and MIDI for maximum flexibility. Get hands-on, make small adjustments, and stay patient—great sound comes from steady tweaks and practice. If this helped, try the setup steps tonight, leave a comment with your questions, or subscribe for more gear guides.

Senior Music Reviewer
Alex Carter is a seasoned music reviewer with over a decade of experience in the world of sound and instruments. Passionate about helping musicians and enthusiasts make informed choices, he brings sharp insights and in-depth knowledge to every review. From classical instruments to modern gear, Alex combines technical expertise with a love for music to deliver content that resonates with readers.
As a Senior Music Reviewer and expert author on Tuneluma.com, Alex is dedicated to sharing honest evaluations, practical advice, and thoughtful commentary to guide readers in their musical journey.