How To Get A Drum Preset On MilkyTracker: Quick Guide
Place drum samples or instrument files into MilkyTracker and map them as instruments.
I’ve used MilkyTracker for years, and I’ll show you exactly how to get a drum preset on MilkyTracker. This guide walks you from finding ready-made tracker kits to importing WAVs and saving reusable instruments. Read on for clear, practical steps, real tips from my own workflow, and fixes for common errors so you can load drum kits fast and make music without friction.
What a drum preset means in MilkyTracker
A drum preset in MilkyTracker is a set of samples and settings grouped as an instrument. It behaves like a drum kit that you can play from the pattern editor. Presets can include kicks, snares, hats, and percussion mapped to different notes. They also carry volume envelopes, panning, and sample zones that shape how each hit sounds.
A tracker preset differs from a plugin kit. Trackers use raw samples and instrument definitions. That makes tracker presets compact and fast. Understanding this helps you pick the right files and import method.

Where to find drum presets and samples for MilkyTracker
You can get usable drums from several places. Look for tracker-friendly packs and single WAV hits. Sources to check include community sample packs, tracker module archives, and general free sample sites. Some packs include instrument files made for XM or IT formats. Those often import cleanly into MilkyTracker.
If you can only find WAVs, you can still make a preset quickly. Convert or trim samples if needed. Always check licensing before using paid or protected packs. I keep a small folder of 8-bit and 16-bit hits that import without fuss.
![]()
Step-by-step: how to get a drum preset on MilkyTracker
- Gather files you want to use.
- Use WAVs, or tracker instrument files like XM/IT instrument banks when available.
- Open MilkyTracker and load a module or create a new one.
- New modules give you a blank grid to place instruments.
- Open the Sample Editor and import a sample.
- Use File > Load sample or drag a WAV into the sample list.
- Convert or trim the sample if needed.
- Shorten long tails. Set correct loop points for sustained hits.
- Create an instrument and map the sample.
- Open the Instrument Editor, select a slot, and assign the sample to a key range.
- Set envelopes and panning for each mapped hit.
- Use volume envelopes, panning, and fade settings to tame dynamics.
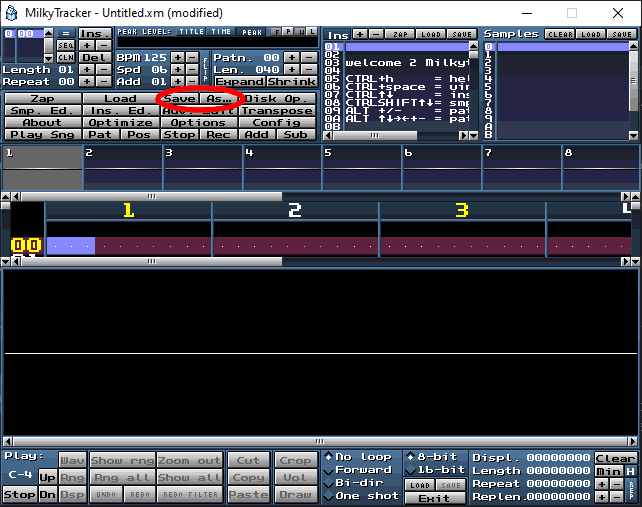
- Save the instrument to disk.
- Use the instrument save option to export it as an XM/IT instrument for reuse.
- Test the preset in the pattern editor.
- Trigger notes, adjust per-step volume or effect commands, and refine.
Doing these steps is how to get a drum preset on MilkyTracker. If you follow them, you will have a reusable kit in minutes. I once recreated an entire 90s drum kit this way. It cut my beat production time a lot.

Creating your own drum preset in MilkyTracker
Start simple. Use one sample per drum hit. Map each sample to a narrow key range. Use separate instruments for multi-hit kits or a single multi-sample instrument for a full kit. Keep samples short and loop-free for percussion. Tune samples with coarse and fine pitch to match tempo and tone.
Add a volume envelope to shape each hit. Add slight panning to create space. Use small reverb or delay in the effect column if you want a wetter sound. Save often as you tweak. I keep a version history so I can roll back to a clean kit. This method makes it easy to rebuild or share presets.

Tips, best practices, and troubleshooting
Keep samples small. Trackers love short samples. Big files slow playback and increase file size. Aim for 0.1–1 second hits for most drums.
Match sample bit depth and rate. MilkyTracker handles common WAV formats. If a sample sounds off, resample it to 44.1 kHz and 16-bit. That often fixes pitch or speed issues.
If notes don’t trigger, check the instrument mapping. Verify the sample is assigned to the expected keys. Also check volume and effect columns for muting commands.
If you import an XM/IT instrument and it sounds wrong, open the instrument editor. Look for envelope or loop settings that override the sample. Disable suspicious envelopes to test raw sample audio.
When exporting, use XM if you need good compatibility. Use IT for more advanced instrument features. Save your instrument files to a dedicated folder for easy reuse.
From personal experience, naming samples clearly saves time. I prefix files with “KICK_”, “SNARE_”, or “HAT_” so I can spot them fast. That tiny habit reduced my workflow friction a lot.

Frequently Asked Questions of how to get a drum preset on milkytracker
How do I load a WAV as a drum preset in MilkyTracker?
Open the Sample Editor, choose File > Load sample, pick your WAV, then create an instrument and assign that sample to a key range. Save the instrument to reuse the preset in other modules.
Can I use existing XM or IT instrument files as drum presets?
Yes. XM and IT instruments import into MilkyTracker and retain many settings. After import, review envelopes and loops to ensure they behave as expected.
What sample formats work best for MilkyTracker?
Use WAV files at 44.1 kHz and 16-bit for best results. Short, trimmed samples work best for percussion and keep modules compact.
How do I save a drum preset for future projects?
Save the instrument from the Instrument Editor as an XM/IT instrument file and keep it in a dedicated kit folder. Then load that instrument into any new module.
Why does my drum sound pitch-shifted after import?
Pitch issues often stem from sample rate mismatches or instrument tuning. Resample the file to 44.1 kHz and check coarse/fine tune settings in the Instrument Editor.
Can I map multiple samples to one instrument for a kit?
Yes. Map each sample to its own key zone inside a single instrument, or use separate instruments per drum if you prefer. Both methods work; choose what fits your workflow.
Conclusion
You now know how to get a drum preset on MilkyTracker. Gather tracker-friendly samples, import them, map and tweak in the instrument editor, and save instruments for reuse. Start with short samples, name them clearly, and save versions as you tweak.
Try building a small kit right now. Load three hits, map them, and make a short pattern. Share your presets or keep them for your next track. If you found this useful, try more sample packs, subscribe for tips, or drop a comment about your favorite drum workflow.

Senior Music Reviewer
Alex Carter is a seasoned music reviewer with over a decade of experience in the world of sound and instruments. Passionate about helping musicians and enthusiasts make informed choices, he brings sharp insights and in-depth knowledge to every review. From classical instruments to modern gear, Alex combines technical expertise with a love for music to deliver content that resonates with readers.
As a Senior Music Reviewer and expert author on Tuneluma.com, Alex is dedicated to sharing honest evaluations, practical advice, and thoughtful commentary to guide readers in their musical journey.