How To Tape Drum Sticks: Easy Grip Guide
Taping drum sticks improves grip, reduces slippage, and helps players control each hit with more confidence.
Learning how to tape drum sticks is simple, but small choices matter. The tape type, wrap direction, tension, and grip position can change comfort, rebound, balance, and hand fatigue. This guide explains a clean method used by many drummers, along with common mistakes, safety tips, and ways to find the setup that suits your playing style.
Why Tape Drum Sticks?
Drummers tape their sticks for several practical reasons. Tape adds texture to the handle, so the stick feels more secure during fast fills, loud crashes, and long rehearsals. It can also make a smooth or worn stick easier to control.
The main benefits include:
- Better grip when your hands sweat
- Less slipping during powerful strokes
- More comfort during long practice sessions
- Protection for the stick’s handle
- A more consistent feel between different pairs of sticks
- Minor cushioning for the fingers and palm
Taping drum sticks does not make poor technique disappear. A relaxed grip, correct wrist motion, and proper stick choice still matter most. Think of tape as a useful tool, not a replacement for good playing habits.
Some drummers also tape sticks to mark their preferred grip area. This can help students build a steady hand position. However, too much tape may change the stick’s balance and reduce its natural rebound.

What You Need Before Taping Drum Sticks
You only need a few basic items to tape drum sticks. Most are easy to find at a music store, sporting goods store, or online retailer.
Choose from the following materials:
- Drumstick grip tape
- Athletic tape
- Hockey or lacrosse grip tape
- Tennis racket grip tape
- Scissors
- Two matching drum sticks
- A clean, dry cloth
Specialized drumstick tape is often thin and light. Athletic tape is easy to find and offers a firm feel. Hockey tape usually has a rougher texture, which can suit players who want strong traction.
Avoid thick duct tape. It may feel sticky at first, but it can leave residue, create hard edges, and add too much weight. Electrical tape is also a poor choice for the main grip because it can become slick as your hands warm up.
Before taping drum sticks, wipe away dust, sweat, and oil. Tape sticks best to a clean, dry surface. If the sticks are cracked, badly chipped, or soft from heavy use, replace them instead of covering the damage.

How to Tape Drum Sticks: Step-by-Step Method
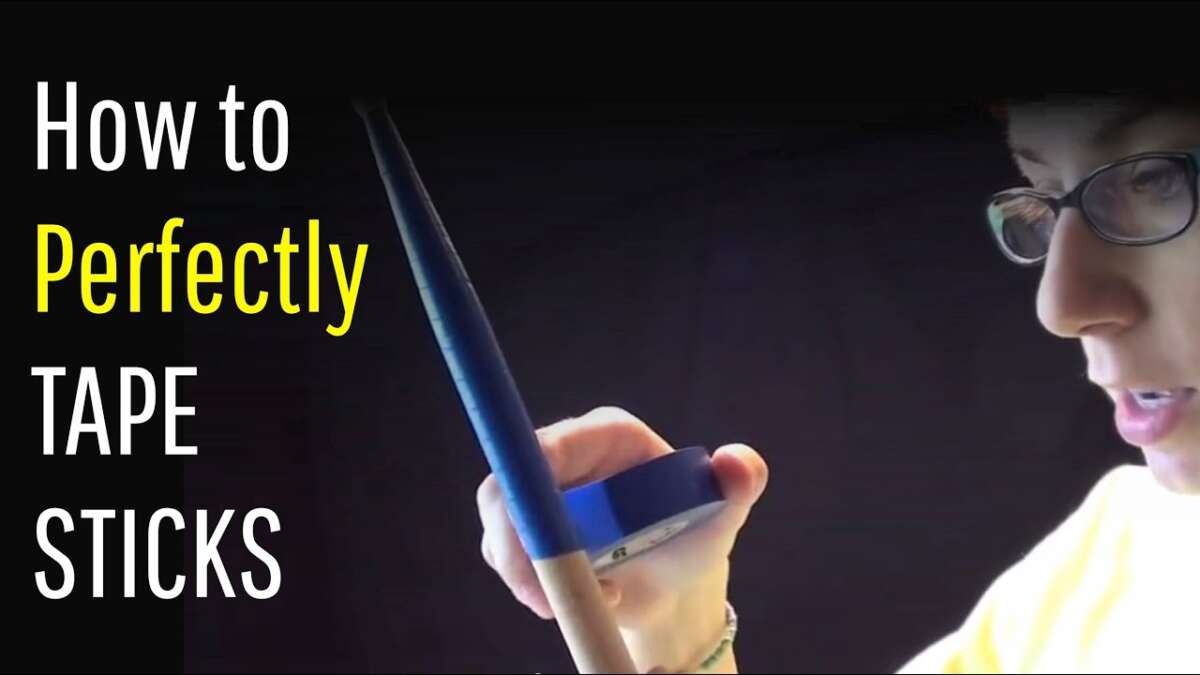
The best way to tape drum sticks is to create a smooth, even grip without covering more of the stick than you need. Follow these steps.
1. Choose the grip area
Hold the stick as you normally would. Notice where your thumb, index finger, and lower fingers sit. This is the area that needs tape.
Most players tape about 3 to 5 inches of the handle. Some prefer a shorter wrap near the fulcrum. Others cover most of the lower handle for extra security.
Do not tape the tip, shoulder, or main playing area. Tape on those sections can affect tone, rebound, and cymbal response.
2. Clean the sticks
use a dry cloth to remove dirt and oil. If the sticks feel damp, allow them to dry fully before applying tape.
Do not soak wooden sticks in water or cleaning fluid. Moisture can affect the wood and may weaken the surface over time.
3. Cut the tape
Cut a piece that is slightly longer than the grip area. A little extra tape allows you to finish the edge cleanly.
For your first attempt, use one strip per stick. Adding many layers at once makes it harder to judge the final weight and feel.
4. Start near the butt end
Place the tape near the bottom of the stick. Leave a small amount of the butt end uncovered unless you prefer a fully wrapped handle.
Hold the tape at a slight angle. This helps it travel around the stick in a spiral instead of forming one thick ridge.
5. Wrap toward the fulcrum
Rotate the stick slowly while guiding the tape upward. Overlap each turn by about one-third of the tape’s width.
Keep the tension steady. The tape should sit firmly against the wood, but it should not stretch so much that it becomes thin or pulls away at the edges.
6. Keep the surface smooth
Press down each section as you go. Look for folds, bubbles, and raised edges. A smooth wrap feels better and lasts longer.
If the tape crosses itself or forms a lump, remove that section and redo it. Fixing a small problem early is easier than playing with an uneven grip.
7. Finish with a clean cut
When you reach the top of the grip area, cut the tape at a slight angle. Press the final edge down firmly.
Some players add a small finishing strip around the edge. This can stop the tape from peeling, but keep it thin so it does not create a noticeable ridge.
8. Match the second stick
Repeat the process on the other stick. Compare both sticks in your hands.
They should feel similar in thickness and weight. If one feels heavier or more padded, remove and adjust the tape before playing.
9. Test the sticks quietly
Tap a practice pad or soft drum at low volume. Check your rebound, finger movement, and comfort.
Then play a few accents and rolls. If the tape forces you to squeeze the stick, the wrap is too thick, too rough, or placed too high.

How to Tape Drum Sticks for Different Playing Styles
There is no single perfect wrap. The best method depends on your hands, music, grip, and playing environment.
For beginners
Beginners often benefit from a short, thin wrap. Place it where the thumb and first finger form the fulcrum.
This setup gives a clear grip without hiding poor hand technique. It also allows the stick to rebound naturally.
For sweaty hands
Use a breathable grip tape with a lightly textured surface. Avoid overly sticky tape, because it may make finger control harder.
Change the tape when it becomes smooth, wet, or dirty. Damp tape can create an inconsistent grip rather than solving the problem.
For rock and metal drummers
A stronger wrap may help during loud playing. Many players use athletic or hockey tape because it provides a firm surface under heavy strokes.
Still, avoid wrapping the entire handle with several thick layers. Extra material can increase fatigue and make the sticks feel slow.
For jazz and lighter styles
Use a thin wrap or leave the sticks untaped. Jazz players often depend on natural rebound, subtle finger control, and a light touch.
If you need tape, keep it short and close to the normal fulcrum. A small amount can add comfort without changing the stick’s response too much.
For marching or outdoor playing
Outdoor shows can bring sweat, heat, and long playing times. A durable grip tape may help, but inspect the sticks often.
Tape cannot repair a cracked stick. Replace any stick that shows a deep split, sharp edge, or major change in balance.

How Much Tape Should You Use?
Use the least amount of tape that solves your grip problem. This simple rule helps preserve the stick’s original feel.
A thin single layer is a good starting point. Add another layer only if the stick still slips or the surface feels too hard on your hands.
Too much tape can cause several problems:
- The stick may feel heavier
- Rebound may become less lively
- Your fingers may move less freely
- The grip may become too large
- Your hands may squeeze harder
- The stick may feel different from an untaped pair
Tape can also change the stick’s balance. Material added near the butt end makes the stick feel more weighted toward the handle. That may feel stable to some players, but awkward to others.
After taping drum sticks, compare them with a new untaped pair. Play the same pattern with both sets. Pay attention to control, sound, rebound, and hand tension rather than choosing only by first impression.

Common Mistakes When Taping Drum Sticks
A clean wrap should feel almost invisible while you play. If you constantly notice the tape, something may need to change.
Wrapping too tightly
Pulling the tape hard can make the final wrap narrow and stiff. It may also cause the tape to lift at the edges.
Use steady, light tension. Let the tape hold itself to the stick instead of forcing it into place.
Using too much overlap
Large overlaps create thick ridges. These ridges can press against your fingers and cause hot spots during long sessions.
Aim for a modest, even overlap. If the tape is wide, consider cutting it lengthwise for a lighter wrap.
Covering too much of the stick
Tape should support your grip, not cover the playing surface. Avoid placing it near the shoulder or tip.
The uncovered wood helps preserve the stick’s normal sound and rebound.
Mixing tape types without testing
Different tapes have different thickness, texture, and stretch. Combining them can create an uneven surface.