How To Draw A Drum Set: Step-By-Step Guide For Beginners
Draw a drum set step-by-step using simple shapes: circles, cylinders, and straight lines for structure.
I’ve drawn and taught how to draw a drum set for years, so this guide gives clear, practical steps you can follow whether you’re a beginner or improving your sketching skills. I’ll walk you through materials, basic shapes, a step-by-step build, tips for perspective and shading, variations for different kit styles, common mistakes to avoid, and quick practice drills. Read on to learn how to draw a drum set that looks balanced, dynamic, and ready to play.

Materials and basic shapes you’ll need
Start with a few simple tools. Use a pencil with light and dark grades, an eraser, a ruler, and smooth paper. If you plan to ink or color, have markers or colored pencils ready.
Understanding basic shapes makes learning how to draw a drum set easy. Drums are mainly circles, ovals, and cylinders. Cymbals are flattened circles with small bends. Stands and pedals are straight lines and rectangles. Focusing on shapes keeps proportions correct.
Gather visual references of different drum kits before you begin. Photos of acoustic and electronic kits help you spot stand details, lug placement, and hardware shapes. These references make your drawings look authentic.
Step-by-step: How to draw a drum set
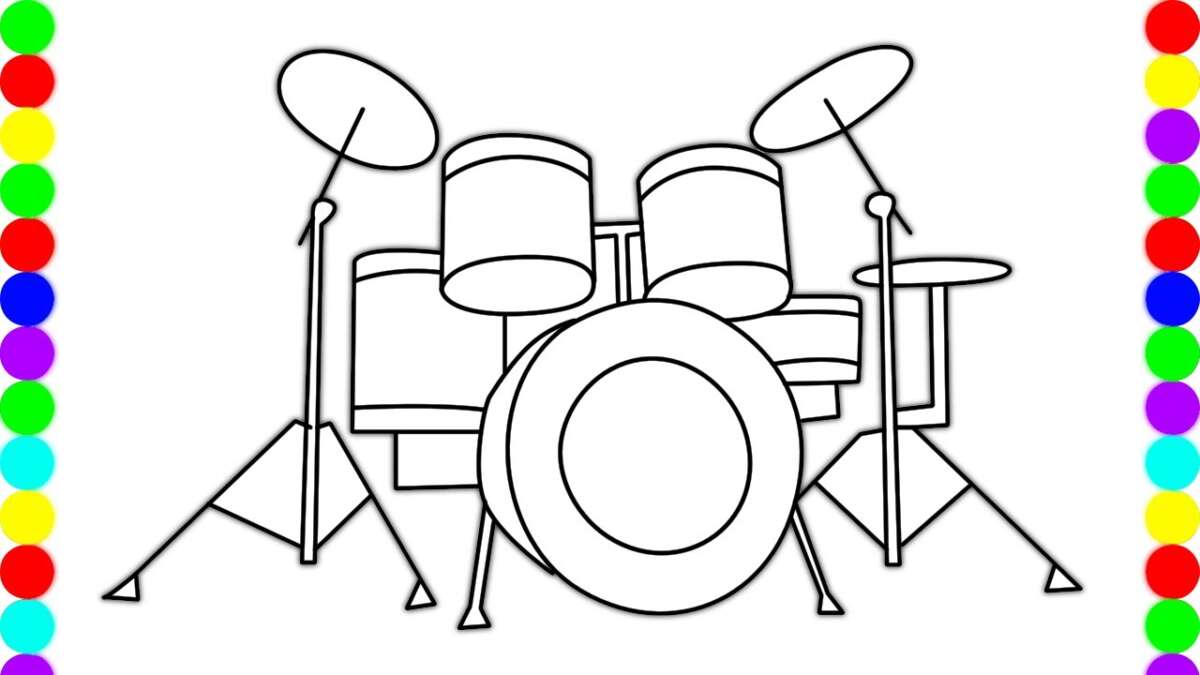
Follow these numbered steps. Keep lines light until you’re happy, then darken final lines. This sequence covers a basic five-piece kit: bass drum, snare, two rack toms, floor tom, hi-hat, and a ride/crash.
- Sketch the kit layout
- Lightly draw a horizontal baseline to represent the floor. Place an oval for the bass drum center low on the page.
- Add a small circle or rectangle to the left or right front for the hi-hat position and another area for cymbals.
- This stage positions everything so the final drawing feels balanced.
- Draw the bass drum
- Draw a large circle or slightly flattened oval for the bass drum face.
- Add a smaller concentric circle to suggest the drumhead and a rectangular pedal plate in front.
- Include simple legs on either side to show how it sits on the floor.
- Add the snare drum
- Place the snare slightly above and left (or right) of the bass drum, using a smaller cylinder shape.
- Draw rims as thin rings. Indicate snare wires under the snare with short hatch lines or a textured strip.
- Add a tripod stand made from three simple lines meeting at a point.
- Place the toms
- Sketch two rack toms above the bass drum. Use ovals angled toward the drummer.
- Add the floor tom to the side with three short legs. Make it larger than the rack toms.
- Show mounts with small brackets and cylindrical rods.
- Draw cymbals and hardware
– For cymbals, use thin ellipses and add a small bell (raised center).
- Draw stands as straight rods with tripod bases and wing nuts at joints.
- Place hi-hat cymbals on a central rod with the pedal linkage shown as a thin rectangle.
- Add details and hardware
- Draw lugs, tension rods, and badge plates on the drum shells with small rectangles and circles.
- Indicate hoop rims by doubling the drum circle edge and adding tiny bolt heads.
- Add sticks resting on a snare or in the air to give life to the sketch.
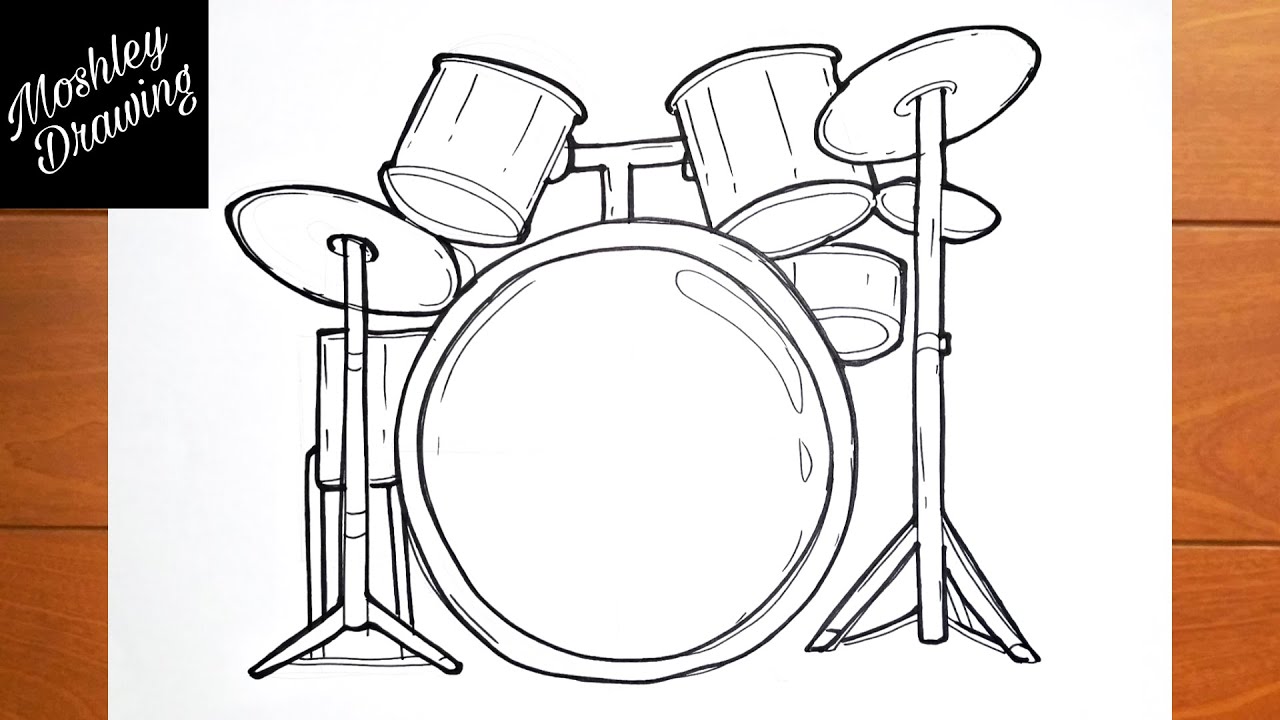
- Refine, shade, and finish
- Erase construction lines. Reinforce contours with darker strokes.
- Shade cylindrical shells with smooth gradients to suggest roundness. Add small reflections.
- Use cross-hatching on cymbals and foot pedals for texture.
These steps teach you how to draw a drum set from layout to final polish. Practice each step separately until you feel comfortable combining them.

Perspective, proportions, and shading tricks
Perspective makes your drum set look believable. Use a simple one-point perspective for straight-on views and two-point perspective for angled views. Draw a horizon line and vanishing point to align stands and edges.
Proportion rules to remember:
- Bass drum diameter should dominate; snare is roughly half to two-thirds the bass drum’s diameter.
- Rack toms are smaller than the bass drum and step down in size from left to right.
- Cymbals are wide relative to toms; hi-hat diameter is smaller than a crash or ride.
Shading tips that work every time:
- Imagine a single light source. Shade opposite the light with soft gradients to keep the drums looking cylindrical.
- Add thin highlight lines on rims and cymbal bells to suggest metal shine.
- Use darker tones under hoops, between drums, and inside stand junctions for depth.
These techniques help when you need to draw a drum set from memory or a quick sketch during rehearsals.

Variations: rock, jazz, and electronic kits
Different styles change how you draw a drum set. Learn the visual cues for each style.
Rock kits
- Typically larger with a big bass drum and multiple toms.
- Draw more cymbals and heavier stands. Add double bass pedals for certain rock setups.
- Emphasize bold hardware and thicker shells.
Jazz kits
- Smaller bass drum, fewer toms, and more space between pieces.
- Focus on lighter stands and thinner cymbals. Add a ride cymbal with a clear bell.
- Use softer shading and subtler hardware details.
Electronic kits
- Modules replace shells with rubber pads or small cymbal pads on compact racks.
- Draw square or round pads, a central control module, and thin tubing for the rack.
- Indicate cables and power supplies for realism.
Practicing these variations sharpens your ability to draw a drum set in any musical context.

Common mistakes and how to avoid them
Beginners often make the same errors. Spot them early and fix them fast.
Drawing everything flat
- Mistake: Circles drawn as perfect circles with no perspective.
- Fix: Use ellipses for drums and cymbals to show angle and depth.
Ignoring hardware
- Mistake: Forgetting stands, lugs, and pedals makes the kit look fake.
- Fix: Add simple lines for stands and tiny bolts for lugs; they sell realism.
Wrong proportions
- Mistake: Snare or toms too large relative to bass drum.
- Fix: Use a quick measurement system: measure the bass drum and set others by fraction.
Overworking details too early
- Mistake: Detailing before confirming layout.
- Fix: Keep light construction lines and finalize shapes first.
These fixes come from teaching and drawing many kits. They save time and improve results.

Practice drills and quick exercises
Use short drills to improve how to draw a drum set fast.
30-minute kit sketch
- Set a timer and draw a basic five-piece kit from a photo. Focus on proportions and placement.
Ellipse practice
- Draw fifty ellipses at different angles. This trains your eye for drum rims and cymbals.
Hardware shorthand
- Practice drawing stands and clamps using two or three strokes. Speed comes from simplification.
These daily drills will speed your ability to draw a drum set from imagination.

Frequently Asked Questions of how to draw a drum set
How do I start when learning how to draw a drum set?
Begin with light construction lines and basic shapes: circles, ovals, and straight rods. Position the bass drum first, then add snare, toms, and cymbals to keep proportions correct.
What’s the best way to draw cymbals realistically?
Use thin ellipses and add a small bell in the center, with subtle highlights and concentric texture lines. Shade the underside darker to show curvature and reflectivity.
How can I draw drum hardware quickly without losing detail?
Simplify stands to straight lines and tripods, and use small rectangles for clamps and wing nuts. Suggest detail with tiny marks instead of full rendering.
Should I draw from photos or real kits?
Both help. Photos give consistent reference; drawing from real kits trains observation and perspective. Use photos to practice and real kits for study when possible.
How long does it take to get good at how to draw a drum set?
With focused practice, noticeable improvement can happen in a few weeks. Regular short sessions and targeted drills accelerate learning.
Can I draw a drum set from memory?
Yes. Once you understand basic shapes and proportions, you can assemble a kit mentally and draw it from memory with practice.
Conclusion
You now have a clear roadmap for how to draw a drum set, from gathering materials to finishing touches. Start with simple shapes, practice perspective and ellipses, and build your skills with short daily drills. Try drawing different styles—rock, jazz, electronic—to deepen your eye for detail. Practice one kit a day and share your progress to stay motivated; your accuracy and speed will improve quickly. Leave a comment with a sketch link or subscribe for step-by-step lessons and new drawing challenges.

Senior Music Reviewer
Alex Carter is a seasoned music reviewer with over a decade of experience in the world of sound and instruments. Passionate about helping musicians and enthusiasts make informed choices, he brings sharp insights and in-depth knowledge to every review. From classical instruments to modern gear, Alex combines technical expertise with a love for music to deliver content that resonates with readers.
As a Senior Music Reviewer and expert author on Tuneluma.com, Alex is dedicated to sharing honest evaluations, practical advice, and thoughtful commentary to guide readers in their musical journey.