How To String A Violin For Beginners: Easy Guide
To string a violin, remove one old string at a time, fit the new string, and tune it slowly.
Learning how to string a violin for beginners is easier when you treat the instrument with care and patience. A violin has delicate parts, including the bridge, soundpost, pegs, and fine tuners. This guide explains the full process, from choosing the right strings to checking the bridge and tuning safely. It also covers common mistakes that can harm your violin or shorten string life.
What You Need Before You Start
Before learning how to string a violin for beginners, gather the right tools. A calm setup makes the job much easier and helps prevent slips.
You will need:
• A full set of violin strings in the correct size
• A digital violin tuner or chromatic tuner
• Peg compound, if the pegs slip or feel too stiff
• A soft, clean cloth
• A pencil with soft graphite
• A string winder, if available
• A stable table with good lighting
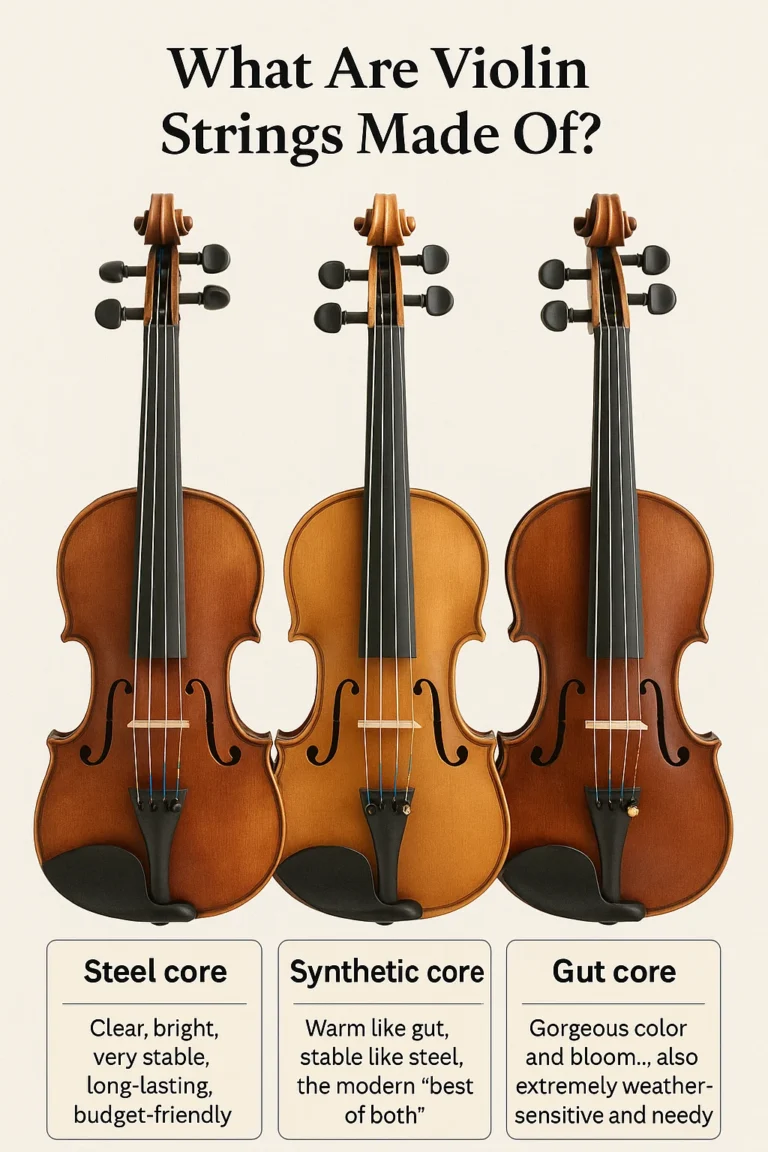
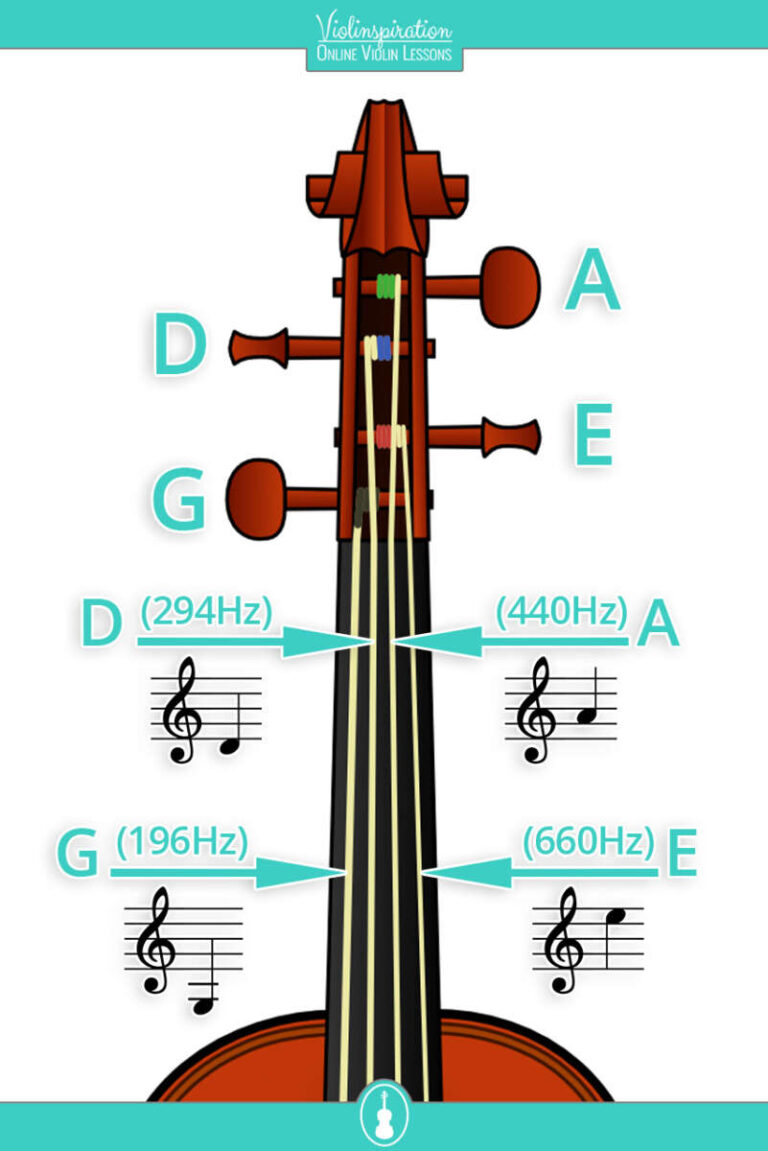
Most full-size violins use strings tuned to G, D, A, and E. Smaller violins need shorter strings made for their size. Using the wrong string length can cause poor tension, weak sound, or damage to the instrument.
Check your violin’s size before buying strings. Common sizes include 4/4, 3/4, 1/2, 1/4, and 1/8. If you are unsure, ask a violin teacher, luthier, or music shop worker to confirm the correct size.
A violin string set usually contains:
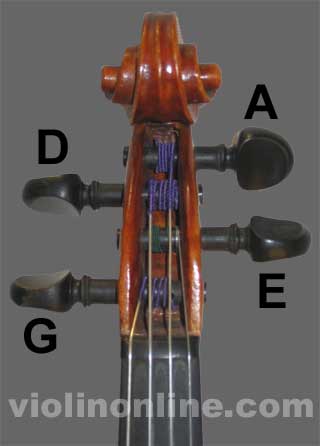
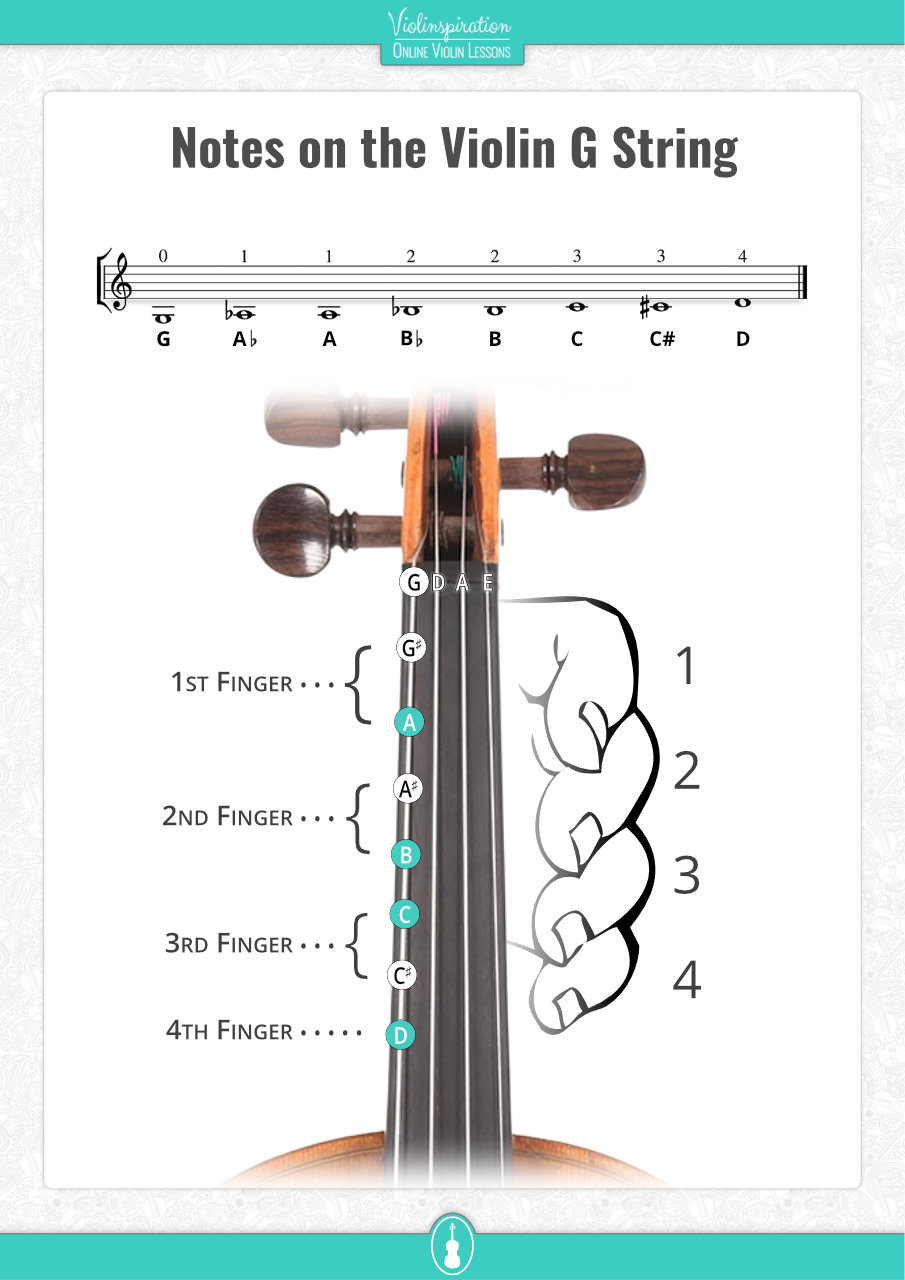
• G string: the thickest and lowest string
• D string: the next lowest string
• A string: the second-highest string
• E string: the thinnest and highest string
Do not remove all four strings at once. The strings help hold the bridge and soundpost in their proper positions. Removing them together may allow the bridge to fall or the soundpost to move.
Understand the Main Parts of the Violin
A little knowledge of violin anatomy makes how to string a violin for beginners much less confusing.
The pegbox is the area at the top of the violin. It holds four tuning pegs. Each peg turns to raise or lower the pitch of its string.
The bridge is the small, curved piece of wood between the fingerboard and tailpiece. It supports the strings above the violin’s body. The bridge is not glued in place. String tension holds it upright.
The tailpiece sits at the bottom of the violin. It holds the string ends and may include fine tuners. Fine tuners make small pitch changes, which is especially helpful for new players.
The nut is the small raised strip between the fingerboard and pegbox. It guides each string into the correct path.
The end button holds the tailgut, which connects the tailpiece to the violin. Never pull or twist this part while changing strings.
The soundpost is a small wooden post inside the violin. You usually cannot see it clearly through the f-hole. It supports the top and back of the instrument, so avoid shaking the violin or pressing hard on its body.
When learning how to string a violin for beginners, remember this simple idea: the strings are like four tight ropes, while the bridge is like a small tent pole held up by those ropes. If the tension changes too fast, the bridge can lean or fall.
How to String a Violin for Beginners: Step-by-Step
Follow these steps slowly. There is no prize for changing strings quickly.
1. Place the violin safely
Set the violin on a clean, flat surface. Put a soft cloth under the instrument to protect the varnish.
Rest the violin with the top facing up. Keep the scroll away from the edge of the table. Make sure the bridge is still standing straight before you begin.
Take a quick photo of the violin before removing the old string. This gives you a useful reference for the bridge position and string path.
2. Change only one string
Start with one string. Many players begin with the E string because it is thin and easy to handle. You can also begin with the G string if it needs replacing first.
Loosen the old string by turning its peg toward you slowly. Do not pull the string sharply. Once it is loose, remove it from the peg and then lift the ball or loop end from the tailpiece or fine tuner.
Wear eye protection or keep your face away from the string. A string under tension can snap when it is damaged or badly worn.
3. Prepare the new string
Take the matching string from its envelope. Check the color marking or label so you know which string you have.
Most violin strings have a small ball at one end. Some E strings use a loop instead. The end must match the type of tailpiece or fine tuner on your violin.
Do not bend the string sharply. A small, smooth curve is fine, but a tight kink may create a weak spot.
4. Attach the string to the tailpiece
Place the ball end into the correct hole in the tailpiece or fine tuner. If your violin uses a loop-end string, place the loop over the hook.
Make sure the string sits in the center of the fine tuner. It should not touch the neighboring tuner or slide off the hook.
Keep the string loose while you guide it toward the pegbox. This gives you time to check its path.
5. Guide the string over the bridge
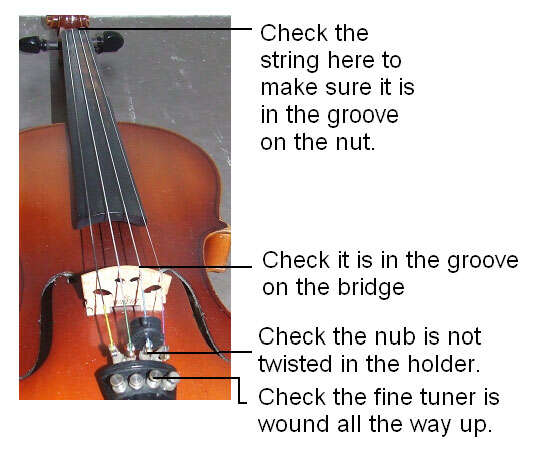
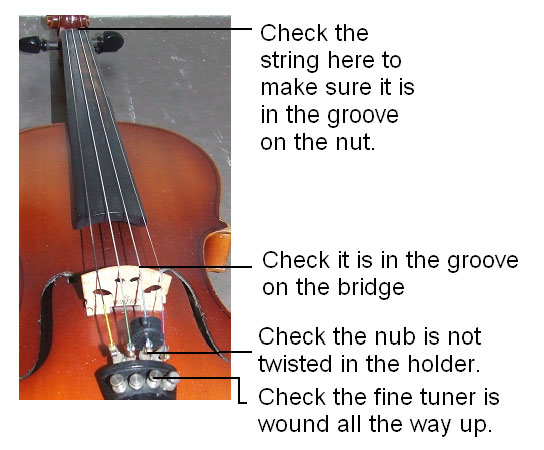
Lay the string in the correct bridge groove. The string should pass from the tailpiece, over the bridge, along the fingerboard, over the nut, and into the pegbox.
The bridge groove should guide the string without pinching it. If the groove looks too deep, rough, or sharp, stop and ask a luthier for help. Deep grooves can weaken strings and affect the violin’s sound.
The bridge must stay at a right angle to the violin’s top. Its feet should sit flat, and the top edge should lean slightly toward the tailpiece in normal violin setup. Do not force the bridge if it has shifted badly.
6. Insert the string into the tuning peg
Turn the peg so its hole faces you. Feed the loose end of the string through the hole.
Leave about 1/4 inch to 1/2 inch of string extending through the hole. This small amount helps prevent the string from slipping while you wind it.
Begin turning the peg slowly. The string should wrap neatly toward the inside wall of the pegbox. Avoid piling the coils over one another.
For most pegs, the winding direction depends on the side of the pegbox. Watch the string path and make sure the coils move toward the pegbox wall without touching the neighboring peg.
7. Bring the string to light tension
Turn the peg only until the string is lightly tight. Do not tune it to the correct pitch yet.
Look closely at the bridge. If it begins to lean toward the fingerboard or tailpiece, stop turning the peg. Support the bridge with your fingers and gently guide its top edge back into position.
Do not pull the bridge upward. Move it with small, careful motions while the string is still at low tension.
8. Check the string path
Before tuning, confirm that the string:
• Sits in the correct tailpiece opening
• Rests in the correct bridge groove
• Passes through the nut groove
• Winds neatly around the correct peg
• Does not touch another string
• Does not cross over a neighboring string