How To Repair Violin Strings: Easy Step-By-Step Guide
Most broken violin strings cannot be repaired safely; replacing the string is the proper fix.
Learning how to repair violin strings starts with knowing what can and cannot be fixed. A snapped string needs replacement, while a slipping peg, loose fine tuner, or damaged bridge may only need a careful adjustment. With the right steps, basic tools, and a calm hand, you can restore your violin without harming the instrument.
Can You Actually Repair a Violin String?
In most cases, you cannot permanently repair a broken violin string. Violin strings carry strong tension, and a knot or splice can change the string’s weight, length, and vibration.
A tied string may sound dull, buzz, or break again. It can also damage the bridge, tailpiece, or peg if it fails under tension.
The best solution is to replace the string with a new one that matches the correct size and type. However, some problems that look like string damage may come from the peg, bridge, fine tuner, or tailpiece.

Identify the Violin String Problem
Before you remove anything, inspect the full string path. Start at the peg, then follow the string over the nut, fingerboard, bridge, fine tuner, and tailpiece.
Look for these common problems:
• Broken string: The metal or synthetic core has snapped.
• Frayed string: The winding is loose, rough, or unraveling.
• Slipping string: The string is intact but will not stay in tune.
• Buzzing string: The string may touch the fingerboard or have a loose winding.
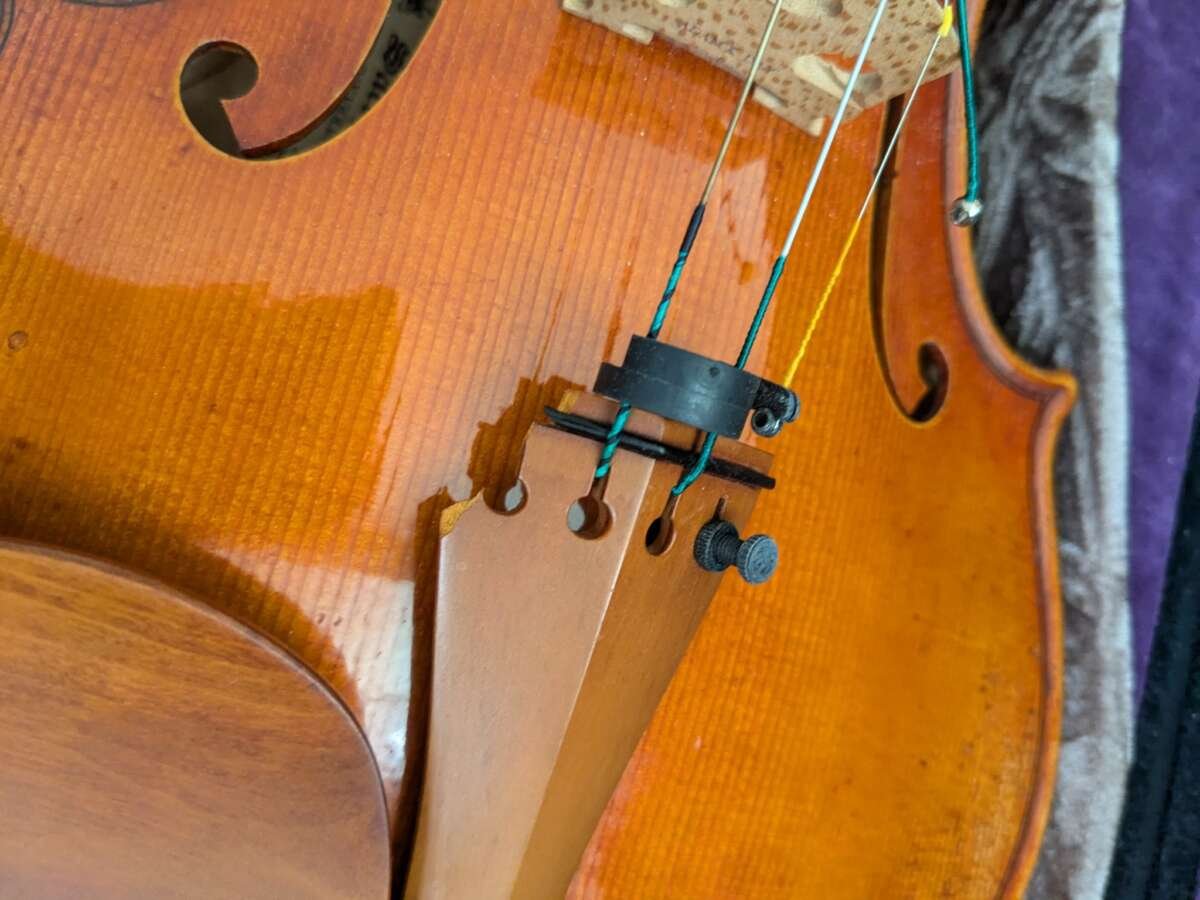
• String pulled from the tailpiece: The ball end or loop has come free.
• String cutting into the bridge: The bridge groove may be too narrow or sharp.
A string that looks dirty is not always damaged. Wipe it with a clean, dry cloth first. Never use household oil, alcohol, or water on the strings or violin.
A useful rule is simple: if the core is broken or the winding is badly separated, replace the string. If the string is whole but unstable, inspect the setup before buying a new one.

Tools You Need to Replace a Violin String
You do not need a large repair kit for most string changes. Gather the following items:
• A matching replacement violin string
• A clean, soft microfiber cloth
• An electronic tuner or tuning app
• A peg compound, if the peg slips or feels too loose
• A pencil for a small amount of graphite at the nut groove
• A violin string winder, used gently
• A bridge straightening guide or careful visual reference
Choose the right string. Violins usually use four strings: G, D, A, and E. Each string has a different thickness and tension.
The E string is the highest and thinnest. The G string is the lowest and thickest. If you are unsure, check the packaging, your teacher’s recommendation, or the string set already installed on the violin.
Do not mix random strings without a reason. Different brands and tensions can work well together, but a large mismatch may create poor balance or unusual pressure on the bridge.

How to Repair Violin Strings by Replacing One
Replacing a violin string is the safest form of violin string repair. Work slowly, especially if this is your first time.
1. Protect the Violin
Place the violin on a clean, padded surface. You can also hold it carefully in your lap while seated.
Keep the instrument away from the edge of a table. A falling violin can suffer far more damage than a broken string.
Loosen only the damaged string. Do not remove all four strings at once unless you know how to reset the bridge and soundpost safely. The bridge relies on balanced string pressure to stay in place.
2. Remove the Broken String
Turn the correct tuning peg toward you to loosen the string. When the string has little or no tension, pull it from the peg hole.
Next, remove the ball end from the tailpiece or fine tuner. Some E strings use a loop end instead of a ball end, so check the replacement string before installing it.
Keep the loose string away from the violin’s varnish. A sharp end can scratch the top or sides.
3. Prepare the New String
Uncoil the replacement string carefully. Do not bend it sharply or create kinks.
Identify the ball or loop end. The ball end goes into the tailpiece or fine tuner. The plain end goes through the peg.
If the string has a protective silk section, place it according to the maker’s design. The silk should not sit in a way that blocks the bridge groove or nut groove.
4. Install the Tailpiece End
Insert the ball end into the fine tuner or tailpiece slot. Make sure it sits fully in place.
For a loop-end E string, place the loop over the fine tuner hook. Check that the loop is not twisted.
Hold the string lightly so it does not jump out while you guide the other end toward the peg.
5. Thread the Peg
Turn the peg so the hole faces a useful direction. Push the string through the hole, leaving about one-half inch of excess string beyond the hole.
Begin turning the peg slowly. Guide the string so each winding sits neatly beside the previous one.
Do not pile the windings against the pegbox wall. Also, do not wind them too close to the outer peg cheek. Neat winding helps the peg hold its position.
6. Guide the String Through the Bridge and Nut
The string should sit in the correct groove on the bridge. It should also rest in the matching groove at the nut.
Use your fingers to guide the string while adding light tension. Make sure it does not jump into a neighboring groove.
The string should run in a straight line from the tailpiece, over the bridge, across the fingerboard, through the nut, and to the peg.
7. Tune Slowly
Bring the string up to pitch in small steps. Use a tuner instead of relying only on your ear.
New strings stretch for a while. Tune, wait a few seconds, then tune again. You may need to repeat this several times during the first day.
Do not pull the string aggressively to “speed up” stretching. Hard pulling can break a new string or damage the bridge.

How to Fix a Violin String That Keeps Slipping
A string that will not stay in tune may not need replacement. The problem often comes from the tuning peg or the way the string is wound.
Try these steps:
-
Loosen the string until there is little tension.
-
Check that the string windings are neat and close together.
-
Push the peg gently inward while turning it.
-
Tune upward toward the note instead of tuning downward.
-
Check whether the peg slowly turns backward after tuning.
Tapered wooden pegs hold by friction. If a peg slips, it may need a small amount of peg compound. Apply only a tiny amount and work it into the peg surface.