How To Record Drums With One Mic: Simple Guide
Place one suitable microphone in a good room, aim it at the kit’s balance point, and record with careful gain staging.
Learning how to record drums with one mic is less about owning perfect gear and more about hearing the whole kit as one instrument. Mic choice, room sound, placement, drum tuning, and player balance all matter. This guide explains a simple method that works in bedrooms, rehearsal rooms, home studios, and professional spaces, while also showing how to fix common problems before they reach your mix.

Why Record Drums With One Mic?
Recording drums with one mic creates a natural, focused sound. Every drum reaches the microphone at nearly the same time, so the kit can feel open and connected. This approach often has more character than a heavily close-miked setup.
One microphone also makes you commit early. You cannot fix every drum with a separate fader later. That may sound limiting, but it can improve the performance and keep the recording process simple.
A single-mic drum recording can work well for:
• Garage rock and punk
• Blues and roots music
• Jazz and acoustic music
• Lo-fi and indie recordings
• Live demos
• Rehearsal recordings
• Small-room sessions
• Minimalist productions
The main challenge is balance. If the snare is too loud in the room, moving the mic may not solve the problem. The drummer may need to play the snare a little softer, or the cymbals may need a lighter touch.
This is one of the biggest lessons in how to record drums with one mic: the microphone does not replace good arrangement, tuning, or performance. It captures the balance that already exists in the room.
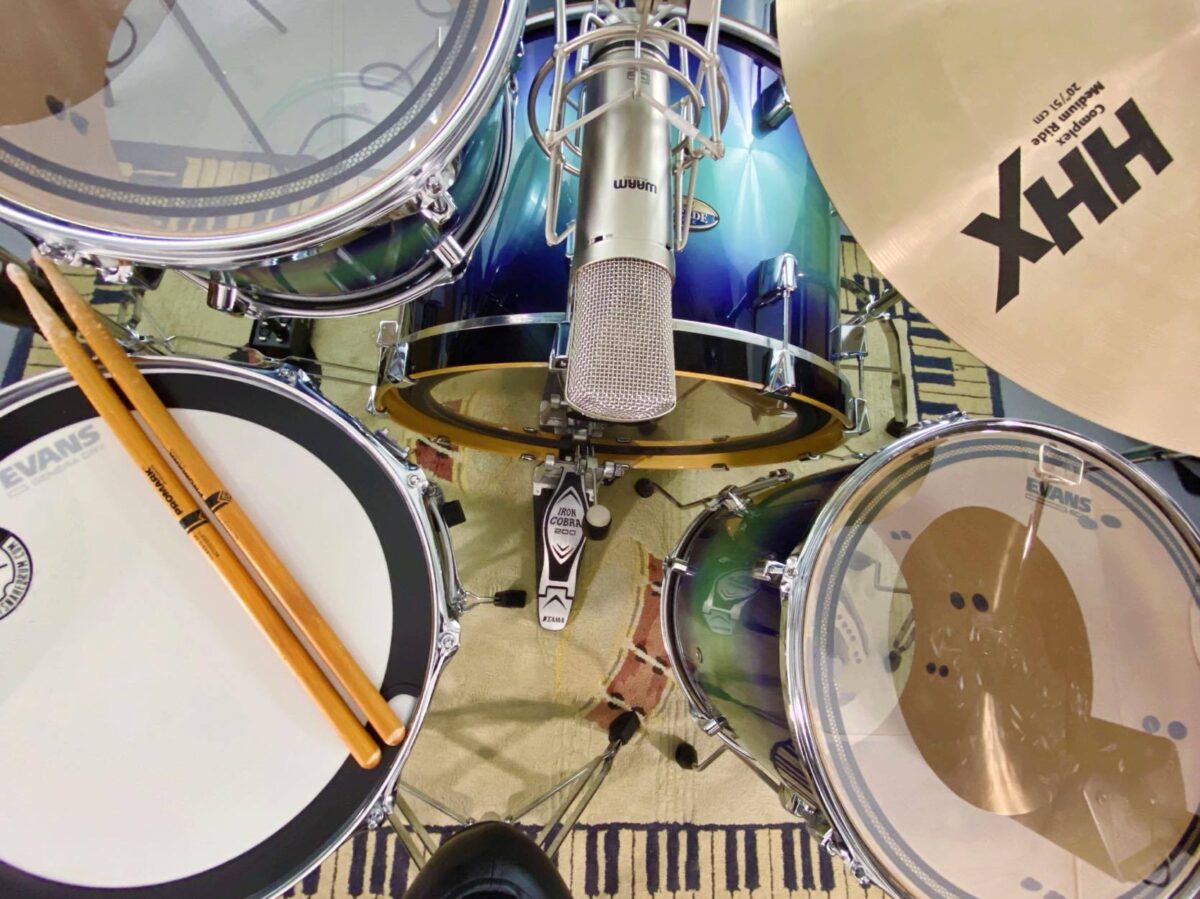
Choose the Right Microphone
The best microphone for recording drums with one mic depends on the sound you want, the room, and the volume of the kit. There is no single perfect choice.
Large-diaphragm condenser
A large-diaphragm condenser can capture a wide frequency range. It often gives you clear cymbals, detailed snare tone, and useful low-end weight from the kick.
This type of mic can sound open and polished. However, it may also reveal harsh cymbals, room noise, and poor acoustic treatment. Use it when the room sounds good and the kit is not painfully bright.
Small-diaphragm condenser
A small-diaphragm condenser often gives a focused and detailed sound. It can capture the attack of the snare and the shimmer of the cymbals with good accuracy.
This mic may sound more direct than a large-diaphragm condenser. It can work well in a controlled room, especially when you want a tight recording.
Dynamic microphone
A dynamic mic is often the safest option in a loud or untreated room. It can handle strong sound pressure and may reduce some harsh room reflections.
A common vocal or instrument dynamic mic can produce a punchy, mid-focused drum sound. It may not capture as much deep kick or airy cymbal detail, but that can be useful for rock, punk, and garage music.
Ribbon microphone
A ribbon mic can create a smooth and warm drum recording. Its natural high-frequency response may soften bright cymbals.
Ribbons can be fragile, especially with loud sources and strong air blasts. Check the manufacturer’s guidance before placing one close to a powerful kick drum. A figure-eight ribbon also hears sound from the rear, so room quality becomes even more important.
USB microphone
A USB microphone can work for demos and home recordings. Choose one with a headphone output, stable drivers, and a clear polar pattern.
USB mics offer less flexibility than XLR microphones in many studio setups. Still, they can be a practical starting point for anyone learning how to record drums with one mic.
What to look for
Before choosing a mic, consider these points:
• A cardioid pattern helps reject some room sound from the rear.
• A wide frequency response captures more of the kit.
• Good maximum SPL handling helps prevent distortion.
• A pad switch can help with loud drums.
• A built-in high-pass filter may reduce unwanted rumble.
• A stable stand is essential because drum vibrations can move a weak stand.
Do not assume an expensive microphone will solve a bad room. A modest mic in the right position can beat a costly mic placed in the wrong spot.

Prepare the Room and Drum Kit
Room preparation is a major part of how to record drums with one mic. Since every drum and cymbal enters the same microphone, the room becomes part of the instrument.
Start by listening from the likely microphone position. Clap your hands and listen for ringing, flutter echoes, or a sharp slap from nearby walls. Walk around the room and notice where the kit sounds balanced.
Avoid placing the kit in the exact center of a square room. That position can create strong low-frequency buildup. Try moving the kit away from walls, but do not push it into a corner unless you want a darker and more bass-heavy sound.
Useful room changes include:
• Hang thick blankets on hard side walls.
• Place rugs under the kit and microphone stand.
• Use bookshelves or soft furniture to break up reflections.
• Keep the microphone away from bare parallel walls.
• Avoid large glass surfaces near the kit.
• Leave some natural room sound if the space already sounds good.
Do not cover every surface with blankets. A completely dead room can sound small and lifeless. The goal is control, not silence.
Tune the drums first
Tuning matters more with one mic because you cannot rescue each drum later. Check the kick, snare, toms, and cymbals before recording.
Make sure:
• The kick has a clear low-end note.
• The snare has enough body without excessive ring.
• The toms are free from unwanted rattles.
• The cymbals are not much louder than the drums.
• The drum heads are seated and tuned evenly.
• The snare wires are tight enough to respond clearly.
A small piece of damping can help, but use it carefully. Too much damping removes the natural tone that makes a one-mic recording attractive.
Balance the player
Ask the drummer to play a simple groove. Listen from the microphone position, not only from beside the kit.
The drummer may need to:
• Play cymbals with less force.
• Strike the snare with a more controlled touch.
• Keep the kick steady.
• Avoid hitting one tom much harder than the others.
• Use consistent dynamics during the song.
In many sessions, the drummer becomes the most important “mixing tool.” A skilled player can create a balanced sound before the microphone captures it.

Find the Best One-Mic Placement
Microphone placement controls the balance between kick, snare, toms, cymbals, and room. Small movements can change the recording more than expensive plug-ins.
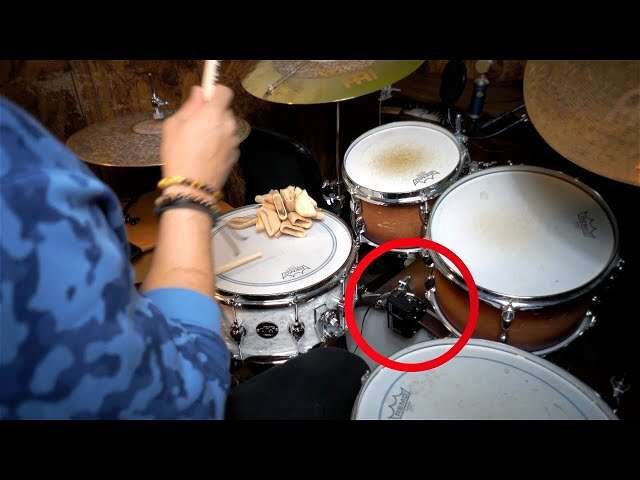
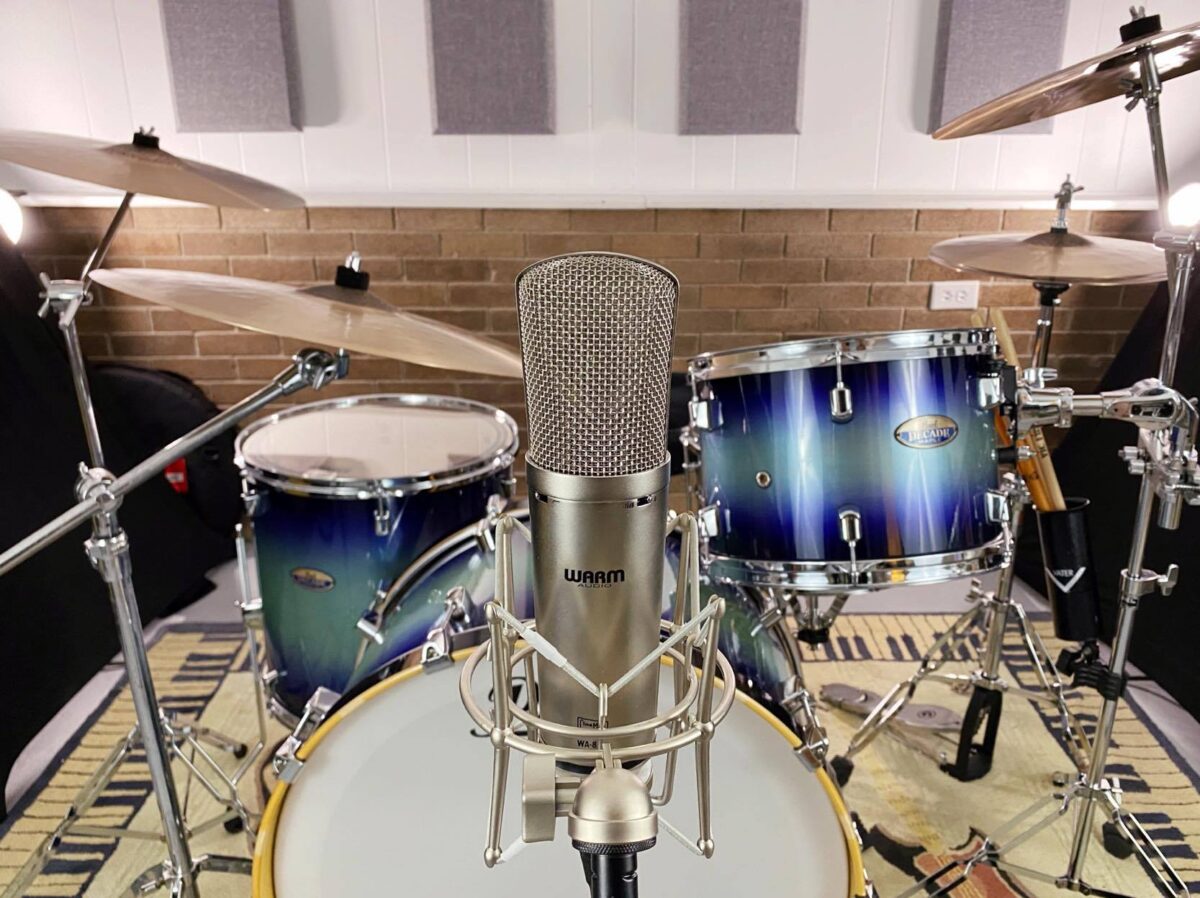
Begin with the microphone about three to five feet above the floor, depending on the kit and room. Place it near the front of the kit, slightly above the kick drum, and aim it toward the snare.
This starting position often captures a useful blend of kick, snare, and cymbals. Record a short test, then adjust one variable at a time.
Position A: Front of the kit
Place the mic in front of the kick drum, aimed toward the snare. This can produce a balanced and familiar kit sound.
Move the mic higher if the cymbals dominate. Lower it if the kick lacks weight or the snare feels distant.
Position B: Over the drummer’s shoulder
Place the mic above the drummer’s shoulder and aim it toward the snare or kick. This position can create a more energetic and player-focused sound.
It may capture the snare clearly while keeping the kick present. Watch the cymbal level, especially on the side closest to the microphone.
Position C: Above the kick and between the cymbals
Place the mic above the kick drum, between the left and right cymbals. Aim it at the snare.
This setup can give you a strong center image and useful drum attack. It may sound bright if the cymbals are close, so raise the mic or angle it away from the loudest cymbal.
Position D: In front of the kit, low to the ground
A low position can give you more kick and tom energy. It often produces a dark, powerful sound.
This placement may reduce cymbal detail. It can work well for rock, heavy blues, and raw demo recordings.
Use your ears, not a fixed measurement
There is no universal “correct” distance. A placement that works in one room may fail in another.
For a practical method, place the mic, record eight bars, and listen on headphones and speakers. Move the mic in small steps. Change height, distance, and angle before reaching for equalization.
When learning how to record drums with one mic, remember that the best position is the one that makes the kit feel balanced without heavy processing.

Set Up the Interface and Recording Levels
Connect the microphone to a clean preamp or audio interface. If you use a condenser microphone, turn on phantom power only after connecting the mic and lowering the monitor volume.
Set the input gain while the drummer plays the loudest part of the song. Aim for healthy headroom. In a modern digital system, peaks around minus 18 to minus 10 dBFS are usually safe, with louder peaks staying below 0 dBFS.
The exact number matters less than avoiding clipping. Digital clipping cannot be repaired cleanly after recording.
Follow these steps:
-
Ask the drummer to play the loudest chorus or fill.
-
Set the interface gain until the signal is strong but never clips.
-
Leave extra headroom for unexpected hits.
-
Record a test pass.
-
Listen for distortion, rattles, and excessive room noise.
-
Save the microphone position and input settings.
Do not record too quietly out of fear. A healthy signal with room to breathe is ideal. You can raise the level later in the digital audio workstation.
Use headphones to check the recording, but also use speakers when possible. Headphones may exaggerate cymbal detail and hide the way the room interacts with the low end.
If the microphone has a pad switch, use it when the input stage overloads even with low interface gain. A pad reduces the level before the preamp, which can prevent distortion in loud sessions.

Record a Test Pass and Make Small Changes
The first take should be a test, not a final performance. Record a short section that includes the verse, chorus, and a fill.
Listen for these problems:
• The kick disappears on small speakers.
• The snare sounds too distant.
• The cymbals cover the vocal range.
• The toms lack body.
• The room rings after each snare hit.
• The stereo image feels uneven.
• The microphone captures too much floor vibration.
Change one thing at a time. If you move the mic and change the angle at the same time, you will not know which adjustment helped.
A simple test routine looks like this:
-
Record the starting position.
-
Raise the mic by six to twelve inches.
-
Record again.
-
Move the mic slightly toward the kick.
-
Record another pass.
-
Compare the takes at the same playback volume.
Mark each take with notes. For example, write “higher,” “more kick,” or “less cymbal.” This saves time and helps you build a repeatable process.
One mistake I often see in one-mic recording is endless movement without careful listening. The engineer changes the mic every few seconds but never compares full test clips. Patience works better than random movement.
Use Polarity, Equalization, and Compression Carefully
One microphone does not create a phase problem between multiple drum mics, but the room still creates reflections. Sound from the drums reaches the mic directly and then again after bouncing from walls.
You cannot remove all room interaction with a plug-in. Good placement and room control remain the main solutions.
Equalization
Use equalization to support the existing tone, not to rebuild the kit.
Possible moves include:
• Cut muddy low mids around 200 to 400 Hz if the kit sounds cloudy.
• Add a small amount of presence around 2 to 5 kHz if the snare lacks attack.
• Reduce harsh cymbals in the upper mids or highs.
• Add low-end weight only if the recording has enough clean headroom.
Broad, gentle moves often sound more natural than sharp cuts. Always compare the processed and unprocessed versions at the same loudness.
Compression
Compression can make a one-mic kit feel more solid. It can also bring up room noise and cymbal wash.
Start with a moderate ratio, such as 2:1 or 4:1. Use a medium attack so the drum hit can pass through, then adjust the release until the groove breathes naturally.
If the cymbals pump or the room becomes too loud, reduce the compression. In many cases, a small amount of bus compression works better than heavy processing.
Saturation and limiting
Light saturation can add warmth and density. A limiter can protect the final mix, but it should not be used to repair a clipped recording.
Keep the original track. Make processing reversible. This gives you room to change direction later.

Fix Common One-Mic Drum Problems
Learning how to record drums with one mic includes learning how to diagnose problems quickly. Most issues come from placement, performance, room sound, or gain.
The cymbals are too loud
Raise the microphone, move it farther from the cymbals, or angle it toward the kick and snare. Ask the drummer to use lighter cymbal strokes.
A darker microphone can also help, but placement usually makes the larger difference.
The kick lacks power
Move the mic closer to the front of the kit or lower its height. Aim slightly more toward the kick without pointing directly into the hole of a ported kick head.
You can also tune the kick for a clearer fundamental note. Avoid boosting deep bass if the room already produces low-end buildup.
The snare sounds weak
Aim the microphone more directly toward the snare. Moving the mic closer to the center line of the kit may also help.
Check the snare itself. A loose wire set, worn head, or poor tuning can make the snare sound thin from every position.
The recording sounds boxy
Boxiness often comes from the room and low-mid buildup. Move the kit away from a corner, add absorption at strong reflection points, or raise the microphone.
A careful cut in the low mids may help, but do not remove so much that the drums lose body.
The room sounds too echoey
Use soft furnishings, blankets, rugs, or acoustic panels near the strongest reflections. Move the microphone closer to the kit if the direct sound is too weak.
If the room is very live, a dynamic mic may give you better control than a sensitive condenser.
The recording distorts
Lower the interface gain and check whether the microphone pad is active. Confirm that the distortion is not happening in the microphone, preamp, input channel, or recording software.
Always test at the loudest part of the song before tracking the full performance.

One-Mic Techniques for Different Styles
The right approach changes with the music. The goal is not always a balanced, polished kit. Sometimes the best sound is aggressive, dark, loose, or roomy.
Rock
Use a front-of-kit position with enough low-end support. Keep the microphone slightly higher if the cymbals are strong.
A dynamic mic can produce a direct and gritty rock sound. Moderate compression may help the kit stay steady beside electric guitars.
Jazz
A condenser often works well in a good room. Place it farther back to capture the complete kit and natural dynamics.
Do not over-compress. Jazz depends on touch, space, and changes in volume.
Punk and garage rock
Try a lower front position or a dynamic microphone. Let the room and distortion add character.
The recording does not need to sound perfect. A focused midrange can help the drums cut through loud guitars.
Hip-hop and sample-style production
A dry, controlled room can make the kit easier to shape. Place the mic close enough for punch but far enough to capture the full kit.
You can later layer the recording with samples if the production needs more kick or snare weight. Keep the original take for its natural movement.
Folk and acoustic music
Use a condenser in a pleasant room. Place it far enough away to capture warmth and space without losing the snare.
The drummer should play with a light touch. A one-mic setup can blend naturally with acoustic guitar, upright bass, and vocals.
Advantages and Limitations of One-Mic Drum Recording
A one-mic setup has clear strengths, but it is not ideal for every project.
Advantages
• Fast setup and fewer cables.
• Lower equipment cost.
• Natural phase coherence.
• Strong room character.
• More focus on player balance.
• A simple workflow with fewer mixing decisions.
• Useful results in small studios and rehearsal spaces.
Limitations
• You cannot adjust each drum independently.
• A poor room becomes part of the recording.
• Loud cymbals can mask the rest of the kit.
• Repairs are harder after tracking.
• Mic placement must serve the entire kit.
• The sound may not suit highly polished pop or metal production.
Use one mic when the music benefits from unity, movement, and character. Use multiple mics when you need detailed control over individual drums, extensive editing, or a very isolated sound.
The limitations are not failures. They are creative boundaries. Like using a small paintbrush, a one-mic setup can force clear choices and produce a distinctive result.
A Practical One-Mic Recording Workflow
Use this repeatable workflow whenever you record drums with one mic.
-
Listen to the room from the intended microphone position.
-
Move the kit away from corners and strong reflections.
-
Tune every drum before setting the mic.
-
Choose a mic that suits the room and music.
-
Place the mic three to five feet from the kit as a starting point.
-
Aim toward the snare while keeping the kick and cymbals in balance.
-
Ask the drummer to play the loudest section.
-
Set the input gain with enough headroom.
-
Record several short test passes.
-
Compare the tests on headphones and speakers.
-
Make one placement change at a time.
-
Record the full performance only after the balance feels right.
-
Apply gentle equalization and compression if needed.
-
Keep the original track before processing.
The key skill is learning to trust your ears. Measurements provide a useful starting point, but the final judgment should come from the sound in the context of the song.
Frequently Asked Questions About How to Record Drums With One Mic
What is the best microphone for recording drums with one mic?
A large-diaphragm condenser offers detail and a wide frequency range, while a dynamic microphone can sound controlled in a loud or untreated room. The best choice depends more on the room, drummer, and style than on price alone.
Where should I place one microphone for drums?
Start three to five feet in front of the kit, slightly above the kick drum, and aim toward the snare. Raise or lower the microphone while listening for a balanced blend of kick, snare, toms, cymbals, and room.
Can I record drums with one mic in a bedroom?
Yes, but room control is important. Use rugs, blankets, curtains, and soft furniture to reduce harsh reflections, then place the microphone where the kit sounds most balanced.
Should I use a condenser or dynamic mic for one-mic drum recording?
Use a condenser when the room sounds good and you want detail. Use a dynamic mic when the room is bright, the kit is loud, or you want a tighter and more focused sound.
How loud should the recording level be?
Set the gain during the loudest part of the song and leave enough headroom to avoid clipping. Peaks around minus 18 to minus 10 dBFS are a practical starting range in a digital recording system.
Can I make a one-mic drum recording sound professional?
Yes, if the room, drum tuning, mic placement, performance, and gain staging are strong. Processing can refine the sound, but it cannot fully repair poor balance or clipped audio.
Do I need to compress drums recorded with one mic?
No. Compression is optional. Use light compression when you want more consistency or density, but reduce it if it makes the cymbals harsh or raises too much room noise.
Conclusion
Recording drums with one mic is a simple but demanding method. Choose a suitable microphone, prepare the room, tune the kit, place the mic by ear, and make the drummer part of the balance process.
Start with one short test recording today. Move the mic in small steps, compare each take, and trust the position that makes the whole kit feel alive. Once you understand how to record drums with one mic, you can create honest, powerful tracks with less gear and more musical focus. Share your results, compare placements, and keep refining your ears with every session.

Senior Music Reviewer
Alex Carter is a seasoned music reviewer with over a decade of experience in the world of sound and instruments. Passionate about helping musicians and enthusiasts make informed choices, he brings sharp insights and in-depth knowledge to every review. From classical instruments to modern gear, Alex combines technical expertise with a love for music to deliver content that resonates with readers.
As a Senior Music Reviewer and expert author on Tuneluma.com, Alex is dedicated to sharing honest evaluations, practical advice, and thoughtful commentary to guide readers in their musical journey.