How To Clean Drums And Cymbals: Easy Care Guide
Clean drums with gentle, non-abrasive care, and polish cymbals only with products made for their finish.
Learning how to clean drums and cymbals is not about making every part look brand new. It is about removing dirt, sweat, dust, and residue without harming the shell, coating, plating, or natural cymbal patina. This guide explains safe methods used by experienced drummers, repair shops, and drum makers, with simple steps you can use at home.
Why Cleaning Drums and Cymbals Matters
Regular cleaning helps your kit look better, feel better, and last longer. Dust can settle into lugs, grime can stain drum wraps, and sweat can slowly damage metal parts. Cymbals also collect fingerprints, oils, and stick marks that may affect their appearance.
Clean equipment is easier to inspect. You can spot loose screws, cracked cymbals, rust, lifted wrap, or worn bearing edges before small issues become expensive repairs. Cleaning also gives you a chance to check tuning hardware and replace damaged parts.
Still, more cleaning is not always better. Vintage drums and traditional cymbals may have finishes that should remain untouched. A natural patina can be part of a cymbal’s sound, history, and value.

Supplies You Need
Before learning how to clean drums and cymbals, gather the right tools. You do not need a large kit. Soft materials and mild products are safer than strong chemicals.
Use these basic supplies:
- Several clean microfiber cloths
- A soft cotton cloth for delicate finishes
- Warm water
- Mild dish soap
- A small bowl
- A soft toothbrush or detail brush
- Compressed air or a hand air blower
- Drumhead cleaner, if recommended by the manufacturer
- Cymbal cleaner made for the specific cymbal finish
- Nitrile gloves
- A dry towel
- A small screwdriver or drum key for careful hardware removal
Avoid paper towels on glossy shells and cymbals. Some paper products can leave tiny scratches or fibers. Also avoid steel wool, abrasive pads, household bleach, ammonia, furniture polish, and general metal polish unless the manufacturer specifically approves them.
A useful rule is simple: start with the mildest method. If a damp cloth works, do not use a chemical cleaner. Test any product on a hidden area first.

How to Clean Drum Shells
Drum shells may have lacquer, wrap, satin oil, acrylic, or natural wood finishes. Each finish needs a slightly different approach. If you know the brand and model, check its care instructions before using a cleaner.
Follow these steps:
- Remove the drum from the stand and place it on a clean, padded surface.
- Take off the heads and hoops if they need a full cleaning.
- Use a dry microfiber cloth to remove loose dust.
- Mix a small amount of mild dish soap with warm water.
- Dip a cloth into the mixture and wring it out well.
- Wipe a small section of the shell without soaking it.
- Use a second cloth dampened with clean water to remove soap.
- Dry the shell at once with a soft towel.
- Buff the surface lightly with a dry microfiber cloth.
Do not pour water directly onto a drum shell. Moisture can seep into seams, wrap edges, bearing edges, or screw holes. On wood drums, too much water may cause swelling or finish damage.
For fingerprints on a glossy lacquer shell, a slightly damp microfiber cloth is often enough. For stubborn marks, use a cleaner approved for musical instrument finishes. Do not use automotive wax or household furniture polish unless the drum maker says it is safe.
When cleaning how to clean drums and cymbals, many people focus on the large shell surface and forget the edges. Wipe the bearing edge with a dry cloth only unless the manufacturer gives different instructions. A clean bearing edge helps the head seat evenly and supports stable tuning.

How to Clean Drumheads
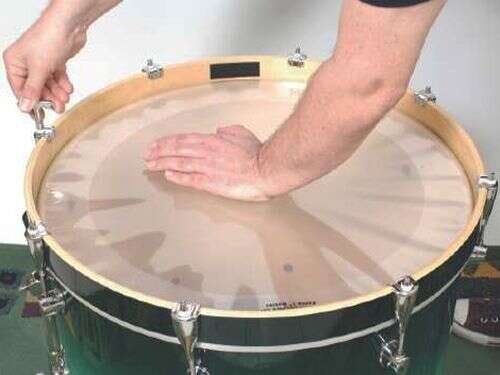
Drumheads collect dust, skin oil, stick marks, and sometimes drink spills. Cleaning them can improve their appearance, but aggressive scrubbing may remove a coating or change the surface feel.
For clear heads, use a dry microfiber cloth first. If the head has light grime, use a barely damp cloth and wipe gently in a circular motion. Dry it fully before putting it back on the drum.
Coated heads need extra care. Do not use strong cleaners, alcohol, or rough sponges. These products can remove the coating and create uneven playing areas. A soft, dry cloth is usually the safest choice.
If a drumhead has deep dents, peeling coating, or a dull sound, cleaning will not fix the problem. Drumheads are wear parts. Replacing one may improve the sound more than any cleaning product.
I have found that many players try to rescue old heads with heavy scrubbing. That often makes the surface look patchy and still does not restore the tone. Gentle cleaning is useful, but replacement is the right answer when the head is worn.

How to Clean Drum Hoops, Lugs, and Hardware
Drum hardware needs careful cleaning because dirt can collect in small threads and joints. Start by wiping hoops, tension rods, claws, lugs, and stands with a dry cloth.
For chrome hardware, use a damp cloth with a small amount of mild soap. Dry every part right away. If you see rust, do not scrub hard at first. Light surface rust may respond to a product made for chrome, but test it in a hidden area.
Clean tension rods by removing them one at a time. Wipe the threads and inspect them for bends or rust. A tiny amount of lubricant made for drum hardware may help the threads move smoothly, but avoid getting oil on drumheads or bearing edges.
Use a soft toothbrush for lug corners and stand joints. Compressed air can remove dust from tight spaces, but hold the air can or blower at a safe distance. Do not force dirt deeper into a bearing, swivel, or spring.
Keep hardware dry. Water left inside a lug or tube can lead to rust that is hard to see until the part becomes stiff or noisy.
How to Clean Cymbals Safely
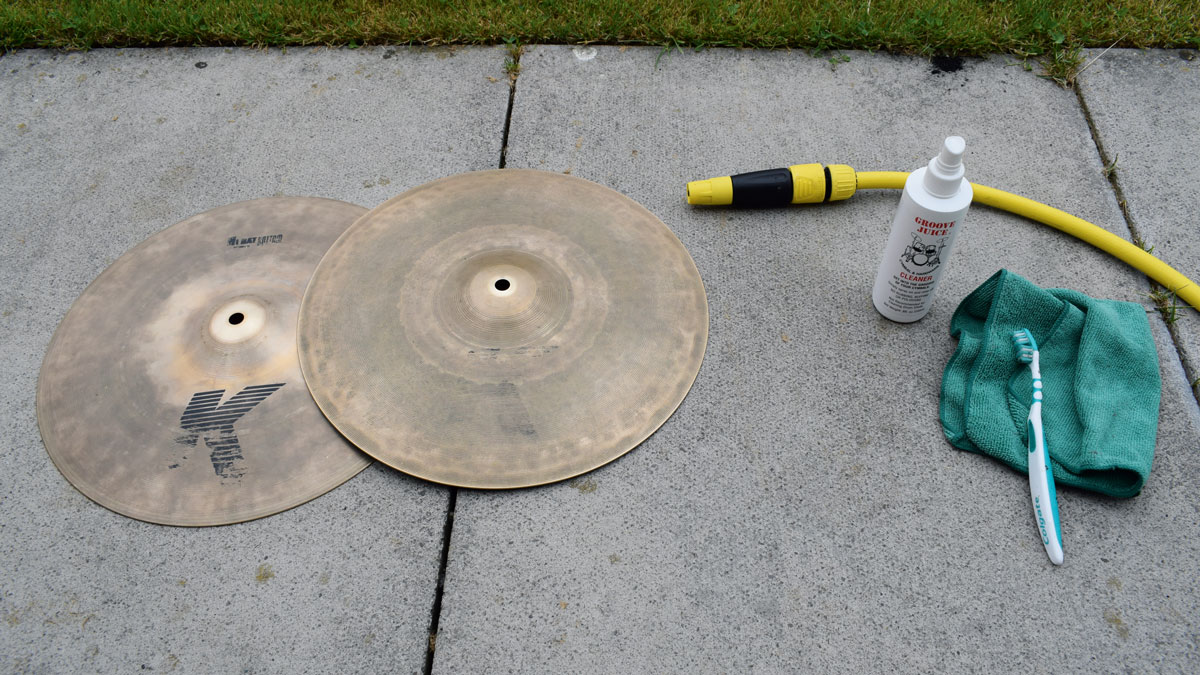
Cymbals are made from alloys such as B8 or B20 bronze. They may have a brilliant finish, traditional finish, raw bell, or special coating. The correct process depends on that surface.
Start with this method:
- Place the cymbal on a clean towel.
- Remove loose dust with a dry microfiber cloth.
- Read the cymbal maker’s care instructions.
- Apply an approved cymbal cleaner to the cloth, not directly to the cymbal.
- Work in small sections, following the lathe lines when possible.
- Wipe away residue with a clean cloth.
- Dry the cymbal completely.
- Check the edges, bell, and mounting hole for damage.
Many cymbal cleaners are mildly abrasive. They remove oxidation and fingerprints, but they also remove some of the surface finish. That means you should not use them every week.
When learning how to clean drums and cymbals, remember that a cymbal’s dark marks are not always dirt. Some are part of the natural patina. Removing all patina can change the look and, in some cases, the perceived character of the cymbal.
Never use a household metal polish without checking its ingredients and the cymbal maker’s advice. Some products contain harsh abrasives or chemicals that can leave uneven marks.

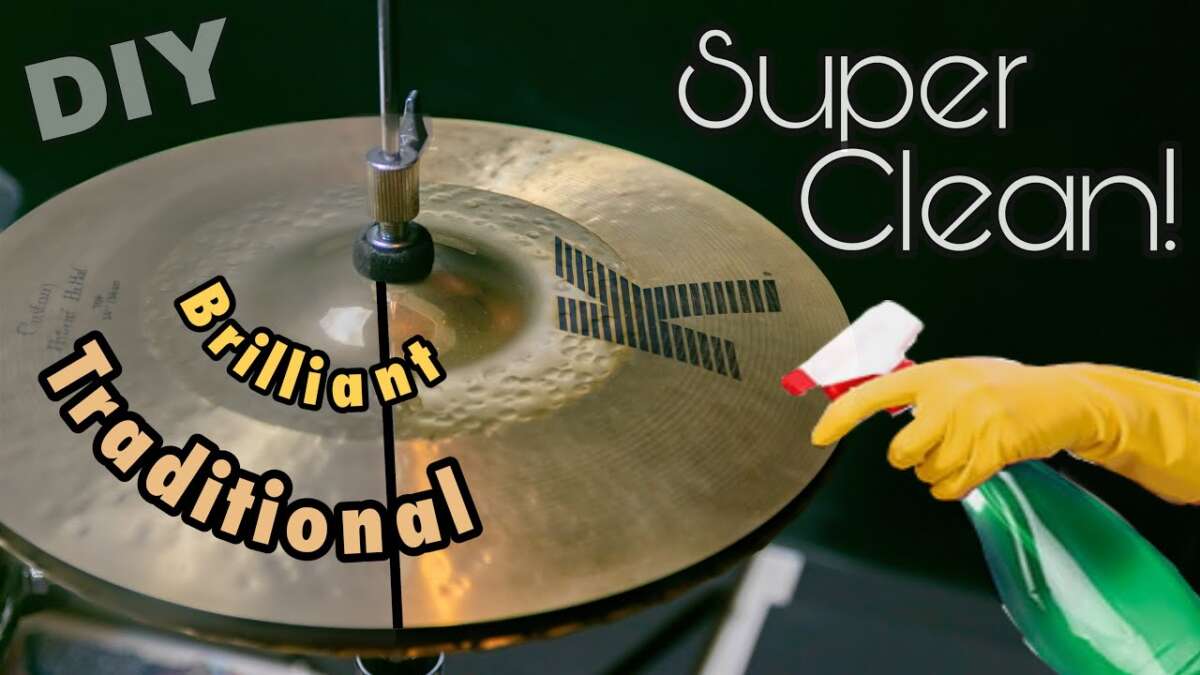
How to Clean Brilliant and Traditional Cymbals
Brilliant cymbals have a polished surface. Fingerprints and marks show more easily, so regular wiping helps. Use a dry cloth after playing, and use cymbal polish only when the surface needs deeper cleaning.
Traditional cymbals have a more natural, textured look. They may show fingerprints less clearly, but the surface can hold dirt in its grooves. Use a cleaner designed for traditional cymbals and avoid trying to make the cymbal look like a brilliant model.
Raw bells and unlathed areas may react differently to cleaner. Cover or avoid those areas unless the product instructions say otherwise. Uneven cleaning can create bright spots that look worse than the original marks.
Some drummers prefer the sound and appearance of an aged cymbal. That is a valid choice. Cleaning should match your goal: maintenance, restoration, resale preparation, or simple hygiene.

Removing Stick Marks and Fingerprints
Stick marks are common and do not always mean a cymbal is dirty. Light marks can often be removed with a dry microfiber cloth. Rub gently instead of pressing hard.
For fingerprints, use a cloth slightly dampened with water. If oil remains, apply a small amount of approved cymbal cleaner to the cloth. Work in one direction and stop if the finish begins to look uneven.
Do not scrape marks with a coin, blade, fingernail, or abrasive pad. These tools can create permanent scratches. A cymbal is not like a kitchen pan; more force does not produce better care.
Wash and dry your hands before handling cymbals. Skin oil and moisture are major causes of visible marks. Holding a cymbal by the edge also reduces contact with the playing surface.

Cleaning Cymbals Without Removing Patina
Patina is the darker color that develops as a cymbal reacts with air, moisture, and handling. Many players like it because it gives a cymbal a mature look. Vintage buyers may also prefer original patina over a bright, newly polished surface.
To preserve patina:
- Dust the cymbal with a dry microfiber cloth.
- Wipe fingerprints with a slightly damp cloth.
- Avoid full strength cymbal polish.
- Do not scrub dark areas to make them bright.
- Keep the cymbal dry after cleaning.
- Store it in a breathable cymbal bag.
If you are unsure whether a cymbal has collectible value, do not polish it. A music store or cymbal specialist can help you decide. Restoration may reduce value when originality matters.
This is one of the most important lessons in how to clean drums and cymbals: clean dirt, not history. A cymbal’s age marks may be part of what makes it special.

Cleaning the Inside of Drums
The inside of a drum shell often needs less cleaning than the outside. Remove loose dust with a soft cloth or hand blower. Do not spray cleaner inside the shell.
Inspect the interior for cracks, loose reinforcement rings, lifting veneer, or moisture damage. If you see a problem, stop cleaning and ask a qualified drum technician for advice.
For wood interiors, use a dry cloth unless the manufacturer allows a specific wood cleaner. Avoid oils on unfinished interiors because they can change the wood’s surface and collect dust.
A clean interior makes inspections easier, but it does not need to shine. The goal is a stable shell, not a polished piece of furniture.
How Often Should You Clean Drums and Cymbals?
The best cleaning schedule depends on how often you play, where you store the kit, and how much you sweat. A touring kit in a humid club needs more attention than a home kit used once a month.
Use this simple schedule:
- After each session: Wipe fingerprints and sweat from cymbals and hardware.
- Every few weeks: Dust shells, stands, hoops, and cymbal surfaces.
- Every few months: Remove heads and inspect bearing edges, tension rods, and lugs.
- Once or twice a year: Perform a deeper clean if the kit needs it.
- Before selling or storing: Clean, dry, inspect, and pack every part carefully.
Do not polish cymbals on a fixed schedule. Polish only when the finish or condition requires it. Frequent polishing removes metal and may create an uneven appearance.
Temperature and humidity also matter. Store drums away from direct sunlight, heaters, damp basements, and open windows. Stable conditions help protect wood shells, glue joints, wraps, and metal parts.