How To Clean A Drum Set: Step-By-Step Care Guide
Use gentle cleaners, soft cloths, and step-by-step care to clean a drum set safely and efficiently.
I’ve been maintaining and touring with drum kits for years, so I know the difference between a dull, grimy set and one that looks and sounds its best. This guide will walk you through exactly how to clean a drum set, from heads to cymbals and hardware, with clear steps, tips, and common mistakes to avoid. Read on to learn practical routines, product recommendations, and easy maintenance habits that extend the life and tone of your kit.
Why clean your drum set?
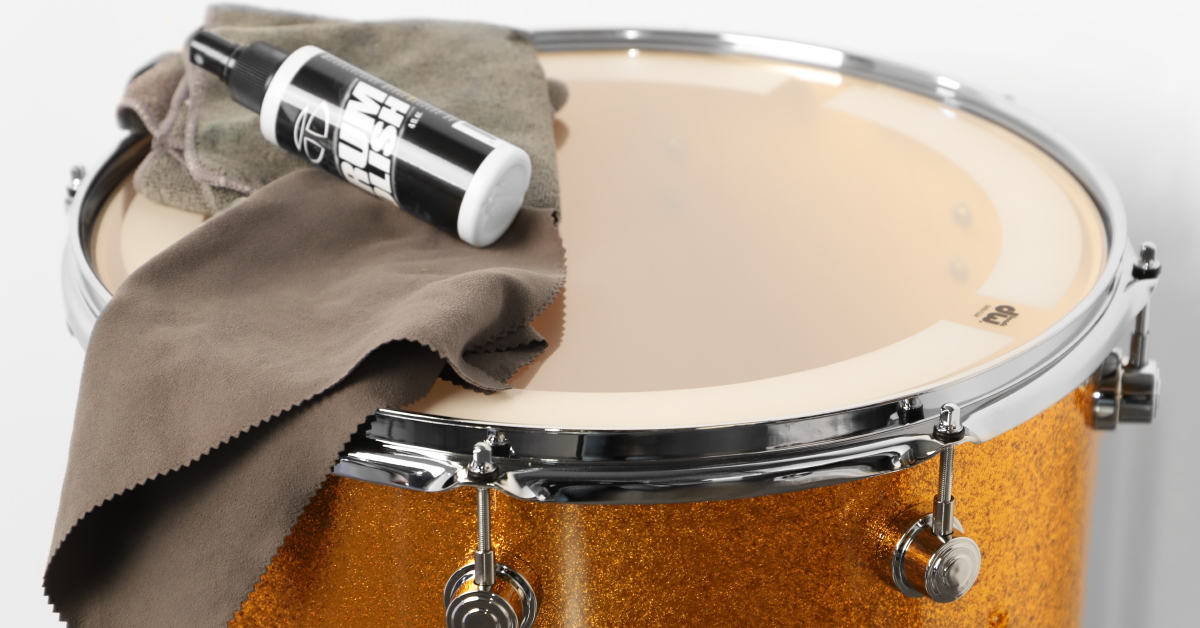
Keeping your drum set clean preserves tone, prevents corrosion, and makes your kit look professional. Regular cleaning removes oils, sweat, dirt, and grit that wear down drum heads and hardware. Clean cymbals and shells also respond better when you play, giving clearer attack and sustain. Learning how to clean a drum set properly saves money on replacements and keeps your gear stage-ready.

What you’ll need
Gather tools and cleaners before you start. Use safe materials to protect finishes and metal parts.
- Soft microfiber cloths for wiping and drying.
- Mild dish soap or dedicated drum-surface cleaner.
- Isopropyl alcohol (70%) for removing sticky residue.
- Metal polish for chrome hardware and cymbals (optional).
- Silicone-free furniture polish for lacquered shells (optional).
- A soft brush or toothbrush for lug crevices.
- Drum key for head and lug adjustment.
- Warm water and a basin for rinsing cloths.
- Gloves to keep oils off drum shells and cymbals.

Step-by-step: how to clean a drum set
Follow a logical order: heads, shells, rims, hardware, cymbals, and finally checks. Work in a clean, well-lit space.
- Prepare and protect
- Remove all small items from the workspace. Lay towels on the floor to prevent chips or dings.
- Loosen tension rods slightly before removing heads to avoid sudden stress on rims.
- Keep parts organized in the order you remove them.
- Clean drum heads
- Wipe heads after each session with a dry microfiber cloth to remove dust and stick marks.
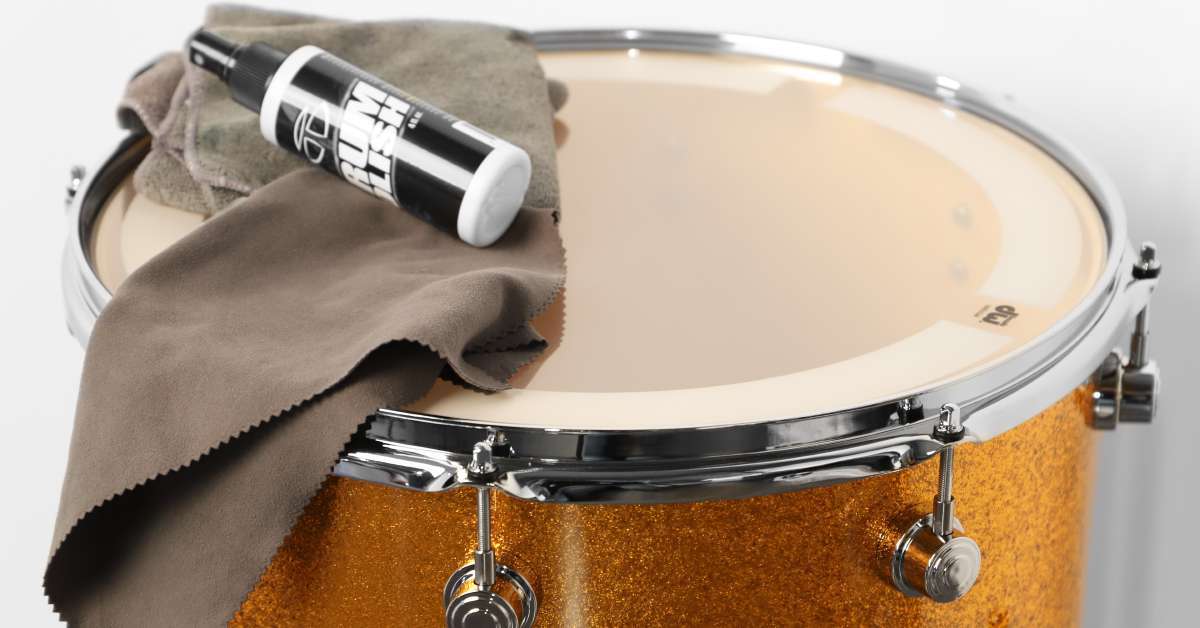
- For deeper cleaning, use a lightly dampened cloth with warm water and mild soap. Wring the cloth well so it’s not dripping.
- Avoid harsh chemicals and abrasive scrubbing that can damage coatings.
- Replace heads when there are dents or loss of tone—cleaning can’t restore well-worn heads.
- Clean drum shells and finishes
- Use a soft cloth and a mild cleaner for painted or lacquered shells.
- For natural wood finishes, use a cleaner specified for wood or a slightly damp cloth, followed by drying.
- Don’t saturate shells with water. Wipe in the direction of the grain.
- For wrap finishes, avoid strong solvents that can lift or discolor the wrap.
- Clean rims, hoops, and lugs
- Wipe rims and hoops with a damp microfiber cloth to remove grime.
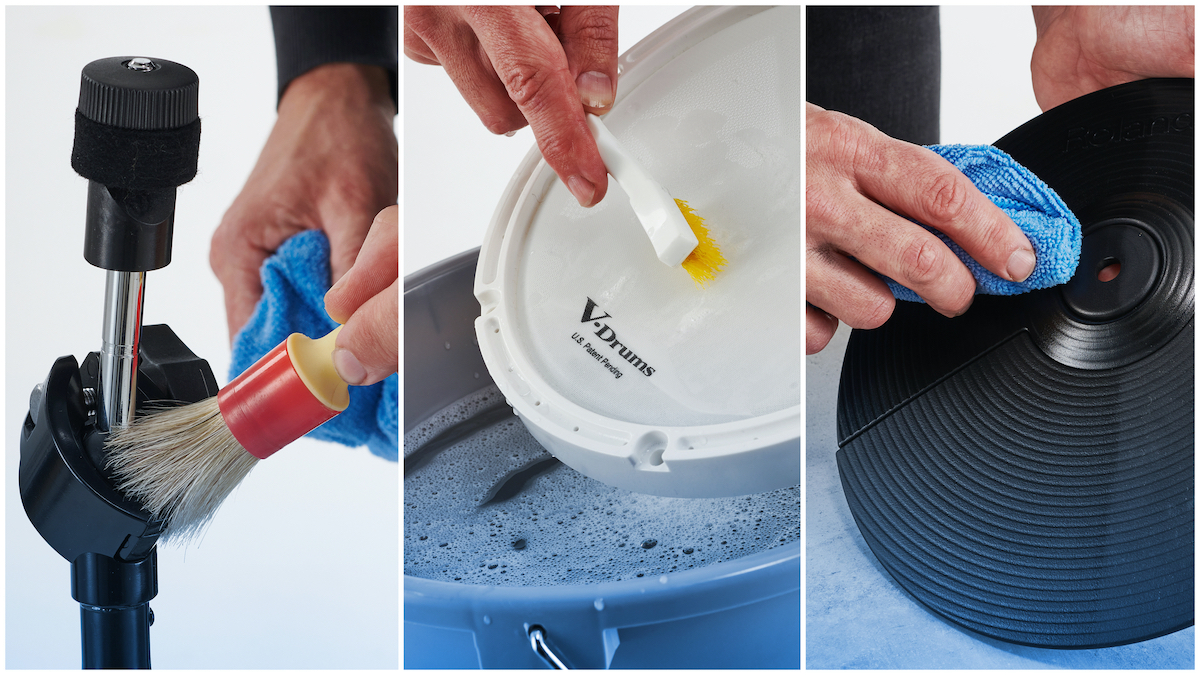
- Use a small brush to clean lug threads and lug housings.
- Apply metal polish sparingly on chrome parts if you want shine. Buff off residue thoroughly.
- Clean hardware and stands
- Disassemble stands if possible and wipe each part.
- Use isopropyl alcohol for sticky residues and mild soap for general cleaning.
- Check moving parts for rust or wear and apply a light lubricant where recommended by the manufacturer.
- Clean cymbals
- Wipe after each use with a clean cloth to remove fingerprints and oils.
- For heavier stains, use a cymbal cleaner following the product directions.
- Clean in concentric circles with the grooves, not across them.
- Be cautious: over-polishing can change the cymbal’s tone. Test on a small area first.
- Reassemble and tune
- Reinstall heads and tune gradually and evenly with a drum key.
- Check that all screws, bolts, and stands are tightened to spec.
- Play a few rudiments and adjust tuning to taste.
Deep cleaning and maintenance tips
Deep cleaning should be done every few months depending on use. Light maintenance after every session keeps deep cleans rare.
-
Frequency guide
- Casual players clean heads and cymbals every few weeks.
- Gigging drummers wipe gear after each show and deep clean monthly.
- Store kits in a dry case to limit dust buildup between sessions.
-
Storage and climate control
- Avoid extreme temperature swings that warp shells or corrode metal.
- Use silica gel packs in cases to reduce moisture.
- Keep cases closed and off damp floors.
-
Preventative care
- Rotate heads to reduce uneven wear.
- Change drumheads in pairs to balance tone if switching only one head.
- Replace felts and rubber parts on stands and pedals when they compress.

Cleaning products: what to use and avoid
Choosing the right product helps avoid damage. When in doubt, test on a hidden area.
-
Safe options
- Mild soap and water for most surfaces.
- 70% isopropyl alcohol for sticky spots.
- Microfiber cloths for general wiping.
- Dedicated cymbal cleaner used sparingly.
-
Avoid
- Ammonia-based cleaners that strip finishes.
- Abrasive pads or steel wool that scratch metal and shells.
- Silicone-based polishes on drumheads or wraps; they attract dust.
- Strong solvents on wrapped shells or lacquer finishes.
Personal experience: lessons learned and mistakes to avoid
I’ve toured with kits for years and learned a few hard lessons. Once, I used a strong polish on a wrapped floor tom and it lifted the edge of the wrap. That cost time and money to repair. Since then I always test cleaners and keep a small repair kit on the road.
Common mistakes I see:
- Applying too much cleaner or water and leaving surfaces wet.
- Over-polishing cymbals and altering their sound.
- Ignoring lug threads and letting grime cause tuning issues.
Practical tips I follow:
- Wipe heads after every practice. It takes 30 seconds and saves headaches.
- Keep a labeled bag with spare heads, a drum key, and basic cleaning cloths.
- Record your tuning settings with a phone photo so reassembly is fast.

Common mistakes and how to avoid them
Avoiding errors saves gear and time. Small habits prevent big problems.
-
Mistake: Using harsh chemicals
- Solution: Stick to mild soap, water, and recommended polishes.
-
Mistake: Skipping lug and thread cleaning
- Solution: Clean threads with a brush and apply tiny amounts of lubricant.
-
Mistake: Over-tightening tension rods
- Solution: Tune in small turns and cross-pattern to avoid warping.
-
Mistake: Neglecting cymbal grooves
- Solution: Clean with the grooves using soft cloths and the right cleaner.
How to clean a drum set for specific situations
Tips for kits on the road, vintage kits, and practice rooms.
-
Road kits
- Clean more often due to sweat and grime from venues.
- Use portable kits with quick-access cloths and a small bottle of cleaner.
-
Vintage or delicate shells
- Use the gentlest methods and minimal moisture.
- Consider consulting a restoration specialist for rare finishes.
-
School or rehearsal rooms
- Set a cleaning schedule and assign basic tasks to users.
- Use protective cases and label parts for easier reassembly.

Frequently Asked Questions of how to clean a drum set
How often should I clean my drum heads?
Wipe down heads after each session to remove oils and stick residue. Deep clean or replace heads every few months depending on playtime and wear.
Can I use household cleaners on my drums?
Mild dish soap and water are safe for many surfaces, but avoid ammonia or harsh solvents. Always test cleaners on a hidden spot first.
How do I clean cymbals without changing the sound?
Use a mild cymbal cleaner and wipe in concentric circles with the grooves. Clean sparingly; over-polishing can alter tone.
Should I remove drum heads to clean shells?
You can clean shells without removing heads for light maintenance, but remove heads for deep cleaning and to clean lug housings thoroughly. Be careful when remounting and retuning heads.
What’s the best way to clean rusty hardware?
Use a soft brush and a light rust remover formulated for musical hardware, then dry and lubricate moving parts. If the rust is severe, consider replacing the part to avoid performance issues.
Conclusion
Cleaning a drum set is simple when you follow a regular routine and use safe products. Focus on heads, shells, hardware, and cymbals in that order, and keep tools and cleaners handy. Start small: wipe heads after practice and do a monthly deep clean. Your kit will sound better and last longer when you take care of it.
Take action today—set a cleaning routine for your kit and try the steps in this guide. If you found this helpful, leave a comment with your questions, or subscribe for more gear care tips.

Senior Music Reviewer
Alex Carter is a seasoned music reviewer with over a decade of experience in the world of sound and instruments. Passionate about helping musicians and enthusiasts make informed choices, he brings sharp insights and in-depth knowledge to every review. From classical instruments to modern gear, Alex combines technical expertise with a love for music to deliver content that resonates with readers.
As a Senior Music Reviewer and expert author on Tuneluma.com, Alex is dedicated to sharing honest evaluations, practical advice, and thoughtful commentary to guide readers in their musical journey.