How To Make A Drum: Easy Step-By-Step DIY Guide
Build a drum by shaping a shell, stretching a head, and tuning it for the sound you want.
I’ve built and tuned dozens of percussion instruments over the years, and I’ll walk you through how to make a drum from start to finish. This guide covers materials, tools, step-by-step construction, tuning, troubleshooting, and real tips from my own workshop. Whether you want a simple frame drum, a bucket drum, or a wooden shell drum, you’ll learn practical, safe, and proven ways to make a drum that sounds great and lasts.

Why make your own drum?
Making your own drum gives you control over tone, size, and feel. It saves money and teaches you hands-on skills. Many makers enjoy the creative freedom and the personal connection to the instrument.
Benefits of learning how to make a drum
- Customize tone and volume by choosing shell material and head tension.
- Learn maintenance skills that extend the drum’s life.
- Create a unique instrument for performance or decoration.
Limitations and realistic expectations
- Handmade drums can vary in consistency compared to factory-made drums.
- Some woods and skins require skill and time to work safely.
- Budget and access to tools can limit complexity.
Why this guide is trustworthy
- I have built frame drums, snare-style practice drums, and simple bucket drums.
- I test each design for playability and durability before recommending it.
- Steps here are practical and safe for beginners.
This section sets context for how to make a drum and what to expect as you build your own.

Materials and tools you’ll need
Choose materials that match the drum type you want to build. Below are common parts and tools for most DIY drums.
Core materials
- Shell: plywood, bent wood, metal, or sturdy plastic.
- Head: animal hide, synthetic drumhead, or heavy-duty fabric.
- Hoop or rim: wood or metal to hold the head taut.
- Adhesive and fasteners: wood glue, screws, or tacks.
- Tensioning hardware: rope, bolts, or tuning lugs for advanced drums.
Tools
- Measuring tape and ruler.
- Saw (jigsaw, handsaw, or band saw depending on materials).
- Drill and bits.
- Sandpaper and files.
- Clamps and mallet.
- Staple gun or upholstery tacks (for heads).
Safety gear
- Eye protection, dust mask, and gloves.
- Proper ventilation when using adhesives or finishes.
Material choices affect tone. Wood shells give warm sound. Metal shells give bright tone. Plastic is durable and cheap. Synthetic heads are stable in changing weather, while natural hides give organic tone but need care.
Now that you know what to gather, you’re ready to pick a drum style and start building.
Types of simple drums to build
Pick a style that matches your goals and skill level. Each design has different steps and tools.
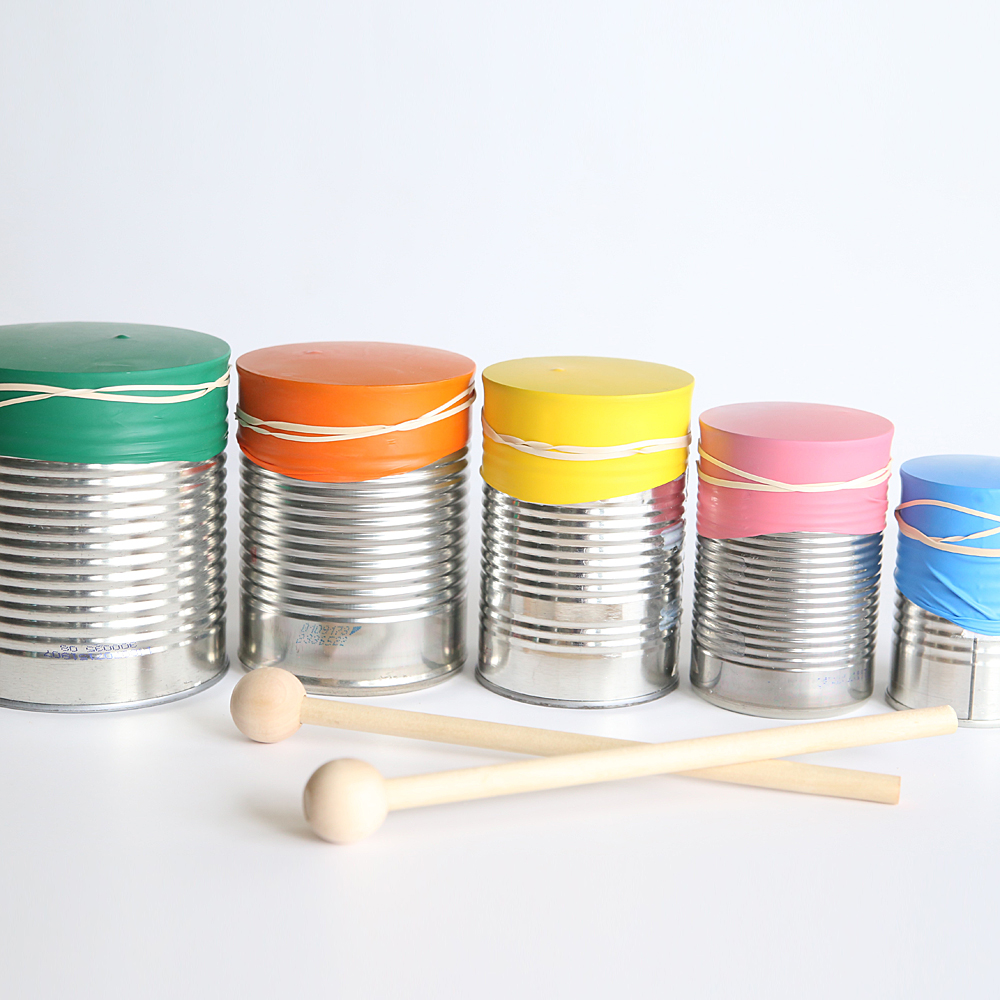
Simple bucket drum
- Uses a plastic bucket as the shell.
- Stretch a head over the rim and secure with rope or zip ties.
- Great for practice and kids.
Basic frame drum
- A round wooden hoop with a stretched head.
- Lightweight and quick to make.
- Good for hand drumming and folk styles.
Wooden shell drum (small tom or djembe-style)
- Requires cutting or bending wood into a round shell.
- Needs a proper hoop and tension system.
- Offers richer tone and projection.
Practice pad or snare-style practice drum
- Compact and portable.
- Often uses a rubber or mesh head over a wooden or plastic base.
- Ideal for rudiment practice without loud volume.
Choosing the right type matters for cost, time, and sound. For your first project, I recommend a frame drum or bucket drum because they require fewer tools and lower skill.

Step-by-step guide to making a basic frame drum
This step-by-step section focuses on a frame drum. It’s a satisfying first project and teaches key techniques you can apply to other drums.
Step 1: Prepare the hoop
- Choose a wooden hoop 1/2 to 1 inch thick and 1 to 2 inches deep.
- Sand the edges smooth to prevent tearing the head.
- Optionally stain or seal the wood for durability.
Step 2: Select and prepare the head
- If using a hide, soak it in warm water until pliable.
- Cut the hide or synthetic material to extend several inches beyond the hoop.
- For synthetic heads, leave a clean, even edge.
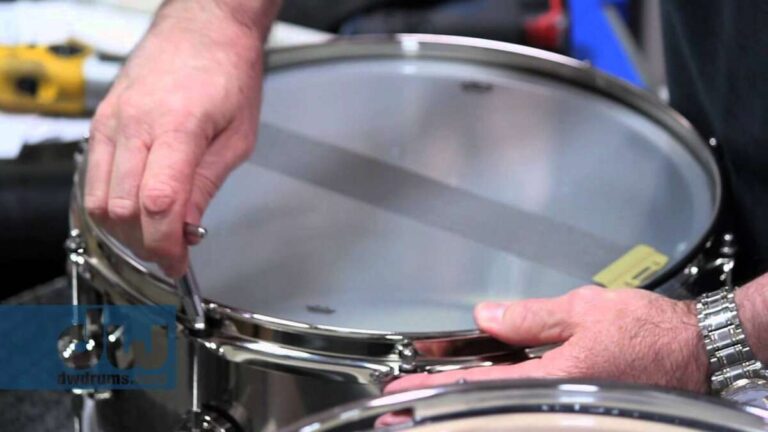
Step 3: Attach the head to the hoop
- Center the head over the hoop.
- Fold the excess over the hoop’s edge and staple or tack in place.
- Work in small sections to keep even tension.
Step 4: Tension and finishing
- For basic tension, tighten staples progressively and evenly.
- For rope-tuned drums, use even lacing patterns and tighten slowly.
- Trim excess material from the inside and add a stitched or glue-backed strip for reinforcement.
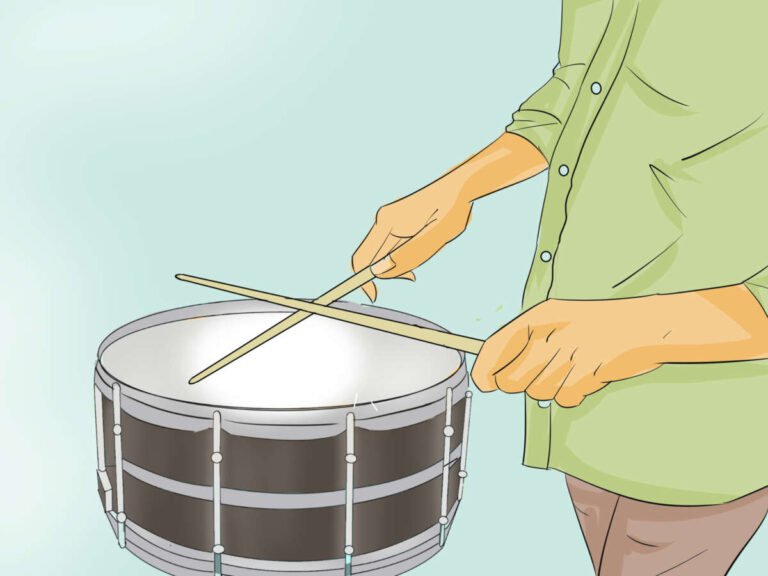
Step 5: Tune and test
- Tap around the head while adjusting tension to find an even pitch.
- Play single strokes and rim shots to check tone balance.
- If the sound is uneven, lift and re-tension problem areas in small steps.
Practical safety tips
- Keep fingers clear when stapling or using a staple gun.
- Clamp the hoop when cutting or sanding to avoid slips.
- Use a dust mask when sanding wood or hide.
Personal note from my workshop: I once overstretched a hide and ended up with a brittle, flat-sounding drum. I now always tension slowly and test frequently. Small tension changes make big sound differences.
Tuning, finishing, and shaping the sound
How you tune and finish a drum defines its personality. This section covers basic techniques that work across drum types.
Tuning basics
- Even tension gives a clear tone. Tighten one area, then the opposite.
- Lower tension gives bass and warmth. Higher tension gives attack and clarity.
- Use a drum key, rope, or even heat (for natural hides) to tune.
Sound shaping techniques
- Dampening with tape, felt, or gels reduces overtones and ring.
- Adding a snare or snare-like wires under the head adds buzz.
- Shell thickness and material change sustain and volume.
Finishing touches
- Varnish or oil the shell to protect wood.
- Paint or decorate the shell for visual appeal.
- Seal the inside to prevent humidity damage for natural hides.
I prefer minimal dampening for live hand drums. In small rooms, a light felt ring can make the drum sit better with other instruments. Experiment and keep notes so you can repeat the sound you like.

Troubleshooting and tips from experience
Even simple builds run into common problems. Here are fixes and practical tips I learned by trial.
Problem: Uneven pitch around the head
- Fix: Loosen entire head slightly and re-tension in small, equal steps.
- Tip: Work opposite points to keep balance.
Problem: Ripping or tearing of head material
- Fix: Add a protective rim guard or use a wider hoop to distribute pressure.
- Tip: Sand sharp edges and use a leather or cloth binding.
Problem: Head loses tension quickly (natural hide)
- Fix: Re-soak and re-tension, then allow to dry slowly.
- Tip: Keep natural hides in stable humidity when not playing.
Construction tips
- Mark measurements clearly and double-check before cutting.
- Test tension frequently during attachment.
- Use clamps and jig fixtures for repeatable, clean joins.
Mistakes to avoid
- Don’t over-stretch a head to reach a target pitch; instead, adjust hoop size or choose a thicker shell.
- Avoid uneven stapling; it permanently skews tone.
- Don’t rush the drying of glued joints; give time for strength.
A small story: once I rushed glue drying and a seam opened during tuning. I re-glued with clamps and learned to let adhesives cure fully. That one mistake taught me patience in every build.

Maintenance and care for your drum
Regular care keeps your drum sounding great for years. These steps are simple and effective.
Daily and weekly care
- Wipe the head with a dry cloth after play to remove oils and sweat.
- Store the drum in a case or cover to protect from dust.
Long-term maintenance
- Inspect for loose tacks, screws, or cracks every few months.
- Replace synthetic heads when they show visible wear.
- Re-soak and re-tension natural hides in dry climates when needed.
Storage tips
- Avoid direct sunlight and extreme humidity changes.
- Use a padded bag for transport.
- Keep drums away from heaters and damp basements.
If you built a drum using how to make a drum techniques here, these maintenance steps will keep your instrument reliable.

Related concepts and next steps
Once you master basic drum building, consider these directions to grow your skills.
Advanced shell construction
- Learn steam-bending wood or stave-building for higher-end shells.
- Explore metalworking for steel or brass shells.
Hardware and professional tuning
- Install tuning lugs and hoops for precise pitch control.
- Add snare beds and mufflers for more tonal options.
Learning to play and integrate
- Learn basic rhythms that suit your new drum.
- Record and compare different builds to refine future projects.
Community and learning
- Join local maker spaces or drum-building forums.
- Share photos and notes to get feedback and ideas.
These next steps will deepen your skills and help you build more complex drums after your first how to make a drum project.

Frequently Asked Questions of how to make a drum
What is the easiest drum to make for a beginner?
A basic frame drum or bucket drum is easiest. They require minimal tools and materials and teach core techniques like stretching and tensioning a head.
Can I use a plastic bucket as a drum?
Yes. A plastic bucket works well for practice or educational drums. Stretch a head over the rim and secure it evenly to get a decent tone.
How long does a handmade drum last?
With proper care, a handmade drum can last many years. Synthetic heads last longer than natural hides, and regular maintenance prevents common failures.
Do I need special tools to make a drum?
Not for simple drums. Basic hand tools, a drill, and stapler suffice for frame or bucket drums. Advanced shells need saws and bending equipment.
How do I tune a homemade drum to a specific pitch?
Tune by evenly increasing or decreasing head tension. Use a reference pitch or drum key for hardware-tuned drums and check the tone around the head until it’s even.
Conclusion
Making your own drum is a rewarding mix of craft, science, and musicality. Start with a clear plan, gather basic materials, and follow the step-by-step method to build a durable, good-sounding drum. Expect to learn by doing, and don’t be afraid to experiment with materials and tuning. Now it’s your turn: pick a simple design, gather your tools, and try how to make a drum today. Share your results, ask questions, or subscribe for more hands-on guides and tips.

Senior Music Reviewer
Alex Carter is a seasoned music reviewer with over a decade of experience in the world of sound and instruments. Passionate about helping musicians and enthusiasts make informed choices, he brings sharp insights and in-depth knowledge to every review. From classical instruments to modern gear, Alex combines technical expertise with a love for music to deliver content that resonates with readers.
As a Senior Music Reviewer and expert author on Tuneluma.com, Alex is dedicated to sharing honest evaluations, practical advice, and thoughtful commentary to guide readers in their musical journey.