How Do You Put On Guitar Strings: The Ultimate 2026 Guide
To change your guitar strings, remove the old ones, anchor them at the bridge, and wind them securely around the tuning pegs.
I have spent years giggling at the sight of my first guitar attempts, back when I had no clue how do you put on guitar strings correctly. Learning this skill is a rite of passage for every musician. At first it can feel awkward, but it is quick to learn. Knowing how to put on guitar strings properly improves tuning stability and helps your guitar sound better. It also saves you money on shop work and helps you bond with your instrument. Whether you play acoustic or electric, this guide walks you through the full process. Read on, and you will feel confident the next time you change strings.

Essential Tools for Changing Guitar Strings
Before you start, gather a few tools. You can get the job done with your hands, but the right gear speeds things up and reduces mistakes. I keep a small gig bag kit with these items. They make a hard job easy.
- String winder: turns tuning pegs fast. Saves time and wrist strain.
- Wire cutters: trim excess string cleanly close to the peg.
- Tuner: a clip-on digital tuner or pedal tuner is vital. New strings move a lot at first.
- Clean cloth: wipe the fretboard and body while the strings are off.
Removing Old Strings Safely
Start by removing the old set. If you are new, change one string at a time. This keeps neck tension steady. If you remove all strings, be careful with tremolo bridges and loose saddles.
- Detune the string until it is slack. Turn the peg slowly.
- Use wire cutters to snip the string near the middle. This makes it easier to remove.
- Pull the string out of the tuning post carefully.
- Remove the other end from the bridge by pulling the bridge pin or feeding the string back through the body.
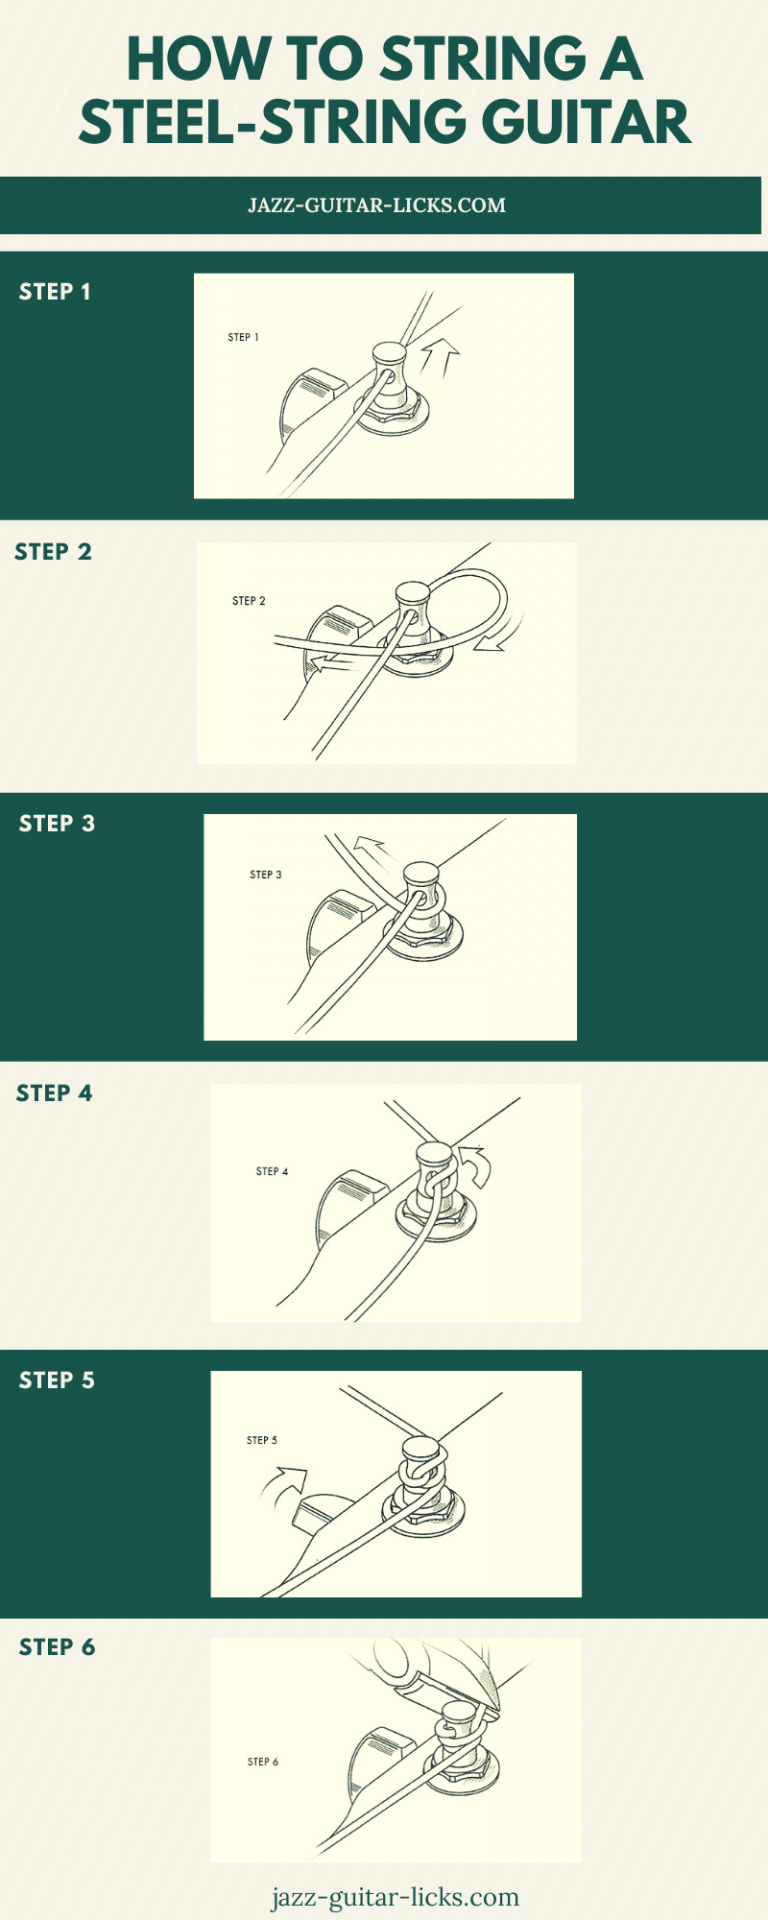
Installing New Strings Step by Step
Now for the key part: how to put on guitar strings so they stay in tune. The trick is to anchor the string well and to wind the right number of coils around the post. Too many wraps and the string slips. Too few and it won’t hold.
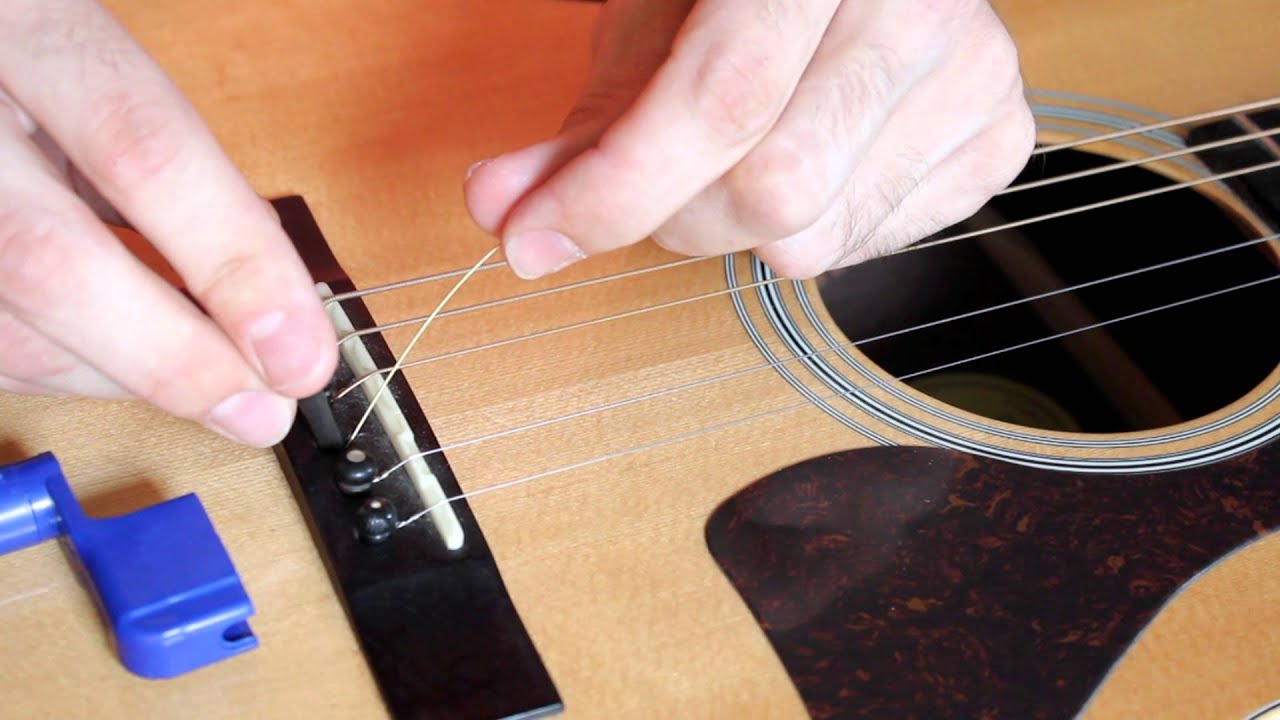
- Feed the new string through the bridge or insert it and pin it in place.
- Pull the string taut toward the corresponding tuning peg.
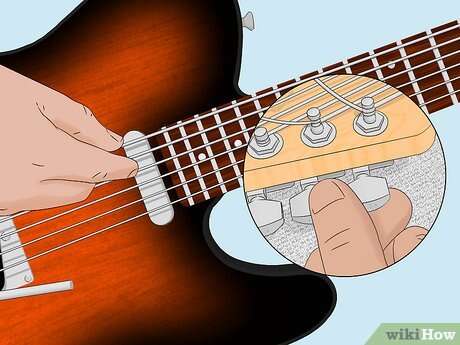
- Thread the string through the peg hole. Leave slack for two to three wraps on most guitars. For wound low strings you might leave one extra wrap.
- Hold tension and wind. Aim for coils that wrap downward toward the headstock. This gives a good break angle over the nut and better tuning stability.
Anchor tips for specific bridge types
Bridges differ. Here are quick notes for common systems:
- Acoustic bridge with pins: push the ball end against the bridge plate and tuck the pin back in. Pull the string up tight before winding.
- Through-body acoustic: thread the string through the hole and pull the ball into the slot. Check that the ball seat is secure.
- Electric hardtail: feed through the back or bridge block and pull snug before winding.
- Floating tremolo (Floyd Rose or Fender-style): keep one string on if you’re unsure, or use a tremolo stabilizer. Fine tuners can help after locking the nut.
Fine Tuning and Stretching Your Strings
New strings will slip and lose pitch at first. That is normal. They need to seat in the nut, bridge, and tuner posts. A simple stretch-and-tune routine speeds up settling.
- Gently pull each string away from the fretboard a few times along its length. Use even force without yanking hard.
- Tune each string to pitch with your tuner.
- Repeat pulling and tuning two or three times until the pitch stays steady after a firm tug.
- Trim excess string near the peg, leaving a small tail in case of slippage.
Types of Strings and How They Affect Setup
Choosing the right strings matters. Strings differ by material, coating, and gauge. These affect tone, playability, and tuning stability.
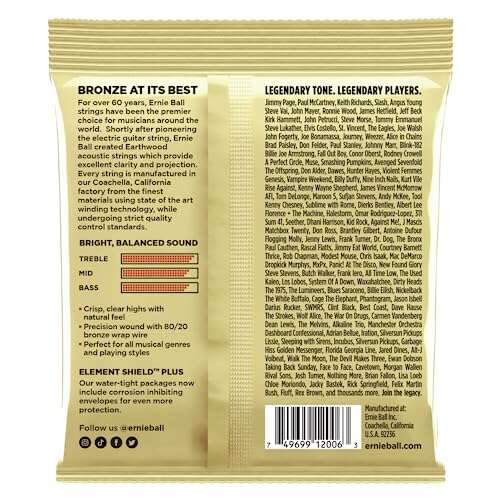
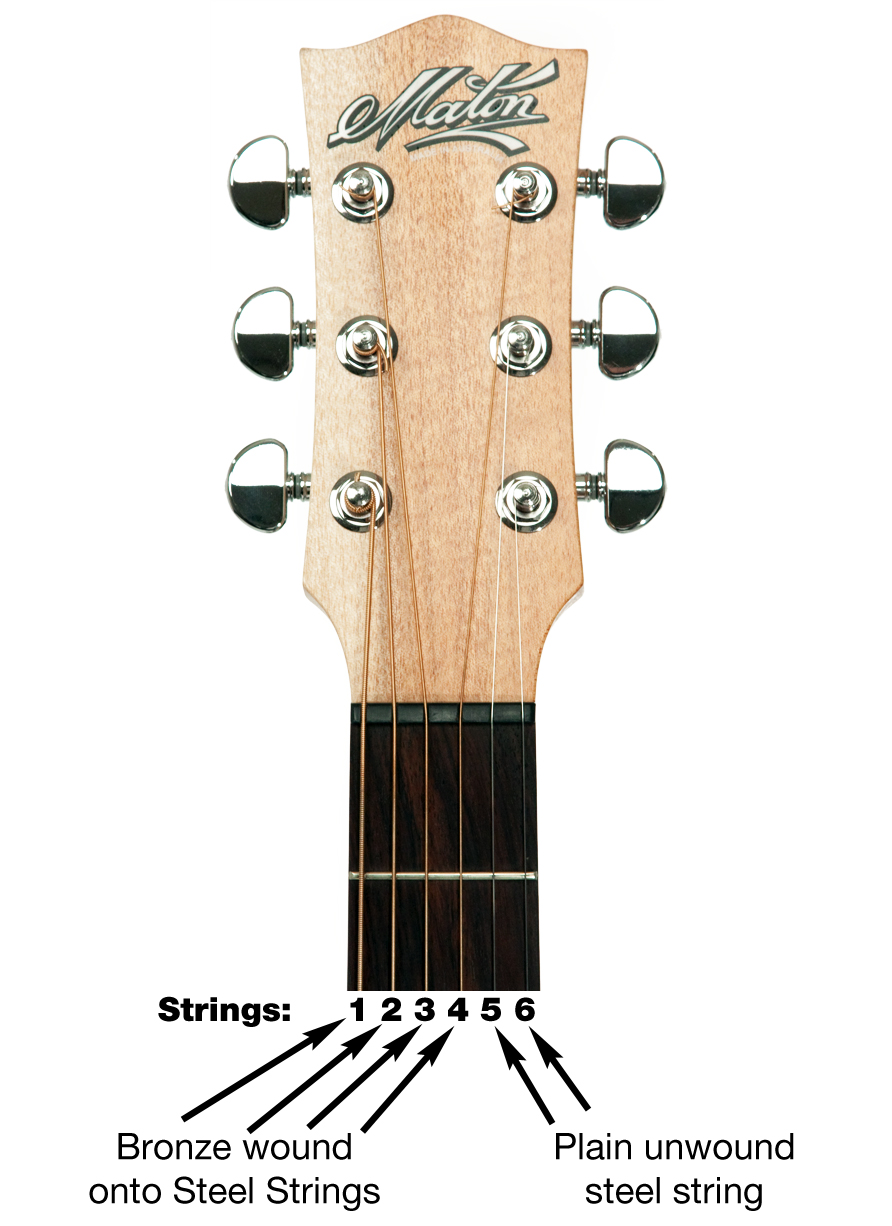
- Material: nickel-plated steel is common on electric guitars. Bronze and phosphor-bronze suit acoustic guitars. Coated strings last longer and resist sweat.
- Gauge: light, medium, or heavy. Lighter gauges are easier to bend and easier on the fingers. Heavier gauges give more volume and sustain but raise string tension.
- Wound vs plain: low strings are wound. Wound strings feel different at the nut and may need fewer wraps on the post.
When you change gauge, you might need a setup. Truss rod, action, and intonation can shift with big gauge changes.
Troubleshooting: Common Problems and Fixes
Here are quick fixes for issues you may see after restringing. These are practical steps I use on stage and in the studio.
- String keeps slipping at peg: add another wrap or lock the string with a simple bone or peg technique. Ensure the string winds neatly and does not cross itself.
- Ping or buzz at the nut: add a tiny bit of graphite from a pencil into the nut slot. This reduces friction and helps tuning.
- Tremolo wonky after restringing: re-balance the spring tension. If you removed all strings, tighten springs until the bridge returns to neutral.
- New strings won’t hold pitch: stretch them more and retune. Also check tuner gears and nut binding.
Quick Restring Checklist (Before You Start)
- New set of strings with the desired gauge and material.
- String winder and wire cutters.
- Tuner (clip-on or pedal).
- Clean cloth and optional fretboard oil for rosewood/ebony.
- Workspace with good light and a safe place for bridge pins and screws.

Frequently Asked Questions of how do you put on guitar strings
How often should I change my guitar strings?
Most players change strings every one to three months. If you play daily, sweat a lot, or gig regularly, change them more often. If strings look dull, feel gritty, or refuse to stay in tune, replace them.
Do I need to remove all the strings at once?
You can, but I recommend changing strings one at a time if you are a beginner. This keeps neck tension stable. If you remove all strings to clean the fretboard, bring tension back gradually and check the bridge and nut alignment.
Why do my new strings go out of tune so fast?
New strings stretch and seat into the nut and bridge. This causes quick pitch changes. Stretch each string gently and retune several times. That often fixes the problem.
Is there a specific way to wind the string around the peg?
Yes. Wind so coils go downward toward the headstock. This creates a good break angle over the nut. Keep coils neat and do not let the string cross itself on the post. Two to three wraps is typical for most strings.
Should I lubricate the nut slots when changing strings?
A tiny graphite rub from a pencil inside the nut slots helps strings move smoothly. This reduces binding and improves tuning stability. For more advanced players, a light drop of specialized nut lubricant works well.
What gauge should I choose for my guitar?
For acoustic guitars, common sets are .012–.053 (medium) or .011–.052 (light). For electrics, .009–.042 or .010–.046 are common. Choose lighter gauges for easier bending. Choose heavier if you want more tone and lower action. If you switch gauges a lot, consider a professional setup.
Conclusion
Learning how to put on guitar strings is a must for every guitarist. Follow these steps and keep your tools handy. Over time, changing strings becomes a quick, calm part of your routine. Each time you restring, you learn more about your guitar’s feel and tone. Practice the technique a few times and you will be able to restring in minutes before a show. Grab your next set of strings, take a breath, and enjoy keeping your instrument in top shape. If you have tips or questions about your guitar setup, share them or reach out for more help on your musical journey.

Senior Music Reviewer
Alex Carter is a seasoned music reviewer with over a decade of experience in the world of sound and instruments. Passionate about helping musicians and enthusiasts make informed choices, he brings sharp insights and in-depth knowledge to every review. From classical instruments to modern gear, Alex combines technical expertise with a love for music to deliver content that resonates with readers.
As a Senior Music Reviewer and expert author on Tuneluma.com, Alex is dedicated to sharing honest evaluations, practical advice, and thoughtful commentary to guide readers in their musical journey.