Do It Yourself Guitar Amp: Build Your Own Tone
A do it yourself guitar amp lets you build a custom tone while learning how sound, circuits, and speakers work together.
Building a do it yourself guitar amp can be simple or advanced, depending on the circuit you choose. A small solid-state practice amp is a good first project, while a tube amp demands careful planning, strong soldering skills, and respect for dangerous voltages. This guide explains the parts, tools, steps, costs, safety rules, and common mistakes so you can build with confidence.
What Is a Do It Yourself Guitar Amp?
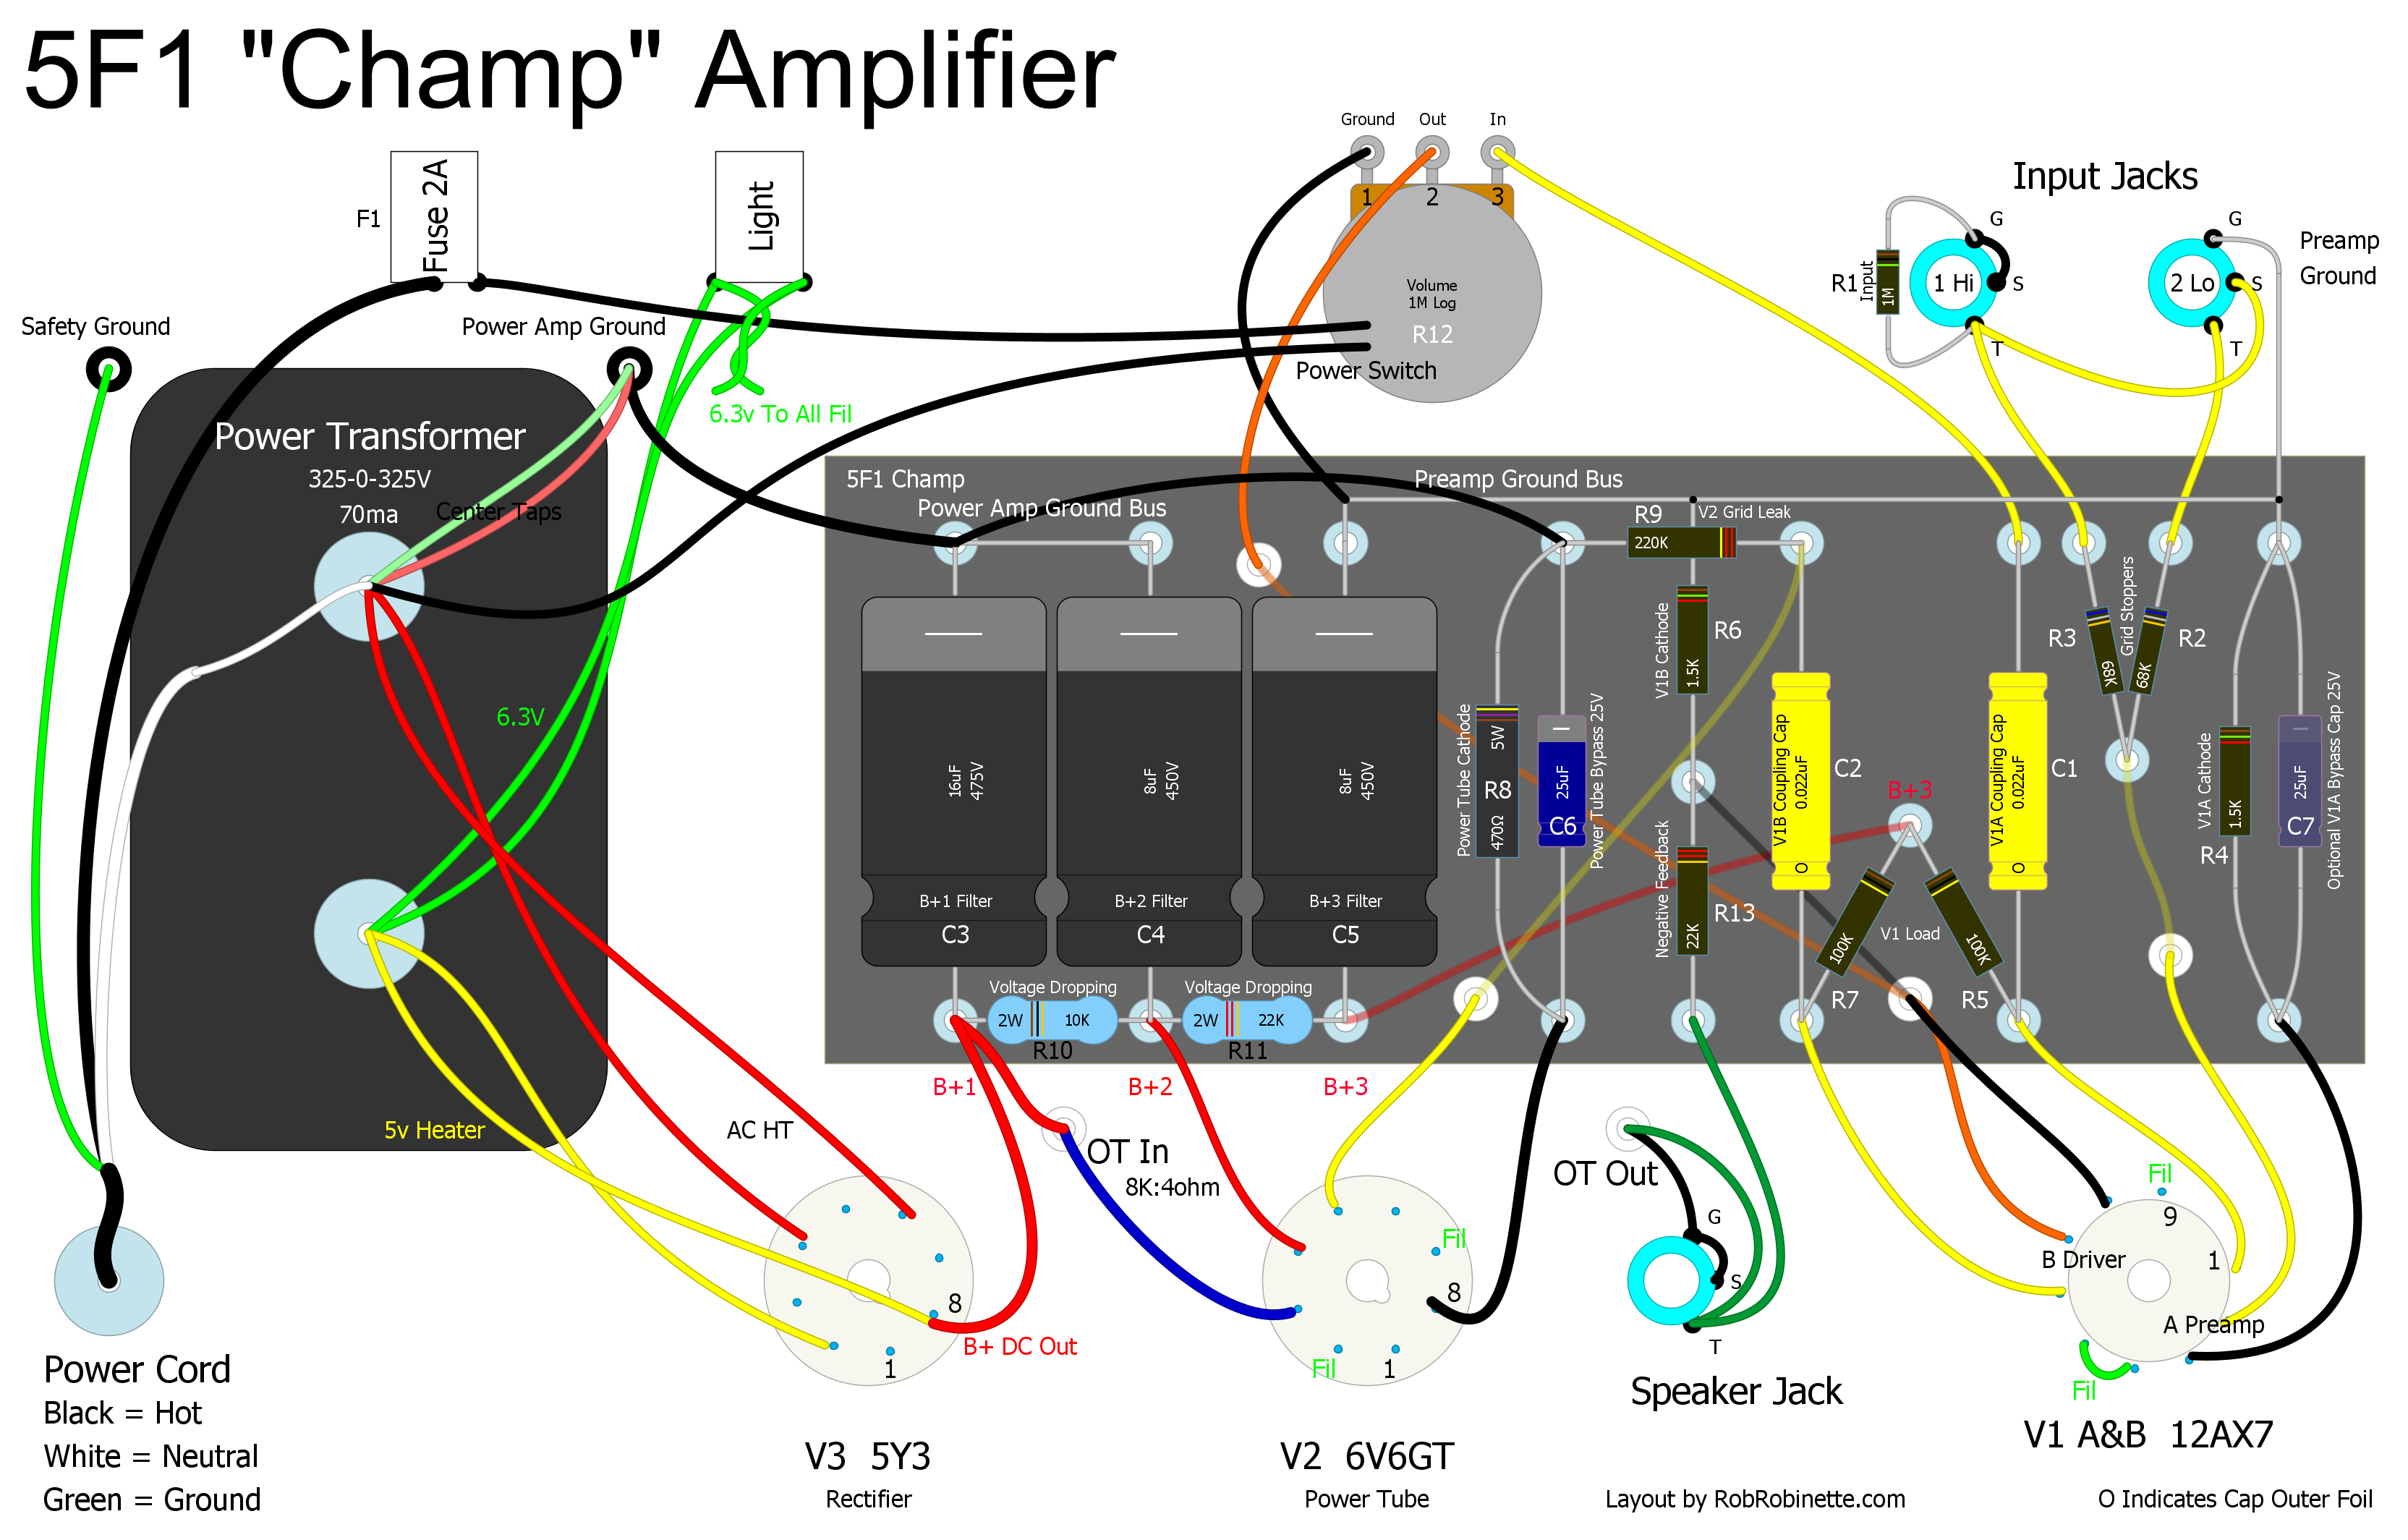
A do it yourself guitar amp is an amplifier that you assemble, wire, or modify yourself. It may use a simple circuit board, a prebuilt kit, or individual electronic parts. The finished amp takes the weak signal from your guitar pickup and turns it into a stronger signal for a speaker.
The basic signal path is easy to understand:
- Your guitar creates a small electrical signal.
- The preamp increases and shapes that signal.
- The power amp adds more energy.
- The speaker changes the electrical signal into sound.
A do it yourself guitar amp can be a small battery powered unit, a pedal amp, a desktop practice amp, or a full size combo amp. Some builders also install a new circuit inside an old speaker cabinet.
The project is not only about saving money. It also gives you control over tone, speaker choice, gain, volume, cabinet size, and visual design. Think of it as cooking from scratch instead of opening a frozen meal. You control every major ingredient.
Why Build Your Own Guitar Amp?
The biggest benefit is control. Store bought amps offer fixed features, but a do it yourself guitar amp can match your exact playing style and space.
You can choose:
- Clean or overdriven tone
- Low volume for bedroom practice
- Battery, USB, or wall power
- One or more tone controls
- A small or large speaker
- A vintage, modern, or handmade cabinet
- Headphone or recording output
- A simple control layout
A DIY build can also teach useful skills. You learn how resistors limit current, how capacitors filter signals, and how speakers affect tone. These lessons help you understand pedals, recording equipment, and commercial amplifiers.
Cost can be another advantage. A basic solid-state project may cost about $50 to $150. A more advanced tube build can cost $250 to $800 or more. The final price depends on the cabinet, speaker, transformers, hardware, and whether you buy a complete kit.
Still, DIY does not always mean cheap. Specialty parts can cost more than expected. Your first build may also need extra wire, solder, replacement parts, and tools. The real value is the learning and customization, not guaranteed savings.

Choose the Right Type of DIY Amp
Your first decision is the amplifier design. Different types offer different levels of risk, cost, and complexity.
Solid-state guitar amp
A solid-state amplifier uses transistors, integrated circuits, or both. It does not need output tubes or high voltage transformer circuits.
This is usually the best starting point for beginners. Many low voltage designs run from 9 to 24 volts. That makes them easier to test and safer than tube circuits, though every powered circuit still deserves care.
A small solid-state design can produce surprisingly good tone. It may use an LM386 style chip, a dedicated guitar amp module, or a more advanced transistor circuit.
Tube guitar amp
A tube amp uses vacuum tubes in its preamp, power amp, or both. Tube circuits are popular because they can create natural compression, warmth, and musical overdrive.
They are also dangerous. Tube amps can contain several hundred volts, and large filter capacitors may hold a charge after the amp is unplugged. A do it yourself guitar amp with tubes should not be your first electronics project unless you have proper training and supervision.
Hybrid guitar amp
A hybrid amp combines tube and solid-state sections. For example, it may use one preamp tube with a solid-state power section.
This approach can offer tube character with lower cost and lower power use. However, the circuit may still contain dangerous voltage. Never assume a hybrid design is safe simply because it has fewer tubes.
Digital modeling amp
A digital amp uses software or digital signal processing to recreate classic amplifier sounds. It can provide many tones in a small package.
Building one from individual parts is more complex. You need digital hardware, programming, audio conversion, and a reliable power supply. For most beginners, modifying an existing modeling unit is more practical than designing one from scratch.

Parts You Need for a Do It Yourself Guitar Amp
The exact parts depend on the circuit. A small practice amp may need only a few major components, while a tube amp requires many more.
Common parts include:
- Amplifier circuit board or schematic
- Speaker with the correct impedance
- Power supply or battery holder
- Input jack
- Volume control potentiometer
- Tone control parts
- On and off switch
- Fuse and fuse holder
- Enclosure or speaker cabinet
- Hookup wire
- Screws, nuts, washers, and mounting hardware
- Heat sink for power transistors or chips
- Knobs and control labels
- Shielded cable for low level audio paths
The speaker deserves special attention. A speaker rated at 8 ohms should connect to an amplifier designed for 8 ohms. A mismatch can reduce power, cause distortion, or damage the output stage.
Power ratings matter too. A 5 watt amp does not always need a 5 watt speaker. A speaker with a higher power rating can work well, but it may sound less responsive at low volume. The speaker's sensitivity, cone material, magnet, and cabinet design all affect the final sound.
Read the circuit documentation before buying parts. Some kits include a parts list, wiring diagram, and recommended speaker. Follow those details instead of guessing.
Tools for Building a DIY Guitar Amp
You do not need a full electronics lab for a simple build. A few reliable tools can handle most beginner projects.
Useful tools include:
- Temperature controlled soldering iron
- Rosin core solder
- Wire cutters and wire strippers
- Small screwdrivers
- Needle nose pliers
- Digital multimeter
- Drill and step drill bit
- Heat shrink tubing
- Desoldering pump or copper braid
- Safety glasses
- Helping hands or a small vise
- Continuity tester
A multimeter is one of the most important tools. It can check resistance, continuity, battery voltage, and power supply voltage. Learn how to use it before you connect power.
A simple soldering lesson can prevent many problems. Heat the joint, apply a small amount of solder, and allow it to flow around the connection. A dull, cracked, or round solder joint may cause noise or failure.
Keep your work area clean. Loose wire clippings can create short circuits. Label wires as you work. A few minutes of organization can save hours of troubleshooting later.

How to Build a Simple Do It Yourself Guitar Amp
A low voltage solid-state circuit is the safest place to begin. Use a trusted kit or a well documented circuit. Avoid copying a random wiring diagram from an unknown source.
1. Study the circuit
Read the schematic and parts list before soldering. Learn the symbols for resistors, capacitors, diodes, transistors, and integrated circuits.
Check the polarity of electrolytic capacitors and diodes. Installing these parts backward can damage them when power is applied.
2. Test the power supply
Measure the output of your battery pack or adapter. Confirm that the voltage matches the circuit requirement. Never use a supply with the wrong voltage or polarity.
Use a regulated adapter when the design calls for one. Cheap or unregulated supplies may add hum or produce a voltage that is higher than expected.
3. Build the circuit
Install low profile parts first. Resistors usually go in before larger capacitors, jacks, and switches.
Keep audio input wires short. Long unshielded wires can act like antennas and collect hum from lights, computers, and power cables.
4. Add the controls
Connect the volume and tone controls according to the diagram. Mark each wire before connecting it.
A reversed potentiometer may still work, but the control will turn in the opposite direction. That is not dangerous, but it can make the amp confusing to use.
5. Connect the speaker
Check the speaker impedance before connecting it. Make sure the speaker wires cannot touch the cabinet or other terminals.
Do not run a power amplifier without its required load. Some solid-state circuits tolerate this, but others may not. Follow the circuit instructions.
6. Test at low volume
Turn the volume control down before applying power. Watch for smoke, heat, unusual smells, or loud noise.
If the amp behaves strangely, switch it off at once. Unplug it before touching the circuit. Check for reversed parts, solder bridges, loose grounds, and incorrect wiring.
Designing the Cabinet and Speaker Layout
The cabinet is more than decoration. It affects bass response, volume, resonance, and durability.
An open back cabinet usually sounds broad and airy. A closed back cabinet can provide tighter low end. A sealed cabinet must have enough internal strength to avoid buzzing or vibration.
Use solid wood, plywood, or a suitable commercial enclosure. Thin fiberboard may work for a small low power amp, but it can flex and create unwanted noise.
Plan the layout before drilling. Leave space around:
- The speaker
- Circuit board
- Power supply
- Transformer
- Input jack
- Controls
- Heat producing components
- Ventilation openings
Keep the input jack away from transformers and mains wiring. This reduces hum. Keep the speaker firmly mounted, and use washers if the cabinet material is soft.
A common beginner mistake is building a cabinet that is too small for the speaker. Measure the speaker frame, magnet, mounting depth, and cable space first. A paper template can prevent expensive cutting errors.

Understanding Guitar Amp Tone
Tone comes from the entire system, not just the amplifier board. Your guitar pickups, cables, preamp, power stage, speaker, cabinet, and playing style all matter.
The preamp controls much of the gain and equalization. More gain can create distortion, but too much gain may produce hiss and harsh clipping.