Can You Paint A Piano: Easy Step-By-Step Guide
Yes, you can paint a piano, but careful preparation and the right paint are essential for a lasting finish.
A piano can become a striking piece of furniture when its color matches your room and style. Still, it is not like painting a wall or a small table. The case has delicate trim, moving parts, old finishes, and a soundboard that must stay protected. This guide explains how to paint a piano safely, which methods work best, what mistakes to avoid, and when professional help makes more sense.
Can You Paint a Piano Safely?
Yes, you can paint a piano safely if you paint only the outer cabinet and protect every internal part. The cabinet includes the top, sides, front panels, legs, music desk, and fallboard. These areas can usually accept a new finish after proper cleaning and light sanding.
Do not paint the soundboard, strings, hammers, dampers, keys, pedals, or other working parts. Paint dust, liquid, and heavy coatings can affect the piano’s tone and action. Even a small amount of paint in the wrong place may lead to costly repairs.
The piano’s condition also matters. A solid wood cabinet may respond well to refinishing. A veneer cabinet can also be painted, but you must sand it gently. Many older pianos use thin wood veneer over a different base, so aggressive sanding may expose the material below.
Before starting, check for:
• Loose veneer or peeling finish
• Cracks in the cabinet
• Water damage
• Insect damage
• Unstable legs or casters
• Sticking keys
• Rust on strings or hardware
• A strong musty smell
Painting will not fix structural problems. It may hide them for a short time, but the damage can continue underneath the new finish.
Why Paint a Piano?
People paint pianos for both practical and design reasons. A dated brown, orange, or worn black finish may not suit a modern home. A fresh color can help the piano feel like part of the room instead of an oversized object.
Common reasons to paint a piano include:
• Updating an old finish
• Matching the piano to a room
• Covering scratches and small stains
• Creating a bold furniture feature
• Restoring a thrifted or inherited piano
• Giving a damaged cabinet a clean appearance
• Preparing a piano for a studio, stage, or event
A painted piano can look elegant in white, soft gray, navy, green, or charcoal. Bright colors can also work well in creative spaces. Satin finishes often look more refined than very glossy finishes because they show fewer dust marks and fingerprints.
There is one important limitation. Painting may reduce the piano’s resale value if it covers a rare original finish. A valuable antique, branded instrument, or historically important piano should be assessed before you alter it.
A basic rule is simple: paint a common decorative piano if you love the result, but preserve a valuable or unusual piano until an expert checks it.
What Kind of Piano Can You Paint?
Most upright and spinet pianos can be painted on the outside. Baby grand and grand pianos can also be painted, but their larger panels and curved surfaces require more time and skill.
Upright pianos
Upright pianos are the most common candidates for a paint makeover. Their cabinets have broad, flat sections that are easier to clean, sand, prime, and paint.
You may paint the following parts:
• Side panels
• Top lid
• Front doors
• Music desk
• Fallboard
• Lower panel
• Legs and feet
• Exterior trim
The front panels often lift or slide out. Removing them can make the work much easier. Take photos before removing anything, and label each part with painter’s tape.
Spinet and console pianos
Spinets are small, but their compact design can make access difficult. The lower action and pedal area may sit close to the cabinet. Use extra care around these openings.
Console pianos are often easier to paint because they have larger cabinets and more accessible panels. Still, do not assume that every panel is decorative. Some panels support the action or help direct sound.
Grand pianos
A grand piano has a large lid, curved rim, legs, and many visible edges. Painting one is possible, but the lid can be heavy and difficult to remove safely.
The large lid may also warp if it is stored poorly. If you own a grand piano, consider hiring a piano technician to help with disassembly and a refinishing professional for the cabinet.
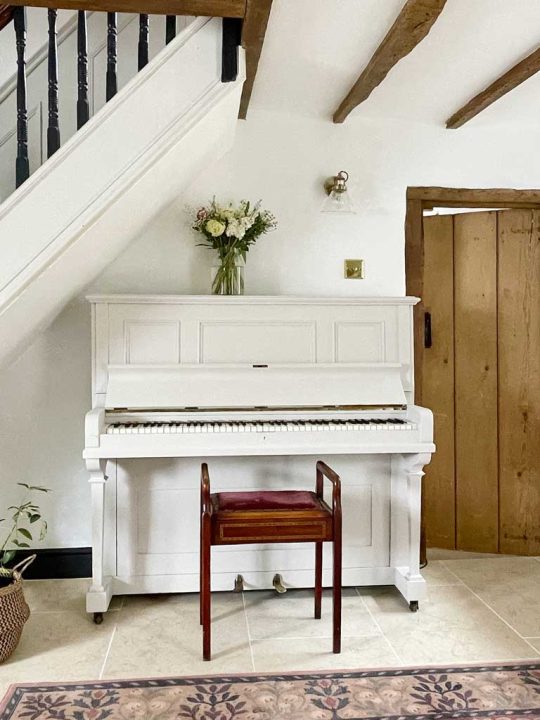
Should You Remove the Piano’s Parts First?
Remove only the parts you can identify and reinstall with confidence. Exterior panels, hinges, music desks, and some legs may come off easily. Internal action parts should stay in place unless a trained piano technician removes them.
Use these steps:
-
Take clear photos from several angles.
-
Label screws, hinges, panels, and brackets.
-
Store small hardware in marked bags.
-
Keep all screws with the correct panel.
-
Cover exposed openings as soon as a panel comes off.
-
Never force a stuck part.
A piano has many parts that look simple but serve a precise purpose. The fallboard, for example, may protect the keys and move on small hinges. The music desk may have hidden supports. A careless twist can split old wood or damage a hinge.
If a panel does not move with gentle pressure, stop and inspect it. Search for hidden screws, clips, or sliding tracks before applying more force.
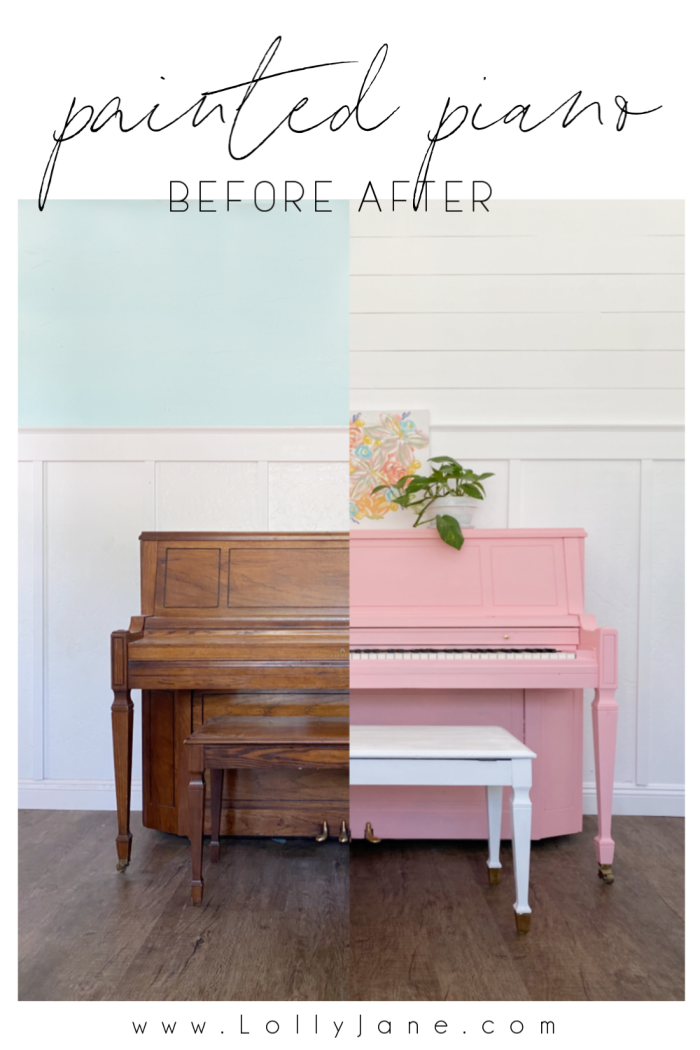
What Paint Works Best on a Piano?
The best paint depends on the look you want, the condition of the cabinet, and the tools you have. A high quality furniture paint or water based enamel is often a practical choice for beginners.
Good options include:
• Water based furniture paint
• Acrylic enamel
• Cabinet and trim enamel
• Milk paint with a protective topcoat
• Chalk style paint with a durable sealer
• Professional lacquer or conversion varnish
Water based products produce less odor and dry faster. They are also easier to clean from brushes. However, they may not level as smoothly as sprayed lacquer.
Oil based enamel can create a hard surface, but it dries slowly and produces stronger fumes. It may also yellow over time, especially in white or pale colors.
Lacquer can create a smooth, professional finish. It requires proper spraying equipment, ventilation, and protective gear. It is not a good choice for a small indoor room without safe air control.
Avoid wall paint. Interior wall paint is made for walls, not for surfaces that receive handling, rubbing, and repeated contact. It may scratch, remain soft, or show brush marks.

Do You Need Primer Before Painting a Piano?
Primer is usually a wise choice, especially when the piano has a glossy finish, dark wood, stains, or unknown surface treatment. Primer helps the new paint bond to the cabinet and reduces the number of paint coats.
Choose a bonding primer for smooth, sealed, or varnished wood. If the cabinet has strong stains, use a stain blocking primer. Shellac based primers block many stains well, but they have strong fumes and require good ventilation.
Test the primer in a hidden spot first. Check for:
• Peeling
• Wrinkling
• Poor adhesion
• Bleeding color
• Softness after drying
Some old finishes react badly with new products. A small test can prevent a large failure on the piano lid.
If the existing finish is already dull and sound, you may not need a heavy primer. Even then, a thin coat can improve adhesion and help the final color look even.

How to Prepare a Piano for Painting
Preparation usually takes more time than painting. A rushed surface often leads to chips, rough spots, and visible marks.
Follow this process:
-
Move the piano to a suitable work area.
-
Photograph the piano before taking off panels.
-
Remove exterior hardware when possible.
-
Vacuum dust from the cabinet.
-
Clean the surface with a mild degreaser.
-
Repair dents, cracks, and loose veneer.
-
Sand the finish lightly.
-
Remove all sanding dust.
-
Apply primer.
-
Sand the primer lightly after it dries.
-
Apply thin paint coats.
-
Allow the finish to cure before reassembly.
Never move a piano alone. Upright pianos are extremely heavy and can damage floors, walls, or people. Use piano moving equipment or hire trained movers.
Place the piano on a level surface. Protect the floor with a drop cloth, but do not place the piano on an unstable platform. Keep the work area free from pets, children, open flames, and excess dust.
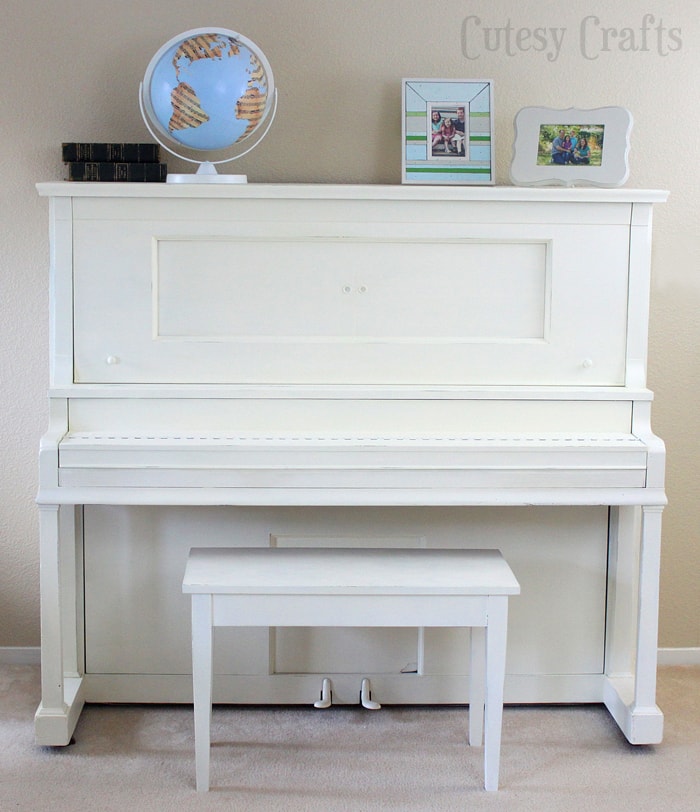
How to Clean and Sand a Piano
Start with a soft brush or vacuum attachment to remove loose dust. Then wipe the cabinet with a damp cloth and a mild cleaner. Do not soak the wood, and do not spray cleaner directly into gaps or hardware.
Grease and furniture polish can prevent paint from sticking. Pay close attention to areas near the keys, hands, pedals, and lid handle. Let the cabinet dry fully before sanding.
Use fine to medium sandpaper, such as 180 to 220 grit, for most painted finishes. Your goal is to remove shine and create a light surface profile. You do not need to strip every layer of old finish.
Sand by hand around trim and edges. A random orbital sander may help on broad, flat panels, but use light pressure. Veneer can be very thin. If you sand through it, the repair may show beneath the paint.
After sanding, vacuum the surface. Wipe it with a clean, lint free cloth. Avoid leaving oily residue behind.
How to Paint a Piano Step by Step
Once the cabinet is clean, repaired, and primed, you can begin painting. Work slowly and keep each coat thin.
Step 1: Protect the working parts
Cover the keyboard, strings, pedals, action, soundboard, and openings with plastic and painter’s tape. Tape should seal the edges without touching delicate surfaces for too long.
Never let paint or dust fall into the piano. A loose plastic sheet can cause problems if it touches the action, so secure it well.
Step 2: Paint the least visible areas first
Start with the back edges or lower panels. This gives you a chance to test the paint and brush technique.
Use a quality synthetic brush for water based paint. A small foam roller can work on broad panels, but roll lightly to avoid bubbles and texture.
Step 3: Apply thin coats
Two or three thin coats usually look better than one thick coat. Thick paint can sag, wrinkle, and remain soft beneath the surface.
Follow the product’s drying time. Do not rely only on touch. Paint can feel dry while the lower layer remains soft.
Step 4: Sand between coats
If the surface feels rough, sand it gently with fine paper. Remove the dust before adding another coat.
Do not sand aggressively near sharp edges. Paint builds faster on corners, and heavy sanding can expose the primer or wood.
Step 5: Add a protective finish
A clear topcoat can improve resistance to scratches and moisture. Choose a topcoat that is compatible with your paint.
Test the full paint and topcoat system on scrap wood first. Some clear finishes can change the color or create cloudiness.
Step 6: Let the piano cure
Curing takes longer than drying. Wait several days, or follow the product label, before handling the painted panels heavily.
A soft finish can dent when you reinstall hardware too soon. Patience at this stage protects all the work you have done.
Can You Paint a Piano Without Sanding?
You can paint a piano without heavy sanding, but skipping all surface preparation is risky. Some products claim strong adhesion with little or no sanding, yet the cabinet still needs cleaning and testing.
A no-sanding approach may work when:
• The old finish is clean and stable
• The surface is not glossy
• The paint is made for smooth furniture
• You use a suitable bonding primer
• You test adhesion before painting the full cabinet
Light scuffing is still the safer option. It removes surface shine and gives the primer a better grip.
A simple adhesion test can help. Apply primer to a hidden area, let it dry, and press painter’s tape onto it. Pull the tape away at a steady speed. If the primer lifts, the surface needs more preparation or a different product.
Should You Paint the Inside of a Piano?
In most cases, no. The inside of a piano contains sensitive parts that need to move freely and respond to changes in pressure, temperature, and humidity.
Do not paint:
• Soundboards
• Bridges
• Strings
• Tuning pins
• Hammers
• Dampers
• Action parts
• Key surfaces
• Felt
• Pedal mechanisms
Paint can add weight, restrict movement, trap moisture, and change the way parts contact each other. It may also create fumes that linger inside the case.
The soundboard is especially important. It vibrates to produce sound, so coating it may affect tone and resonance. Even if the change seems small, it can be difficult to reverse.
If the interior wood looks dirty, ask a piano technician about safe cleaning. Interior cleaning should be gentle and targeted, not treated like a cabinet painting project.
How Does Painting Affect Piano Sound?
Painting the exterior cabinet usually has little effect on sound when done carefully. The main risk comes from paint entering the interior or coating parts that vibrate or move.
A thick coating on removable exterior panels may slightly change weight and resonance, but this is usually less serious than damage to the soundboard or action. The exact effect depends on the piano’s design, age, materials, and existing condition.
Keep paint away from:
• The soundboard
• The bridges
• The inner rim
• The strings
• The action
• The damper system
• The underside of the lid when it affects sound projection
Some musicians prefer the original finish because it preserves the instrument’s design and response. Others paint the case with no noticeable change in daily playing. The safest approach is to keep the paint work strictly cosmetic and external.
After the project, have the piano checked and tuned. Moving the instrument, changing its environment, and removing panels can affect tuning even when the painting itself does not.
Common Mistakes to Avoid
Many poor piano paint jobs come from simple mistakes rather than bad paint. The most common problem is treating the piano like ordinary furniture.
Avoid these errors:
• Painting over dirt or furniture polish
• Using thick coats
• Skipping a bonding primer
• Sanding through wood veneer
• Painting over hinges and hardware
• Allowing paint dust into the action
• Removing parts without labeling them
• Moving the piano without proper equipment
• Reassembling panels before the finish cures
• Using strong products without ventilation
• Painting a valuable antique without an appraisal
• Expecting paint to repair structural damage
One lesson I often share with do-it-yourself renovators is to slow down at the edges. Corners, trim, and panel gaps reveal rushed work first. Thin coats and careful masking make a bigger difference than expensive tools.
Another useful lesson is to test the whole system. Paint, primer, clear coat, cleaner, and old finish can react in unexpected ways. A test patch takes minutes, while repairing a failed lid can take days.
Brush, Roller, or Sprayer: Which Is Best?
Each painting method has strengths and limits.
Brush painting
A brush is affordable and easy to control. It works well for trim, edges, legs, and small panels.
Use long, light strokes and avoid repeatedly brushing paint that has started to set. A good brush and thin coats can create a smooth result.
Roller painting
A small foam roller can reduce brush marks on broad, flat panels. It may leave a fine texture, so use a light final pass or sand gently between coats.
Rollers are useful for beginners who want even coverage without spraying.
Spray painting
Spraying can produce the smoothest finish, especially on large panels. It also requires the most preparation.
You need:
• Proper ventilation
• A clean spray area
• Compatible paint
• Respiratory protection
• Eye protection
• Practice on scrap material
Never spray indoors without safe air control. Follow the product label and local rules for fumes, waste, and protective equipment.
How Much Does It Cost to Paint a Piano?
The cost depends on the piano’s size, condition, paint system, and whether you do the work yourself.
A basic do-it-yourself project may require:
• Cleaner
• Sandpaper
• Painter’s tape
• Drop cloths
• Primer
• Paint
• Brushes or rollers
• Protective topcoat
• Wood filler
• Replacement hardware
The materials may cost from about $100 to $400, depending on product quality and the number of coats. Professional refinishing can cost much more, especially for a grand piano or a cabinet with repairs.
The piano’s value should guide your budget. Spending heavily on a damaged piano may not make financial sense. However, a well-built instrument with good action and a stable soundboard can be worth restoring even if the cabinet looks tired.
Ask a piano technician to assess the instrument before you invest. A beautiful cabinet cannot make an unplayable piano valuable.
When Should You Hire a Professional?
Hire a professional when the piano has high value, major damage, a complex finish, or difficult access to the interior. Professional help is also wise if you plan to spray lacquer or remove action parts.
Consider expert help if:
• The piano is antique or rare
• The veneer is lifting
• The cabinet has serious cracks
• The finish contains unknown coatings
• The piano is a grand model
• You need a museum quality result
• The piano has mechanical problems
• You are not comfortable moving heavy furniture
• You cannot provide safe ventilation
A piano technician focuses on the instrument’s structure, action, strings, and tuning. A furniture refinisher focuses on the cabinet and finish. For a valuable piano, you may need both professionals.
Ask for photos of past projects, a written estimate, the paint system they plan to use, and details about how they will protect the instrument.
What to Do After Painting
Do not rush to put every panel back. Let the finish cure according to the product instructions. Keep the piano in a stable indoor environment while the coating hardens.
Avoid placing the piano near:
• Direct sunlight
• Heating vents
• Wood stoves
• Air conditioners
• Damp basements
• Exterior doors
• Radiators
Large swings in temperature and humidity can affect both the cabinet and the piano’s tuning. Many piano care guides recommend a stable indoor environment rather than extreme dryness or dampness.
After reassembly, check that:
• Keys move freely
• The fallboard opens and closes
• Pedals work normally
• Panels do not vibrate
• Hinges are secure
• No paint touches moving parts
Schedule a tuning after the piano settles in its final location. Painting does not replace tuning, regulation, or repair.
Frequently Asked Questions About Can You Paint a Piano
Can you paint a piano with chalk paint?
Yes, you can use chalk style paint on the exterior cabinet after cleaning and light preparation. Apply a durable topcoat because chalk paint alone may mark or wear under regular handling.
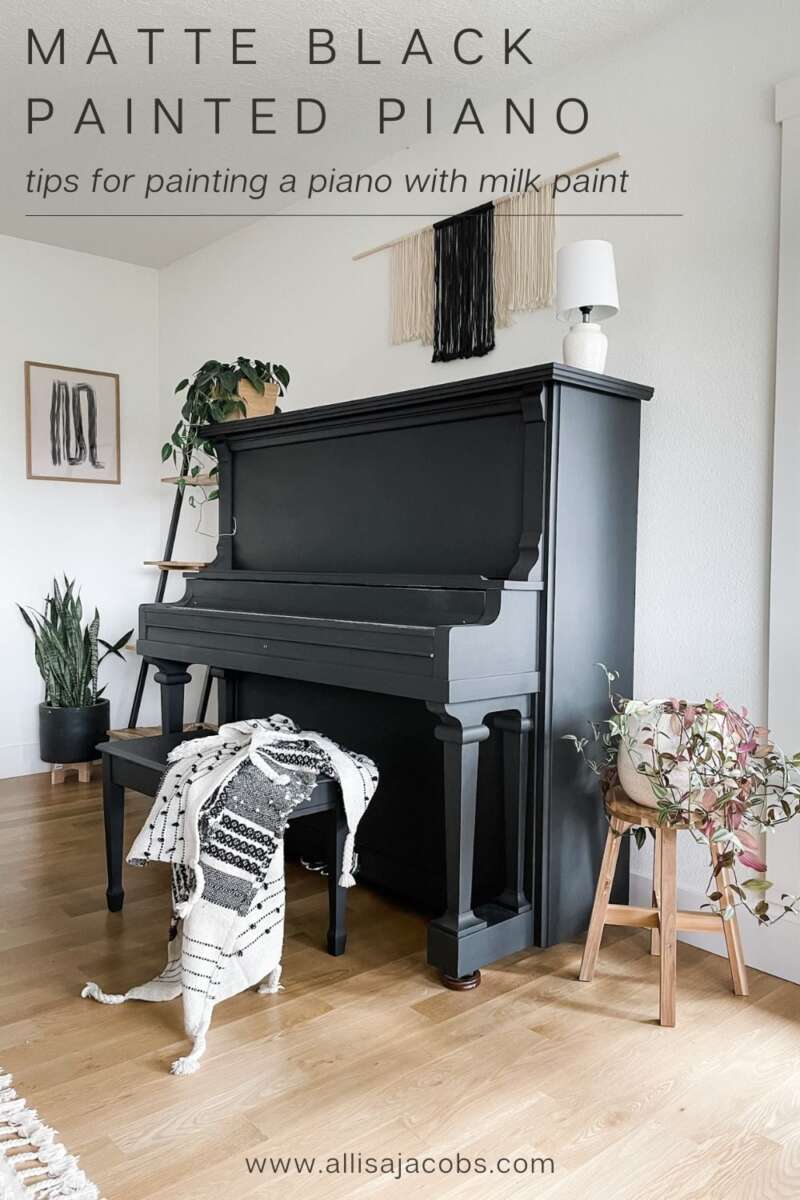
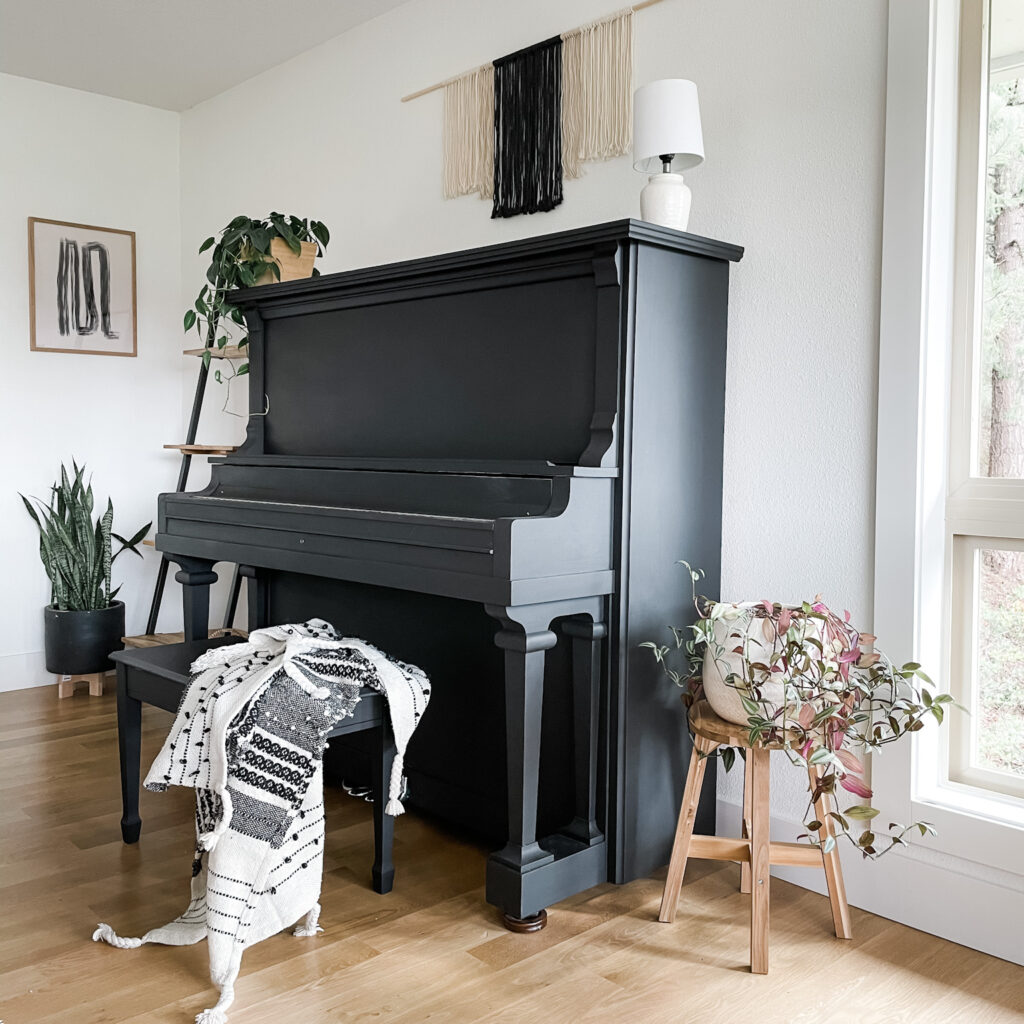
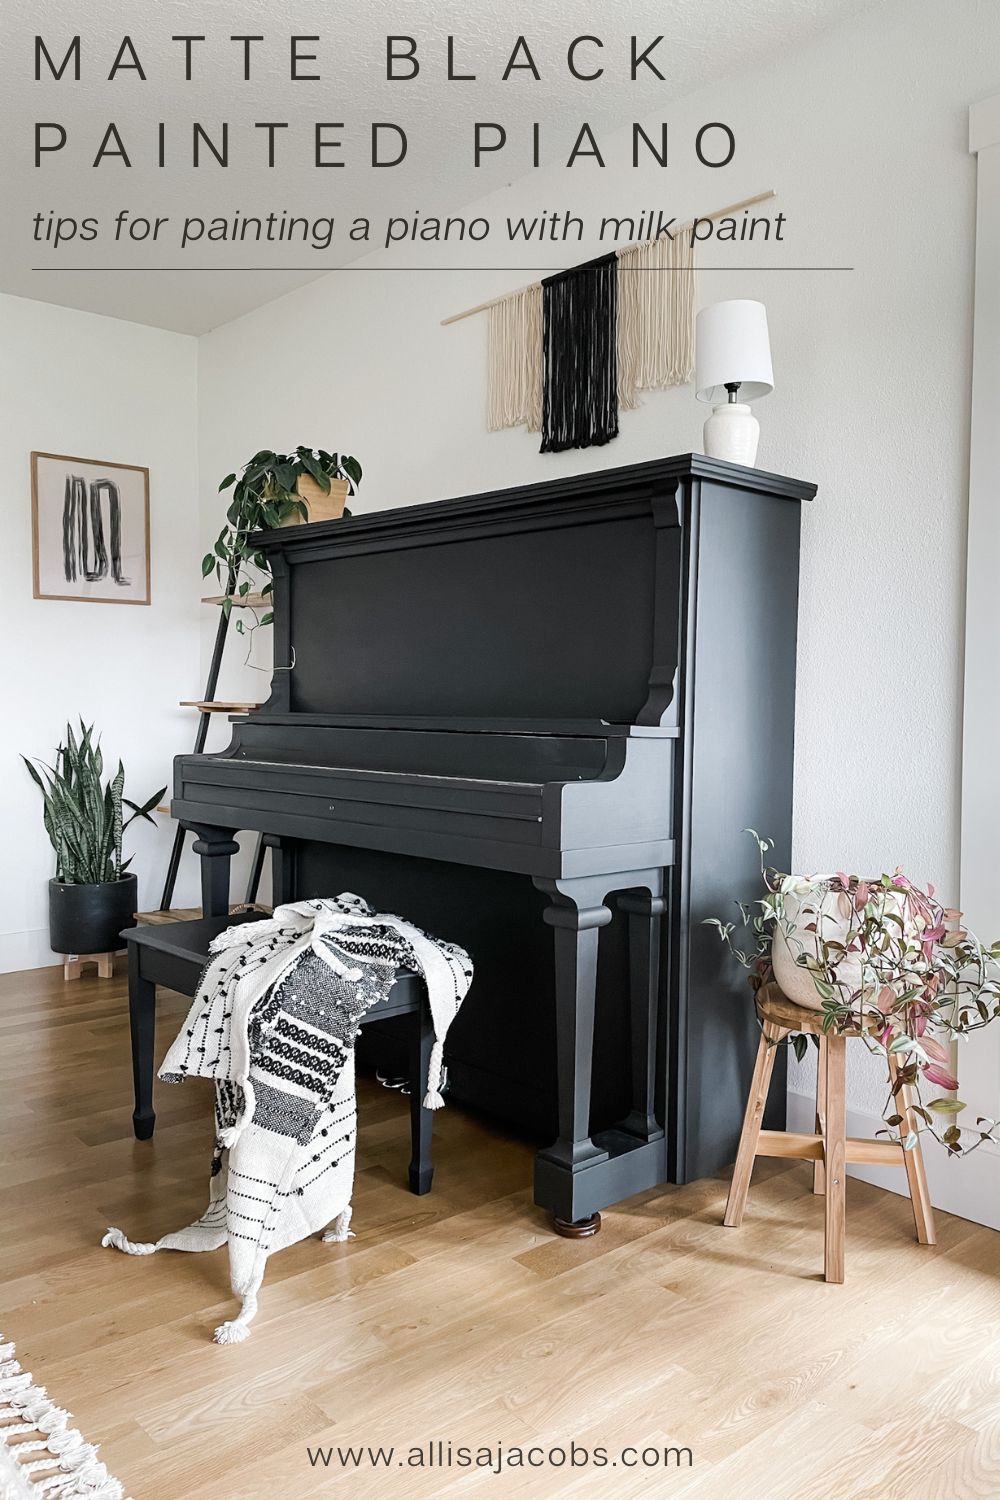
Can you paint a piano black?
Yes, black is one of the most common piano colors. Use thin coats, smooth the surface between coats, and choose satin or gloss based on how much shine and maintenance you want.
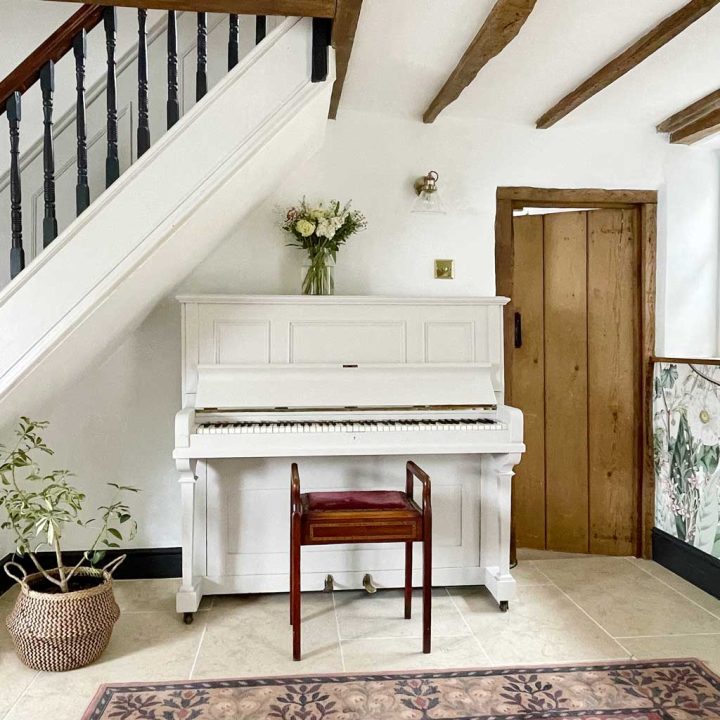
Can you paint a piano white?
Yes, but white paint may need extra coats over dark wood or stained finishes. Use a stain blocking primer to help prevent yellow or brown discoloration from showing through.
Can you paint a piano without taking it apart?
You can paint some exterior areas without full disassembly, but removing simple panels usually gives a cleaner result. Never remove internal action parts unless a qualified piano technician handles them.
Can you paint a piano with regular wall paint?
Regular wall paint is not the best choice because it may not resist handling, scratches, or furniture wear. Use furniture paint, cabinet enamel, or another coating designed for durable wood surfaces.
Can painting a piano damage its sound?
Painting the outer cabinet normally causes little sound change when you keep paint away from the interior. Paint on the soundboard, strings, hammers, dampers, or action can cause serious problems.
Do you need to tune a piano after painting it?
You may need a tuning after moving the piano or changing its environment. A technician can also check that the action, pedals, keys, and panels work correctly after the project.
Conclusion
You can paint a piano, but the best results come from treating it as both fine furniture and a musical instrument. Clean and lightly sand the cabinet, use a compatible primer and paint, protect every internal part, and allow the finish to cure fully.
A common upright piano can be a rewarding do-it-yourself project. A valuable antique, grand piano, or damaged instrument deserves professional advice before any paint touches the cabinet. Plan carefully, test your products, and focus on safe preparation.
If you are ready to begin, inspect the piano first, choose a hidden test area, and make a clear materials list. Share your color idea or refinishing experience in the comments, and explore more piano care guides before starting your project.

Senior Music Reviewer
Alex Carter is a seasoned music reviewer with over a decade of experience in the world of sound and instruments. Passionate about helping musicians and enthusiasts make informed choices, he brings sharp insights and in-depth knowledge to every review. From classical instruments to modern gear, Alex combines technical expertise with a love for music to deliver content that resonates with readers.
As a Senior Music Reviewer and expert author on Tuneluma.com, Alex is dedicated to sharing honest evaluations, practical advice, and thoughtful commentary to guide readers in their musical journey.