How To Distort Drums In FL Studio: Quick Pro Tips
Use distortion in FL Studio by routing drums to the Mixer and adding distortion plugins.
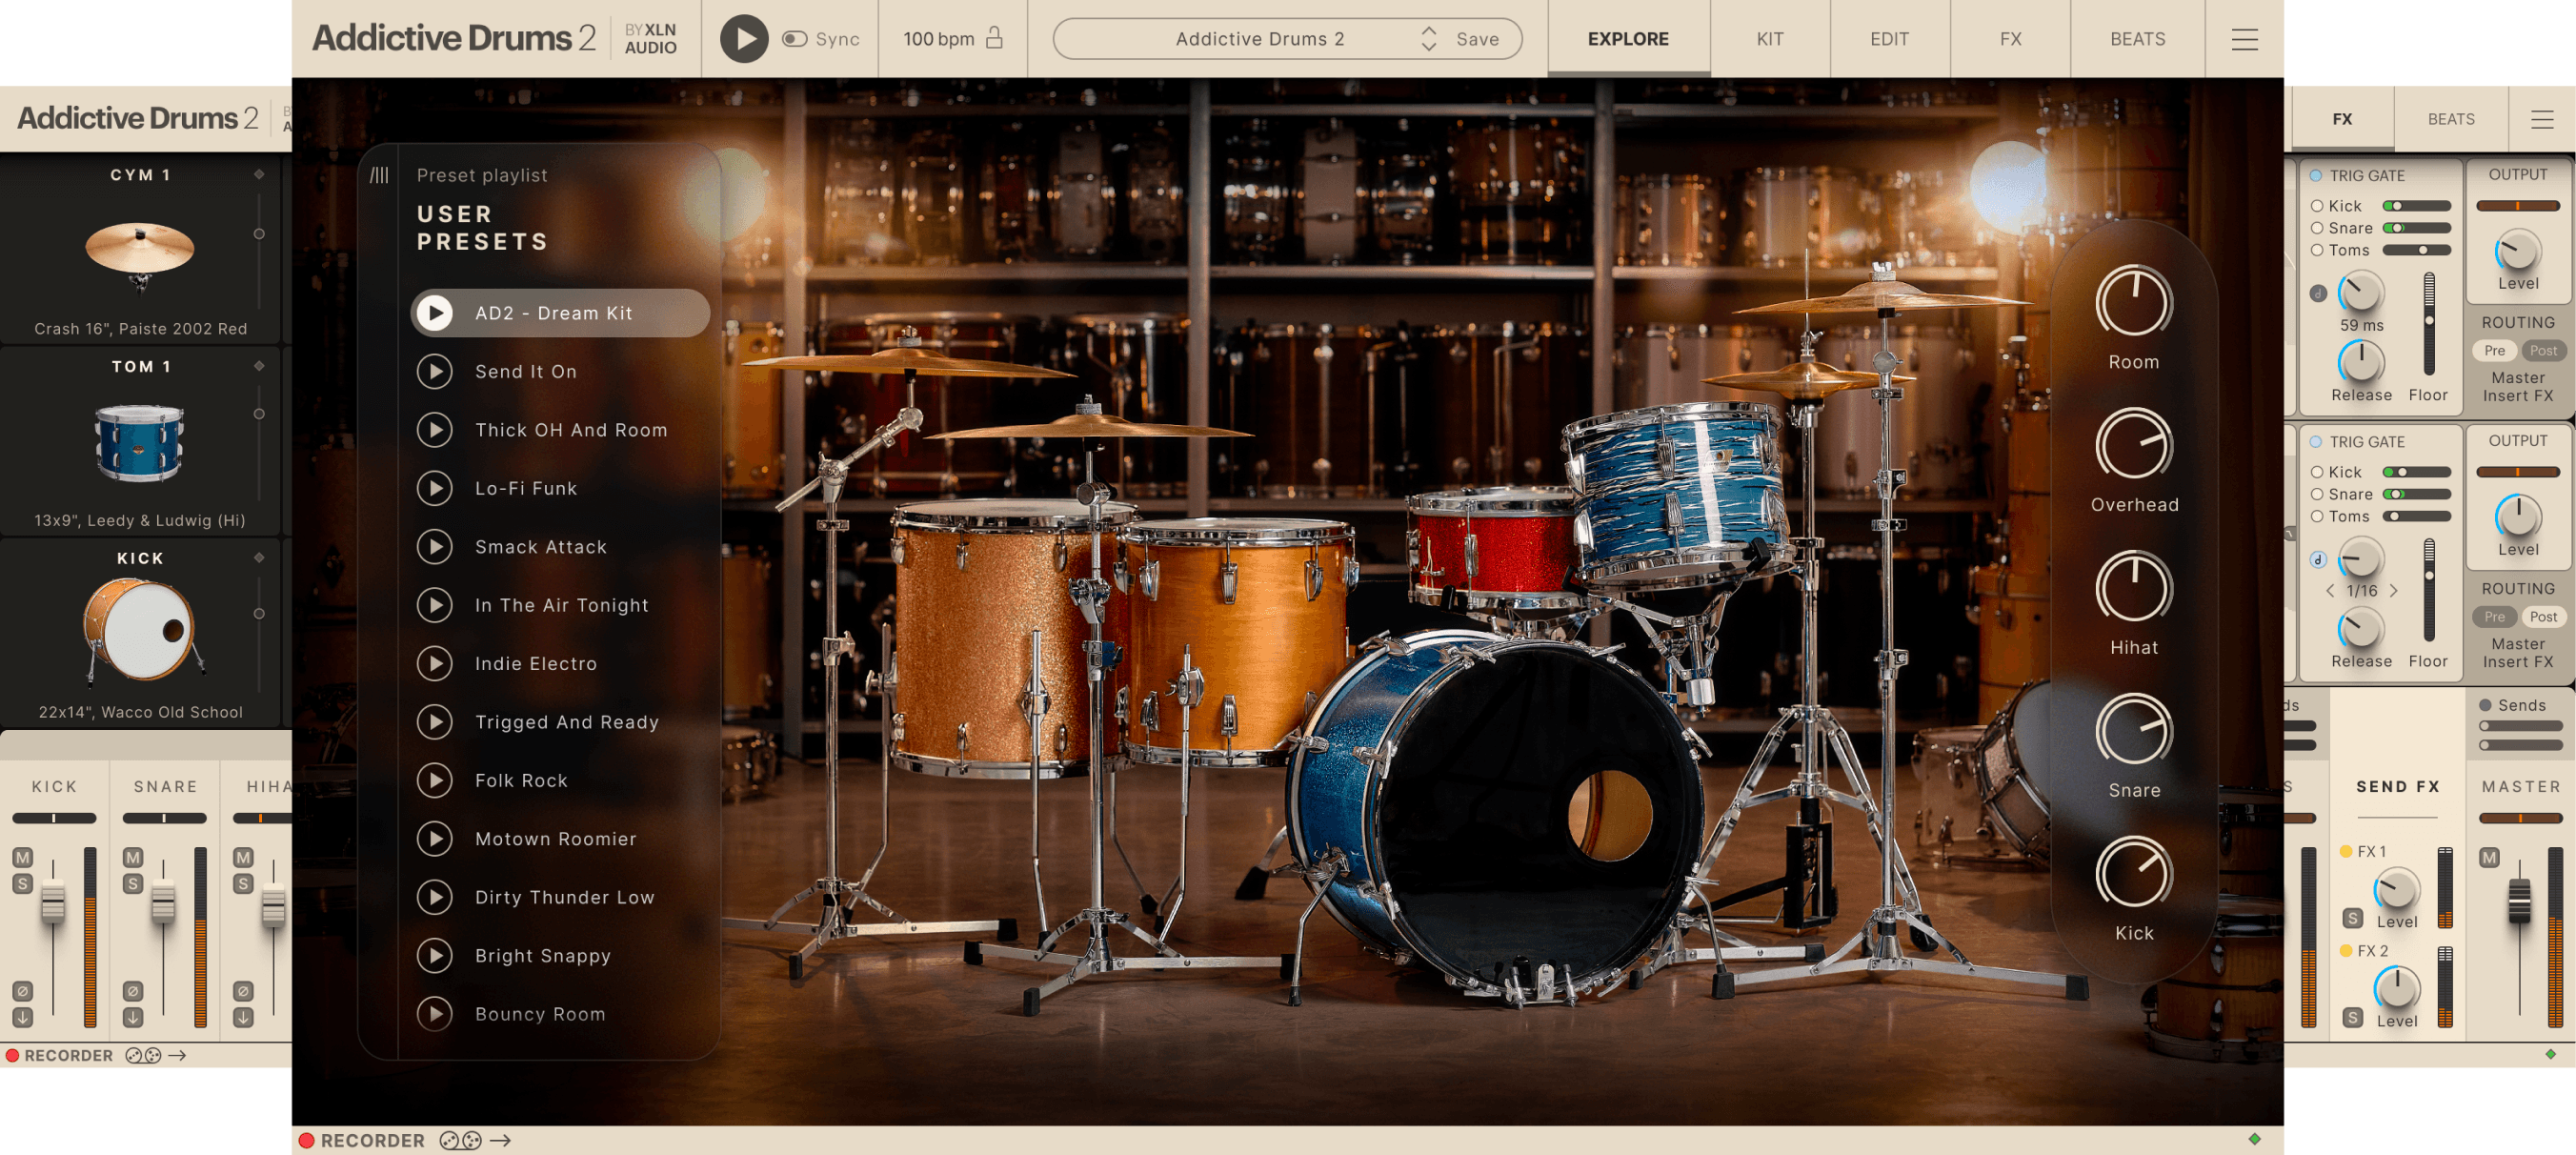
I’ve spent years shaping drums in FL Studio for tracks, beats, and mixes. This guide shows you exactly how to distort drums in FL Studio. You’ll learn routing, plugin chains, settings, and creative tricks. I’ll share clear steps, real examples, and mistakes I’ve made so you don’t repeat them. Read on to get confident control over gritty, punchy, or lush distorted drums.
Why distort drums?
Distorting drums makes them cut through a mix. It adds grit, warmth, or digital edge. Distortion can increase perceived loudness without raising level. It can also highlight transients or flatten dynamics for more consistent hits. Knowing how to distort drums in FL Studio helps you create character and personality for each drum element.

People also ask
How does distortion change drum sound?
Distortion adds harmonics and changes the waveform. This makes drums sound fuller, brighter, or more aggressive.
Will distortion always make drums louder?
Not always. Distortion can change peak level and perceived loudness. You may still need compression or gain staging.
Should I distort all drum elements the same way?
No. Kick, snare, and hi-hats often need different types and amounts of distortion to sit right.
Understanding distortion types and when to use them
Distortion is not one effect. Each type changes sound differently. Learn the types to pick the right tool.
- Saturation: gentle harmonic color. Use for warmth and glue.
- Overdrive: adds mid-range bite. Good for snares and claps.
- Clipping: hardens transients. Use for modern, punchy kicks.
- Wave-shaping: custom curves. Use for creative, extreme tones.
- Bitcrush/sample rate reduction: introduces artifacts. Use for lo-fi or glitchy textures.
Knowing these lets you target problems. For example, if your kick needs more mid punch, try soft overdrive. If your hats need edge, try light bitcrush or high-frequency saturation. This knowledge guides how to distort drums in FL Studio.

Quick FL Studio setup and routing for distortion
A proper routing setup makes distortion easy to control. Follow these steps.
- Assign each drum to a Mixer track.
- Use one FX slot per distortion plugin. Keep order logical.
- Create a dedicated send for parallel distortion if you want blend control.
- Use a limiter or clipper last to tame peaks.
Parallel routing is powerful. Send a snare to an FX track. Add distortion on the FX track. Then blend dry and wet to taste. This is a safe way to learn how to distort drums in FL Studio without losing dynamics.

Step-by-step: how to distort drums in FL Studio
This section walks through real chains and settings. I use stock plugins and a few free third-party tools. You can reproduce these setups quickly.
Step 1: Prep and gain staging
- Make sure your drum track plays at a healthy level. Aim for -6 to -12 dB headroom.
- Add Fruity Limiter if peaks are wild. Use it as a soft clipper. This keeps the engine stable.
Step 2: Choose the right distortion
- For warmth: add Fruity Fast Dist or Fruity Blood Overdrive with low drive and mix.
- For grit: use Fruity WaveShaper with a mild curve and output trim.
- For bite and punch: insert Fruity Blood Overdrive or a soft-clipping plugin and boost the color knob.
- For digital edge: use Fruity Squeeze or a bitcrusher with low rate and some mix.
Step 3: Build a chain example for a snare
- Slot 1: Fruity Parametric EQ 2 – high-pass below 80 Hz, boost body around 200 Hz.
- Slot 2: Fruity Blood Overdrive – drive 15-30%, color ~40%, mix 40-60%.
- Slot 3: Fruity WaveShaper – gentle curve, output -3 to -6 dB.
- Slot 4: Fruity Multiband Compressor or Fruity Limiter – tame peaks and glue.
Step 4: Parallel distortion (safe method)
- Send 100% dry snare to Insert 3.
- Route Insert 3 to an FX send (Insert 10).
- On Insert 10, add Fruity Fast Dist and WaveShaper.
- Lower Insert 10 fader to blend. Start at -10 dB and adjust.
Step 5: Distorting a kick
- Use distortion sparingly on kick lows. Prefer saturation on the high-mid click.
- Chain example: EQ -> transient shaper -> soft clipper -> bus compressor.
- Use low-pass or multiband technique to only distort the top end. Route the kick to two tracks. Distort one for click and leave the other clean for low sub.
Step 6: Hi-hats and percussion
- Use bitcrush or WaveShaper for character.
- Keep mix low. High distortion on hats can sound harsh.
- Use high-shelf EQ after distortion to control brightness.
Step 7: Resample for creative edits
- Route a distorted drum to Edison or a sampler track.
- Record a loop. Chop it. Re-pitch or reverse for unique textures.
These steps show practical ways to distort drums in FL Studio. Start subtle. Increase aggression only when the part needs it.

Creative techniques and genre-specific tips
Different genres want different distortion flavors. Use these as starting points.
- Trap and hip-hop: heavy parallel saturation on 808s and snare layers. Blend for punch.
- Rock and punk: use wave-shaping and clipping on the whole drum bus for aggression.
- EDM and house: distort top layers for energy, keep subs clean using multiband distortion.
- Lo-fi: heavy bitcrush and sample rate reduction on overheads and percussion.
Techniques to try
- Multiband distortion: distort mids and highs, leave the sub band clean.
- Sidechain distortion: sidechain a distorted layer to a clean sub so they don't clash.
- Automation: automate drive, mix, and frequency cutoffs for build-ups and drops.
- Layering: keep one clean layer for low end, and one distorted layer for character.
These methods help you use how to distort drums in FL Studio to match style and vibe.

Common mistakes and how to avoid them
Learn from my mistakes. These errors slow down mixes.
- Over-distorting everything. This kills dynamics and clarity.
- Not using parallel processing. You can lose transients by distorting only the main signal.
- Forgetting to check mix in mono. Distortion can shift phase and cause cancellations.
- Ignoring gain staging. Distortion often boosts level. Tame peaks afterward.
- Applying the same chain to all drums. Each element needs tailored settings.
Fixes are simple. Use parallel chains. Check mono. Use EQ to remove unwanted frequency build-up. These steps will save your mix.
Practical workflow and real-world tips from experience
I used these methods on hundreds of tracks. Here are practical tips I learned the hard way.
- Start with low drive. Small changes add up quickly.
- Use visual tools. Waveforms and spectrum analyzers show what distortion adds.
- Save presets per drum type. A saved snare preset speeds workflow.
- Reference commercial tracks in your genre. Compare tone and balance.
- Keep an undo snapshot before aggressive resampling. Resampling is destructive.
A short story: I once crushed a drum bus too hard and lost the kick’s sub. I restored balance by splitting the kick into a clean sub and a distorted click. That split saved the mix and taught me to separate low-end when distorting.

Frequently Asked Questions of how to distort drums in fl studio
How do I avoid losing low end when I distort drums?
Split the drum into two tracks. Keep the low-end on a clean track and distort only the mid/high track. Use crossover EQ or multiband routing.
Which FL Studio plugins are best for subtle distortion?
Fruity Fast Dist, Fruity Blood Overdrive, and Fruity WaveShaper are great for subtle color. Use low drive and mix settings.
Should I distort the full drum bus or individual drums?
Both. Distort individual drums for character. Use bus distortion for glue and cohesion. Blend both methods.
How much drive is too much?
If the drum loses clarity or feels harsh, reduce drive. Start low and increase until you hear the desired tone, not just louder volume.
Can distortion fix weak drum samples?
Distortion can add presence and color. It won’t replace poor sample selection. Use layering and editing with distortion to improve weak sounds.
Conclusion
Distorting drums in FL Studio is a craft. Use the right type of distortion, route tracks cleanly, and favor parallel processing. Start simple and save presets. Experiment with multiband and resampling for unique tones. Apply the steps above and practice on a few beats. Try one new technique today and compare results. If this helped, leave a comment or subscribe for more mixing tips.

Senior Music Reviewer
Alex Carter is a seasoned music reviewer with over a decade of experience in the world of sound and instruments. Passionate about helping musicians and enthusiasts make informed choices, he brings sharp insights and in-depth knowledge to every review. From classical instruments to modern gear, Alex combines technical expertise with a love for music to deliver content that resonates with readers.
As a Senior Music Reviewer and expert author on Tuneluma.com, Alex is dedicated to sharing honest evaluations, practical advice, and thoughtful commentary to guide readers in their musical journey.