How To Polish Drum Cymbals: Easy Cleaning Guide
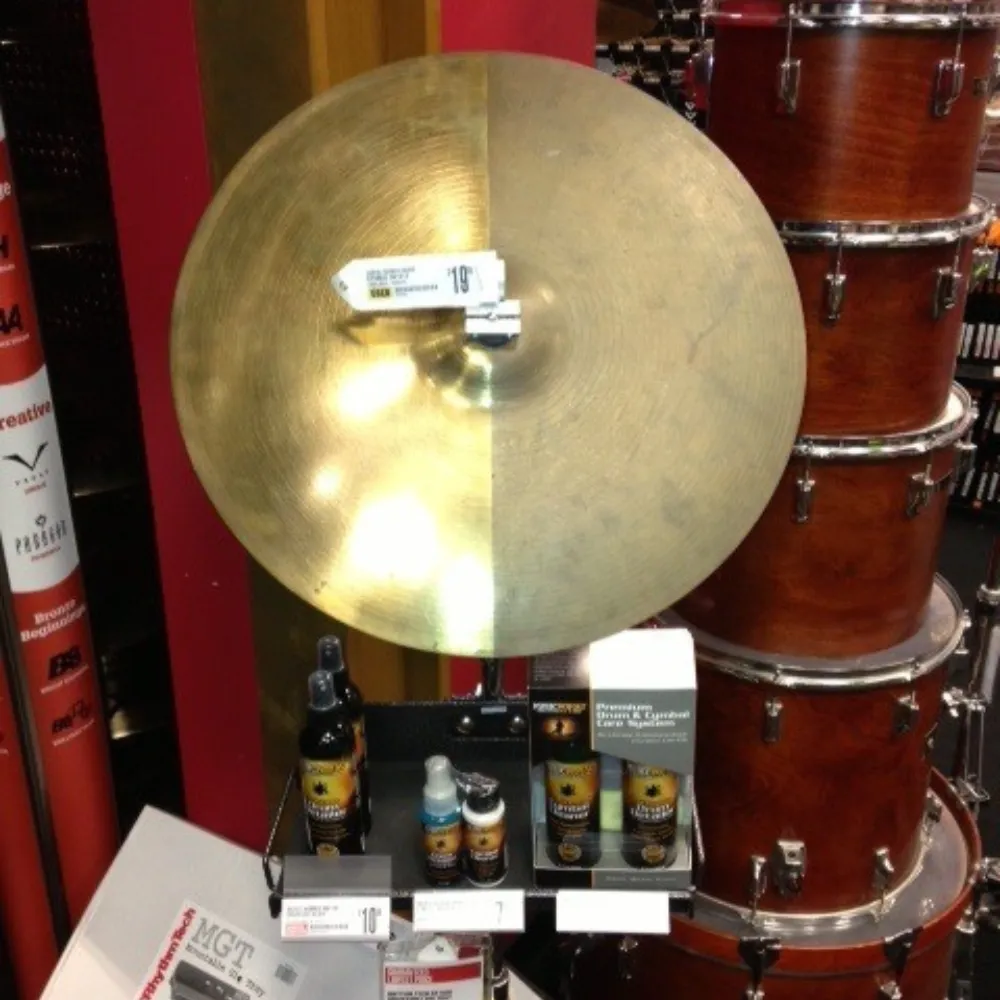
Polishing drum cymbals removes dirt and tarnish while protecting their tone, finish, and lasting value.
A clean cymbal can look sharp under stage lights, but polishing drum cymbals is about more than appearance. The wrong cleaner, rough cloth, or heavy pressure can damage the surface and change how the cymal responds. This guide explains safe methods for bronze cymbals, practical mistakes to avoid, and simple care habits that keep your cymbals bright without stripping away their character.

Why Polish Drum Cymbals?
Drum cymbals collect fingerprints, dust, sweat, smoke residue, and oils from regular playing. Over time, these materials can make the surface look dull and uneven. Polishing drum cymbals helps remove surface grime and restores a cleaner, more even appearance.
Most cymbals are made from bronze alloys such as B8 or B20 bronze. These alloys contain copper, which naturally reacts with air and moisture. That reaction creates tarnish, a dark or cloudy layer on the surface.
Polishing does not usually make a cymbal sound completely new. A cymbal’s tone depends on its alloy, weight, hammering, lathing, bow shape, and edge profile. Still, removing heavy dirt can help the cymbal vibrate more freely and look better.
A cymbal with a natural patina may sound excellent. Many drummers prefer that aged look and feel. Polishing is a personal choice, not a required part of good drum care.

What You Need Before Polishing
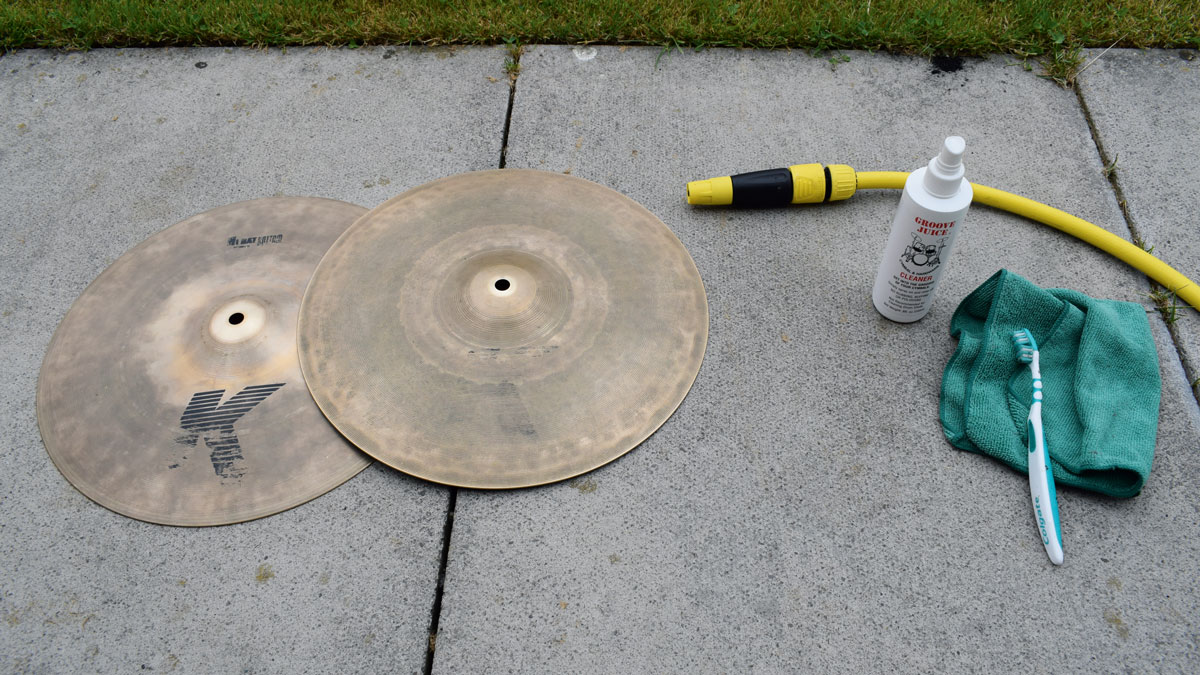
Gather the right supplies before you begin. A simple setup reduces the chance of scratches and helps you work with less pressure.
You will need:
• A soft microfiber cloth
• Warm water
• Mild dish soap
• A soft toothbrush for grooves
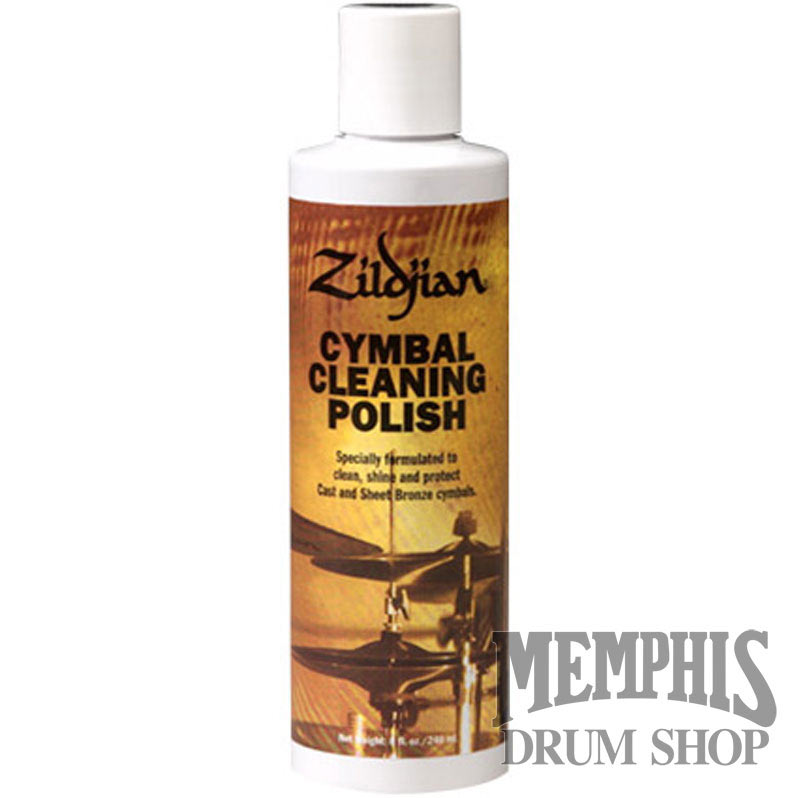
• A cymbal polish made for bronze
• Nitrile or rubber gloves
• Painter’s tape, if you want to protect logos or unpolished areas
Avoid paper towels, steel wool, scouring pads, rough sponges, and household metal cleaners. These products can scratch bronze or leave chemicals on the surface.
Work in a clean, well-lit area. A table covered with a soft towel is ideal. Never polish a cymbal on a hard floor, because grit under the metal can create scratches.
Before polishing drum cymbals, take a clear photo of each cymbal. This gives you a useful record of the original finish, logos, and markings. It also helps you compare the result after cleaning.
Check the Cymbal’s Finish First
Not every cymbal should be polished in the same way. Some cymbals have a traditional brilliant finish, while others have a natural, dark, vintage, or patinated finish.
A brilliant cymbal has a bright, reflective surface. It usually responds well to a suitable cymbal polish. A natural finish may show visible hammer marks and a darker bronze color. Aggressive polishing can remove some of that visual character.
Check for these details:
• Manufacturer logos
• Model names
• Serial numbers
• Handwritten markings
• Lacquer or protective coatings
• Existing cracks or keyholing around the center hole
If the cymbal has a clear coating, use extra care. Strong polish may cloud, soften, or remove that coating. When the finish is unclear, test the cleaner on a small area near the edge or underside first.
Do not polish a cymbal that has a crack as if the crack were a stain. Cleaning will not repair structural damage. A cracked cymbal may need professional advice or replacement.

How to Polish Drum Cymbals Safely
The safest method is slow and gentle. Let the cleaner do most of the work instead of using force.
1. Remove loose dust
Wipe the cymbal with a dry microfiber cloth. Use light strokes that follow the grooves or lathe lines. This removes dust and small particles that could scratch the bronze during wet cleaning.
Do not drag grit across the surface. If the cymbal is very dusty, use a soft brush or blow away loose dust before wiping.
2. Wash away surface dirt
Mix a small amount of mild dish soap with warm water. Dip a soft cloth into the mixture, wring it out well, and wipe the cymbal.
Keep water away from the center hole if possible. Water trapped around the hole can encourage corrosion or damage nearby hardware marks.
For dirt in the grooves, use a soft toothbrush. Brush lightly and follow the circular pattern of the cymbal. Never use a hard brush or scrub in random directions.
3. Rinse and dry the cymbal
Use a separate damp cloth to remove soap. Do not pour water over the cymbal unless the manufacturer specifically allows it.
Dry the entire surface with a clean towel. Check the center hole, bell, edge, and underside. A cymbal should be fully dry before you apply polish.
4. Apply bronze cymbal polish
Read the label on the cymbal polish. Some products are made for bronze, while others are intended for brass, chrome, silver, or stainless steel. These materials are not interchangeable.
Apply a small amount of polish to a soft cloth, not directly to the cymbal. Work on a small section at a time. Use gentle circular motions or follow the cymbal’s existing grooves.
A thin layer is enough. More polish does not mean better cleaning. Thick layers can dry into the grooves and make the final wipe much harder.
5. Wipe off the residue
Use a clean microfiber cloth to remove the cloudy residue. Continue until the surface feels smooth and looks even.
For stubborn tarnish, repeat the process once rather than pressing harder. Excess force can create dull spots and visible swirl marks.
6. Inspect the result
Hold the cymbal under bright light. Look for leftover residue, uneven patches, or polish caught in the grooves. Use a clean, dry cloth to remove any remaining film.
This step is easy to skip, but it matters. Leftover cleaner can attract dust and make the cymbal look cloudy again.
How to Polish Cymbals Without Removing Logos
Many drummers want a bright cymbal but also want to keep the factory logo. Logos may be printed, stamped, or applied with a thin coating. Their durability varies by brand and age.
The safest choice is to avoid aggressive rubbing over logos. Use painter’s tape to cover a logo if you want a sharp boundary between polished and unpolished areas.
You can also clean around the logo with a cotton swab and a small amount of mild soap solution. Do not soak the logo or use strong solvent near it.
When polishing drum cymbals, remember that vintage markings can add value. A rare cymbal with an original logo may be worth more than one that has been heavily cleaned. If the cymbal is old, collectible, or valuable, consider leaving the patina in place.

How to Polish Drum Cymbals With Deep Tarnish
Deep tarnish often appears as dark brown, gray, or green patches. Green residue can indicate copper oxidation. Light tarnish is usually easier to remove than thick, old buildup.
Use this approach:
-
Clean the cymbal with mild soap and warm water.
-
Dry it completely.
-
Apply a small amount of bronze cymbal polish.
-
Let the product sit only as long as the label allows.
-
Wipe gently with a microfiber cloth.
-
Repeat once if needed.
Do not use vinegar, lemon juice, toothpaste, baking soda, or abrasive powders unless the cymbal maker specifically recommends them. These home remedies are often too unpredictable. They may brighten the metal briefly but can also leave stains, remove finish, or create an uneven surface.
Deep tarnish may not disappear completely. That is not always a problem. A stable patina can protect some of the underlying metal and may be part of the cymbal’s intended look.

Common Mistakes to Avoid
The biggest mistake is treating a cymbal like a piece of cookware. Bronze is durable, but its surface finish can still be damaged.
Avoid these errors:
• Using steel wool or a scouring pad
• Applying car polish or kitchen metal cleaner
• Scrubbing across the lathe lines
• Leaving the cymbal wet
• Pouring cleaner directly onto the surface
• Polishing over cracks or sharp edge damage
• Using a power buffer
• Removing every trace of natural patina
• Rubbing hard to erase a logo
• Cleaning only the top while ignoring the underside
In my experience, over-polishing causes more trouble than under-polishing. I once used too much pressure on a dull area and created a patch that reflected light differently from the rest of the cymbal. The lesson was simple: use less product, less pressure, and more patience.
A cymbal does not need to look like a mirror to sound good. A clean, even finish is usually a better goal than maximum brightness.

Does Polishing Change Cymbal Sound?
Polishing drum cymbals can change the surface condition, but it does not normally transform the basic voice of a cymbal. The amount of metal removed by a normal polish is small. The larger factors remain the alloy, thickness, hammering, lathing, and playing style.
However, heavy abrasive cleaning can remove material. It may also alter the surface texture or damage a protective coating. This can affect the way the cymbal feels and responds, especially if the cleaning is repeated often.
Many professional drummers choose not to polish cymbals because they like the sound and look of natural aging. Others polish touring cymbals to keep them clean and presentable. Both choices are reasonable.
If tone is your main concern, record the cymbal before and after cleaning. Use the same room, microphone, stick, and playing pattern. This gives you a more reliable comparison than memory alone.
How Often Should You Polish Drum Cymbals?
There is no fixed schedule for polishing drum cymbals. The right frequency depends on how often you play, where you store the kit, and how much sweat or smoke reaches the metal.
For many drummers, a dry microfiber wipe after each session is enough. A deeper wash may be useful every few months. Full polishing may only be needed once or twice a year.
Use these habits:
• Wipe fingerprints from the cymbal after playing
• Wash your hands before handling clean cymbals
• Store cymbals in a padded bag
• Keep cymbals away from damp rooms
• Do not stack wet cymbals
• Use cymbal sleeves or separators during transport
• Inspect the edges and center holes often
Sweat is especially important. Skin oils contain salts and acids that can speed up tarnish. A quick wipe takes less than a minute and can reduce the need for strong cleaning later.
Can You Polish Cymbals With Household Products?
Some household products may remove tarnish, but that does not make them safe for every cymbal. Acidic liquids and abrasive pastes can react with bronze in uneven ways.
Mild dish soap and water are generally safer for basic cleaning. For actual tarnish removal, use a product labeled for bronze cymbals and follow its instructions.
Always test an unfamiliar product on a hidden area first. A small test can reveal whether the cleaner changes the color, removes a coating, or affects a logo.
Manufacturer guidance should take priority over general cleaning advice. Cymbals differ in alloy, finish, age, and surface treatment, so one method cannot guarantee the same result for every model.
Frequently Asked Questions About How to Polish Drum Cymbals
Can I use brass polish on drum cymbals?
Only use brass polish if the product label clearly states that it is safe for bronze. Drum cymbals are usually bronze, and some brass cleaners may be too abrasive or strong for their finish.
Should I polish a brand-new cymbal?
Usually, no. A new cymbal already has its intended finish, and polishing it may remove protective residue or affect the appearance. Wipe it with a soft, dry cloth instead.
Can I use vinegar to clean a cymbal?
Vinegar may remove oxidation, but it is acidic and can create uneven color or damage a coating. A bronze cymbal cleaner made for musical instruments is a safer choice.
How do I polish cymbals without damaging the logo?
Avoid strong pressure over the logo and test the cleaner first. You can cover the logo with painter’s tape or clean around it with a soft cloth and mild soapy water.
Does polishing make cymbals sound brighter?
Polishing mainly changes appearance and removes surface residue. It may slightly affect the response if the cymbal has heavy buildup, but it will not replace the effect of alloy, weight, hammering, or lathing.
Can I polish a cymbal with a power tool?
A power tool is not recommended for most drummers. It can remove too much material, create heat, leave swirl marks, and damage logos or coatings.
How can I remove green spots from a cymbal?
Start with mild soap and water, then dry the cymbal fully. If green oxidation remains, use a bronze cymbal polish in a small test area and stop if the finish changes unevenly.
Conclusion
Polishing drum cymbals is safest when you work slowly, use a bronze-safe product, and apply light pressure. Start by removing dust, wash away surface grime, dry the cymbal fully, and polish small sections with a microfiber cloth.
Avoid steel wool, harsh household cleaners, power tools, and aggressive scrubbing. Remember that natural patina is not always damage, and a cymbal’s sound does not depend on a mirror-bright finish.
Give your cymbals a gentle cleaning routine after each playing session, then polish only when the surface truly needs it. Try these steps on one cymbal first, compare the result, and share your experience or explore more drum care guides for smarter maintenance.

Senior Music Reviewer
Alex Carter is a seasoned music reviewer with over a decade of experience in the world of sound and instruments. Passionate about helping musicians and enthusiasts make informed choices, he brings sharp insights and in-depth knowledge to every review. From classical instruments to modern gear, Alex combines technical expertise with a love for music to deliver content that resonates with readers.
As a Senior Music Reviewer and expert author on Tuneluma.com, Alex is dedicated to sharing honest evaluations, practical advice, and thoughtful commentary to guide readers in their musical journey.