How To Check Piano Action Condition Before Repair: 7 Steps
Visually inspect, listen for uneven response, feel key travel and check regulation parts before repair.
I’ve spent over a decade as a piano technician and teacher helping owners learn how to check piano action condition before repair. In this guide I walk you through clear, practical checks you can do at home or in a shop. You will learn what to look for, which tools to use, how to interpret common faults, and when a repair is urgent. Read on to gain confidence in inspecting piano action and decide what work is truly needed.
Why inspect the action first and what to expect
A good inspection saves time and money. It tells you which parts wear out. It also helps prioritize repairs. When you know how to check piano action condition before repair, you avoid unnecessary parts replacement. You also learn whether a full rebuild is needed or just tuning and small fixes.
Common outcomes from an inspection:
- Identify sticky or sluggish keys.
- Find broken or loose parts.
- Spot worn bushings, felts, or hammers.
- Decide if action regulation is required.

Tools and supplies you’ll need
You do not need fancy gear for a basic check. A few simple tools are enough for a reliable inspection when you want to learn how to check piano action condition before repair.
Essential items:
- Flashlight with a narrow beam for small parts.
- Mirror or phone camera to see hidden parts.
- Small ruler or depth gauge for key dip and drop.
- Phillips and flat screwdrivers for loose parts.
- Thin gloves to keep oils off felt and leather.
- Notebook to record observations.
Optional but useful:
- Felt shims and wooden wedges.
- Action diagram or service manual for your piano model.
- Moisture meter if you suspect humidity issues.

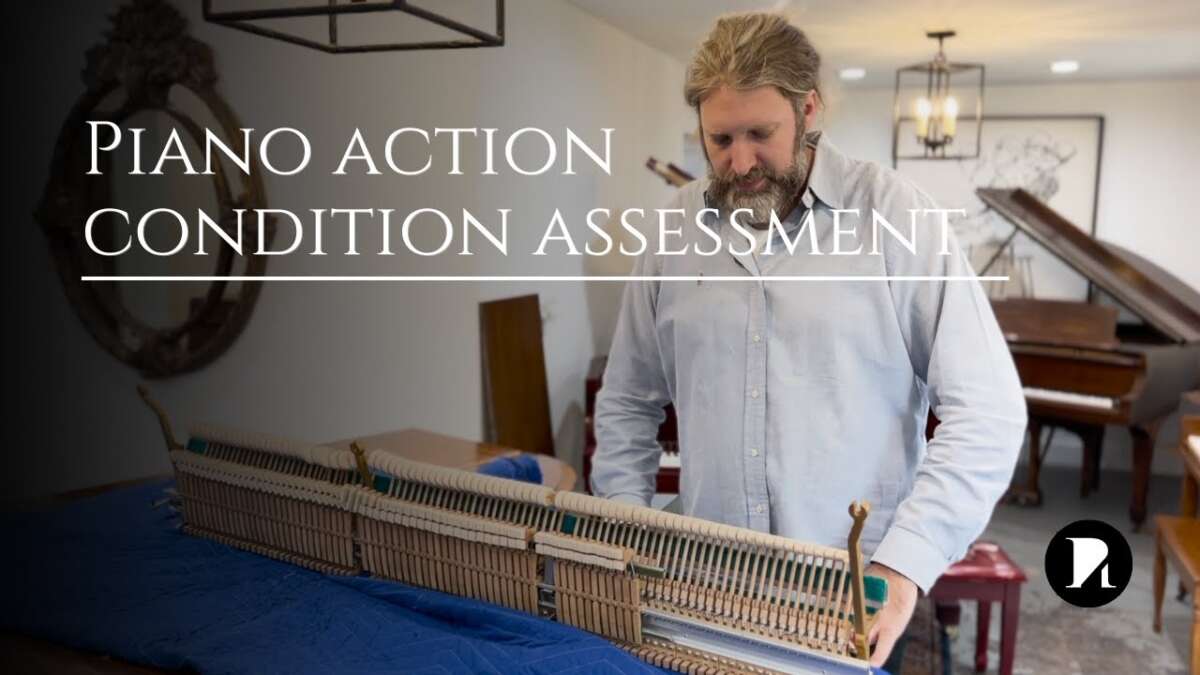
Step-by-step visual and tactile inspection
Use a calm space and good light. Sit at the bench and work methodically from left to right. Here is a clear routine for how to check piano action condition before repair.
- General look and smell
- Open the top and fallboard. Look for dust, corrosion, or leaking fluids. Smell for mildew or rodent odors.
- Note cracks in wood or loose casework. These can affect action alignment.
- Play test across the keyboard
- Play scales and arpeggios slowly. Listen for uneven volume or dead notes.
- Try repeated notes and trills. Count how many repeats you can make before the action fails.
- Test the key return and feel for drag or sticking.
- Check key travel and key dip
- Measure the key dip (how far a key goes down). Compare several keys. Large variations mean regulation issues.
- Feel the key travel. It should be smooth. Rough motion suggests worn key bushings or guide rails.
- Inspect hammers and shanks
- Lift the action or remove the fallboard to view hammers. Look for grooves on hammer heads from strings. Deep grooves need reshaping or replacement.
- Check hammer shanks for cracks or looseness. Loose shanks cause hits that are off-center.
- Examine wippens, jacks, and repetition mechanism
- Observe the jack and let-off. The jack should slip smoothly at let-off. If it sticks, the piano will drop or not repeat accurately.
- For grands, watch the repetition lever during slow and fast play. For uprights, check the right-hand repetition parts.
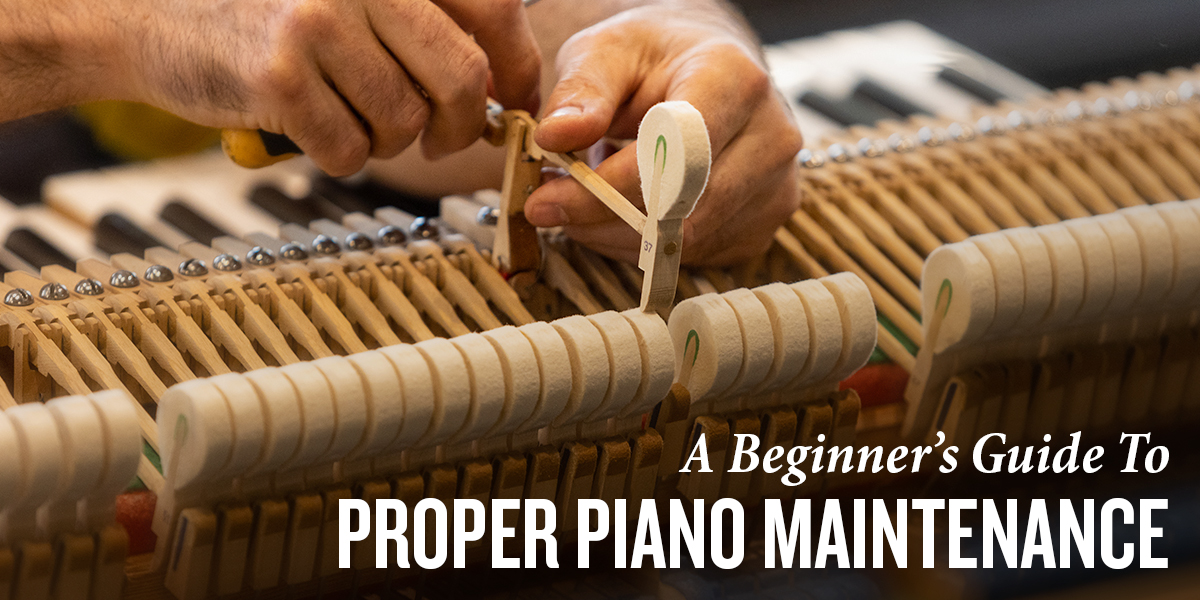
- Inspect felts, bushings, and leather
- Look for compressed or torn felts and hardened leather. Worn felts cause noisy or uneven action.
- Check hammer rail, balance rail, and keybed bushings for wear.
- Check springs and bridle straps
- Verify springs are present and have tension. Broken springs can prevent key return.
- Inspect bridle straps for cracks. Replace if brittle.
- Test dampers and pedal linkages
- Press keys and watch dampers lift and return. Sticking dampers cause buzzing or sustain issues.
- Operate sustain and soft pedals. Ensure linkages move freely and return properly.
- Note regulation and alignment issues
- Look for keys that are higher or lower than neighbors.
- Check hammer alignment with strings. Off-center hits create buzzing or poor tone.
- Record your findings
- Use simple notes and photos. Mark urgent items, like broken parts or stuck keys.
Common problems, symptoms, and what they mean
Knowing symptoms helps you decide the repair scope. Here are frequent faults you’ll find when you check piano action condition before repair and how to interpret them.
Sticky or slow keys
- Cause: Dirt, humidity, swollen wood, or warped keybed.
- What it means: Often fixable with cleaning, key leveling, or minor planing.
Uneven touch or loud/soft keys
- Cause: Worn bushings, uneven key dip, or compressed hammer felt.
- What it means: Regulation or part replacement is needed.
Poor repetition (especially in grands)
- Cause: Jammed jacks, sticking wippens, or weak springs.
- What it means: Cleaning and regulation may restore function. Rebuild if parts are broken.
Hammers with grooves or hard spots
- Cause: Long-term wear or hardening of felt.
- What it means: Voicing, filing, or replacement will affect tone.
Loose screws or rattles
- Cause: Vibration and time.
- What it means: Tightening and securing parts can prevent damage.
Warped key or cracked wood
- Cause: Humidity swings or impact.
- What it means: May need key refinish, replacement, or case repair.

How to prioritize repairs after inspection
Not all problems require the same urgency. When you know how to check piano action condition before repair, you can rank fixes by safety, playability, and cost.
High priority (do now)
- Broken or loose parts that can cause damage.
- Keys that stick completely or cause wire chafing.
- Dampers that fail, risking string wear.
Medium priority (soon)
- Uneven touch and poor repetition affecting play.
- Deep hammer grooves or compressed felts.
Low priority (can wait)
- Cosmetic felt glazing.
- Mild rattles or cosmetic case issues.
When to repair yourself and when to call a pro
Basic cleaning and simple tightening are OK for most owners. Complex regulation and part replacement often need a pro.
Do-it-yourself tasks
- Cleaning keytops and removing debris.
- Tightening loose screws and checking for obvious breaks.
- Recording and photographing issues before taking further steps.
Call a professional when
- You find broken shanks, cracked hammer rails, or warped action frames.
- The action needs full regulation, voicing, or rebushing.
- You lack the tools or confidence to remove and reassemble the action.
My experience: I once tried to reglue a hammer shank without proper clamps. The shank shifted during drying and cost more to fix. That taught me to call a pro for structural repairs.

Practical tips, safety, and mistakes to avoid
A careful approach protects you and the piano. Use these trade tips when you check piano action condition before repair.
Safety first
- Always unplug or remove any electrical accessories.
- Keep children and pets away from small parts.
Avoid these mistakes
- Do not force a stuck key; inspect for obstruction first.
- Don’t use oil or household lubricants on action parts. They attract dust.
- Avoid excessive humidity changes while working. Use a stable room.
Small wins that save money
- Photograph the action before removal.
- Label parts or work in small sections.
- Use soft cloths to rest parts on the bench.
Signs a full action rebuild might be needed
A rebuild is a big decision. Look for these signs when you check piano action condition before repair.
- Multiple keys have worn or hollowed bushings.
- Hammers are heavily grooved or decayed.
- Action rail wood is cracked or warped.
- Repeated regulation fails to stabilize touch.
If you see several of these, get an estimate for a rebuild. Often, rebuilding restores touch and value in older pianos.
Short checklist you can use now
Use this quick checklist whenever you inspect a piano. It helps you stay organized and consistent in how to check piano action condition before repair.
- Clean surface debris and open the action.
- Play slowly across all keys and note problems.
- Measure key dip on a few keys.
- Inspect hammers, shanks, and felts visually.
- Check jacks, springs, and repetition parts.
- Test dampers and pedals.
- Photograph issues and write notes.
- Decide urgency and call a pro if structural parts are broken.
PAA-style questions (People Also Ask)
Q: How long does a basic action inspection take?
A: A quick check takes 20–30 minutes. A full, careful inspection can take 1–2 hours.
Q: Can humidity cause action problems?
A: Yes. Humidity shifts cause wood swelling and sticking keys. Stable humidity helps longevity.
Q: Will tuning fix action problems?
A: No. Tuning adjusts string pitch. Action issues need mechanical fixes.
Q: How much does a professional action regulation cost?
A: Costs vary by region and piano type. Expect a range from modest to several hundred dollars.
Q: Is an old piano worth rebuilding?
A: It depends on condition and value. Use inspection results to decide.
Frequently Asked Questions of how to check piano action condition before repair
How do I know if a key is sticking or the action is faulty?
Play slowly and watch the key and action. If the key drags or the hammer fails to return, the action has a fault.
Can I clean the action myself safely?
Yes, with care. Use a soft brush and avoid liquids. Photograph parts before touching.
What does uneven touch mean for a player?
Uneven touch causes inconsistent tone and dynamics. It usually points to regulation or worn parts.
How often should the action be inspected?
Check the action at least once a year. More often in heavy-use instruments or variable climates.
Will replacing felts improve touch immediately?
Replacing felts can improve touch but may require regulation and voicing afterward to restore balance.
Conclusion
Knowing how to check piano action condition before repair gives you control and saves money. Inspect visually, play carefully, test mechanics, and record what you find. Prioritize safety and call a professional for structural or complex work. Take one small step today: open your piano, play slowly, and use the checklist above to make informed decisions about repairs. Share your findings, ask questions, or book a professional evaluation to keep your instrument sounding its best.

Senior Music Reviewer
Alex Carter is a seasoned music reviewer with over a decade of experience in the world of sound and instruments. Passionate about helping musicians and enthusiasts make informed choices, he brings sharp insights and in-depth knowledge to every review. From classical instruments to modern gear, Alex combines technical expertise with a love for music to deliver content that resonates with readers.
As a Senior Music Reviewer and expert author on Tuneluma.com, Alex is dedicated to sharing honest evaluations, practical advice, and thoughtful commentary to guide readers in their musical journey.