How To Photograph Guitars Professionally: Sell Online
Capture clear, well-lit shots showing every angle, detail, and flaw for confident online buyers.
I’ve photographed hundreds of guitars for sales listings, music stores, and marketplaces. This guide shows exactly how to photograph guitars professionally for online selling with step-by-step gear choices, lighting tips, shooting workflows, and post-processing hacks that actually work. Read on to learn the practical setup, shots to include, common mistakes I fixed the hard way, and simple edits that make guitars sell faster.
Why great photos matter for selling guitars online
High-quality images build trust. Buyers can’t touch the instrument, so photos must show tone, condition, and character. When you know how to photograph guitars professionally for online selling, listings get more clicks and faster offers. Clear, honest imagery reduces returns and questions, and increases perceived value.

Gear checklist: what you really need
Use simple, reliable gear. You don’t need a pro studio to learn how to photograph guitars professionally for online selling.
- Camera: A mirrorless or DSLR is ideal, but modern smartphones with manual controls work well.
- Lens: A 35–50mm equivalent is great for full-body shots; a 85–105mm macro or tele for detail.
- Tripod: Keeps frames consistent and sharp for multiple angles.
- Lighting: Softbox, LED panel, or natural window light. Dimmable is best.
- Backgrounds: Neutral paper, fabric, or solid wall in white, gray, or black.
- Props: Guitar stand, cleaner cloth, microfiber, soft gloves for handling.
- Accessories: Reflector or white foam board to fill shadows; remote trigger or timer.

Lighting techniques that make guitars pop
Good light shows finish, grain, and wear. Learn how to photograph guitars professionally for online selling by controlling light, not overpowering it.
- Natural light: Use indirect window light for soft, even coverage. Shoot near golden hour for warmth.
- Continuous light: LED panels are easy to position and preview. Use two lights for key and fill.
- Softboxes: Minimize harsh reflections on glossy finishes.
- Reflectors: Bounce light to brighten fretboard shadows and headstock.
- Avoid direct flash: It creates hot spots and strange reflections on lacquered surfaces.
Composition and essential shots to include
Buyers expect a gallery that answers questions. Knowing how to photograph guitars professionally for online selling means delivering every necessary view.
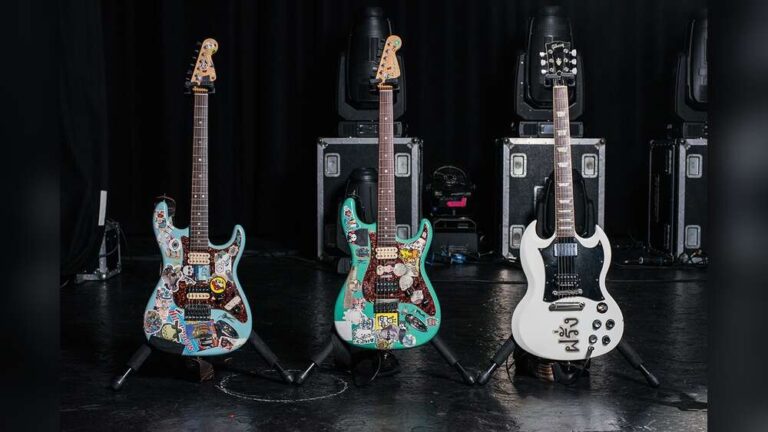
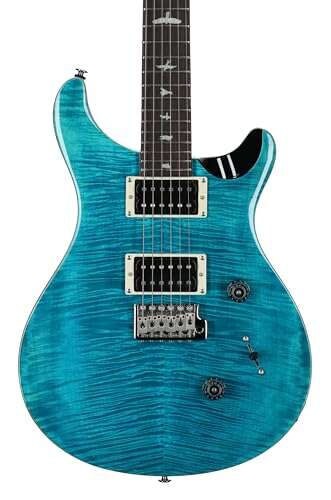
- Full body, front-facing: Straight-on shot showing the whole instrument.
- Back body and neck: Show finish and any wear.
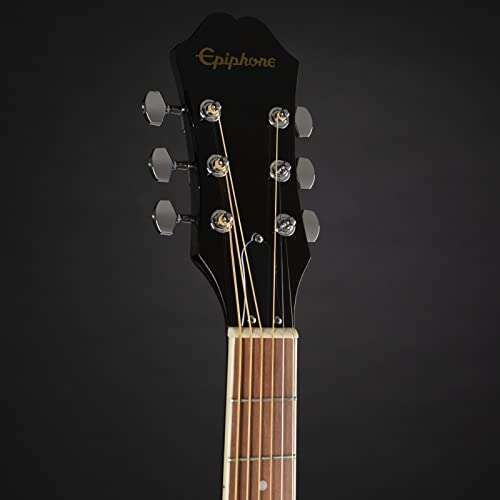
- Headstock close-up: Logo, tuners, and condition.
- Neck profile and frets: Show fret wear, radius, and action.
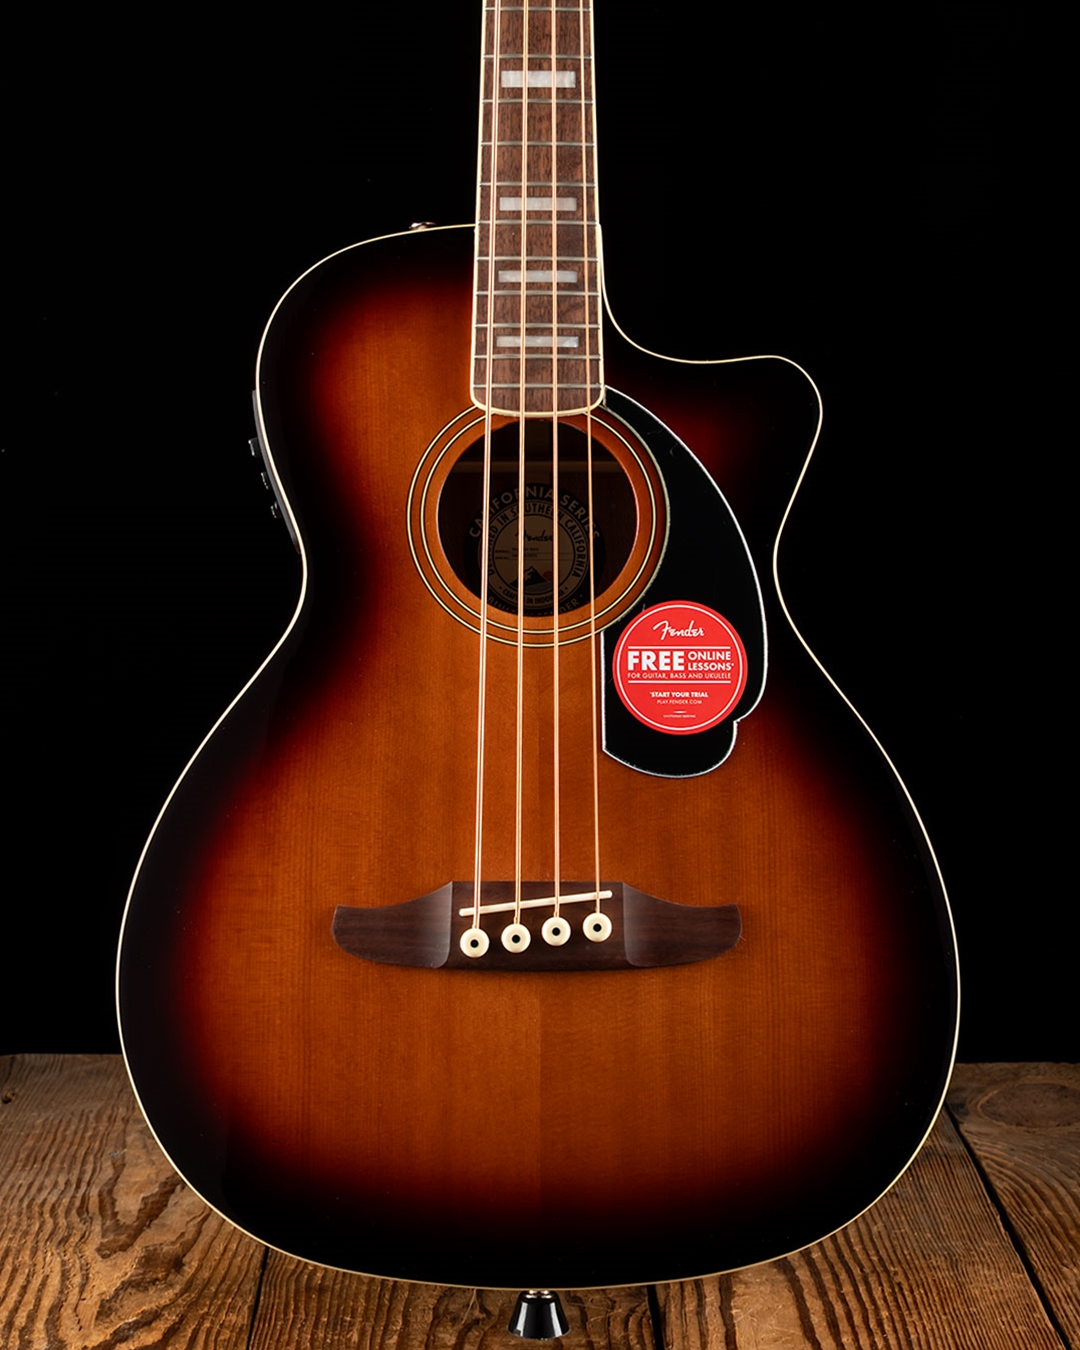
- Electronics and hardware: Close-ups of pickups, bridge, knobs, and selectors.
- Serial number and label: Important for vintage or collectible pieces.
- Case, strap, and extras: Show included items and case condition.
- Scale and context shot: Guitar on stand or in hands to convey size.

Camera settings and a reliable shooting workflow
Simple settings reduce errors. Follow this workflow to master how to photograph guitars professionally for online selling.
- Set camera to RAW for max editing latitude.
- Use low ISO (100–400) to avoid noise.
- Choose aperture around f/5.6–f/8 for full-body shots; f/4–f/5.6 for close-ups.
- Adjust shutter speed to match light; use tripod below 1/125 sec.
- White balance: Use custom WB or a gray card to keep finishes accurate.
- Meter off the guitar body and check highlights to avoid blown lacquer spots.
- Shoot multiple exposures for tricky finishes and pick the best.
This workflow keeps images consistent across listings and products.

Backgrounds, staging, and visual storytelling
How you present the guitar affects perceived value. When you learn how to photograph guitars professionally for online selling, staging matters as much as technical settings.
- Clean background: White or light gray for resale; dark or textured for boutique vibe.
- On-stand vs flat-lay: Stand shots show how the guitar looks ready-to-play; flat-lays are great for catalogs.
- Props: Minimal props that hint at genre—amp, pedals, or strap—without distraction.
- Color contrast: Choose background that contrasts the guitar for clear silhouette.
- Consistency: Use the same backdrop and lighting across multiple listings for brand trust.

Post-processing and exporting for marketplace listings
Good edits bring honesty and polish. Post-processing is where you finalize how to photograph guitars professionally for online selling.
- Crop and align: Fix perspective and center the guitar in frame.
- Color correction: Match true finish with white balance and exposure tweaks.
- Remove dust: Clone out lint and small specks on glossy surfaces.
- Sharpen selectively: Apply to strings, frets, and headstock. Avoid oversharpening finish.
- Resize and compress: Export JPEGs at 72–150 ppi, width 1200–2000 px depending on platform.
- File names and metadata: Use descriptive filenames and add instrument details in metadata for SEO.

Image SEO and listing best practices
Photos help search and conversions. Use image SEO to make your listing more discoverable and trustworthy when you describe how to photograph guitars professionally for online selling.
- Filenames: Use clear names like fender-strat-2015-sunburst-front.jpg.
- Alt text: Write concise descriptions including brand, model, color, and condition.
- Gallery order: Start with full front body, then key details, then wear shots.
- Caption tips: Mention size, year, and unique traits in the listing copy to match the images.
- Multiple platforms: Tailor image sizes for each marketplace to avoid auto-cropping.

Common mistakes and how to fix them
Avoid these traps I’ve learned from shooting hundreds of listings. Recognizing them helps you master how to photograph guitars professionally for online selling.
- Harsh reflections: Use softboxes or move the light angle to remove glare.
- Incomplete galleries: Always include headstock, back, neck, and serial photos.
- Skipped close-ups: Buyers need clear detail shots of wear and electronics.
- Wrong white balance: Test with a gray card; wrong WB misrepresents finish.
- Busy backgrounds: Remove clutter to keep the focus on the instrument.
Advanced tips from real experience
Here are practical hacks I use when photographing guitars for sales. These are distilled from real shoots and fixes that saved listings.
- Use a polarizing filter for severe reflections on glossy finishes.
- Place a small piece of white paper near the bridge as a fill reflector for fretboard shadows.
- For sunburst finishes, shoot slightly off-axis to reveal gradient.
- Photograph serial numbers twice: one tight crop and one with ruler for scale if vintage.
- Keep a checklist on your phone to ensure every shot type is captured.
Frequently Asked Questions of how to photograph guitars professionally for online selling
How many photos should I include in a guitar listing?
Aim for 10–15 images. Cover full body, both sides, headstock, neck, frets, hardware, serial number, and any blemishes.
Can I use my phone to photograph guitars professionally?
Yes. Modern phones can deliver pro results if you shoot in RAW or Pro mode, use steady support, and control light with soft sources.
What size should I export images for online marketplaces?
Export at widths between 1200 and 2000 pixels. Compress to balance quality and load time while keeping details clear.
How do I handle glossy finish reflections?
Use soft, diffused lighting, change angles, and employ polarizing filters. Also try moving the light farther back to reduce hotspots.
Should I edit out scratches or dings before listing?
No. Always show damage honestly. Edit to improve clarity and color, but disclose and photograph blemishes to build trust.
How do I make the guitar look more “lively” in photos?
Shoot at eye level for the instrument, use warm light for wood tones, and include a contextual shot with a strap or amp to suggest playability.
Conclusion
Great guitar photos start with careful light, consistent shots, and honest details. Practice the step-by-step methods here to learn how to photograph guitars professionally for online selling and watch your listings attract more serious buyers. Try the checklist, tweak one thing at a time, and share results—your images will improve quickly. If this helped, leave a comment, try a test shoot today, or subscribe for more gear and listing tips.

Senior Music Reviewer
Alex Carter is a seasoned music reviewer with over a decade of experience in the world of sound and instruments. Passionate about helping musicians and enthusiasts make informed choices, he brings sharp insights and in-depth knowledge to every review. From classical instruments to modern gear, Alex combines technical expertise with a love for music to deliver content that resonates with readers.
As a Senior Music Reviewer and expert author on Tuneluma.com, Alex is dedicated to sharing honest evaluations, practical advice, and thoughtful commentary to guide readers in their musical journey.