How To Record Guitar On Ableton: Pro Step-By-Step
Plug your guitar into an audio interface, arm a track in Ableton, and press record to capture clean takes quickly.
I’ve spent years recording guitars in home studios and pro rooms, so I’ll walk you through how to record guitar on Ableton with clear, practical steps. This guide covers gear, setup, routing, amp sims, miking, editing, and mixing. Follow this and you’ll capture usable guitar tracks fast, whether you’re tracking electric riffs or acoustic fingerpicking.
Why record guitar in Ableton?
Ableton is stable, fast, and great for creativity. It handles live takes and loop-based production equally well. Learning how to record guitar on Ableton unlocks compact workflows for sketching parts, layering textures, and finishing mixes all in one place.
Ableton’s session view helps you capture ideas quickly. Arrangement view makes editing and comping simple. Use both to shape performances the way you want.

Essential gear for recording guitar on Ableton
You do not need a big budget, but a few items will raise the quality of your recordings.
- Audio interface: 2-in/2-out interfaces are enough for most guitarists.
- Good cable: A low-noise instrument cable matters.
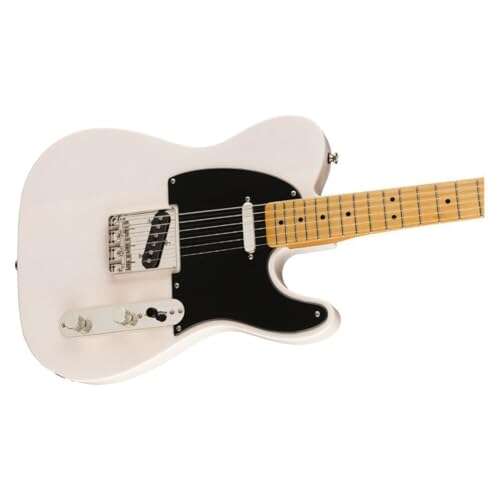
- Guitar: Set up and tuned.
- Amp or amp sim: Choose physical amp plus mic or a plugin like an amp simulator.
- Microphone for amp: A dynamic mic like an industry-standard works well.
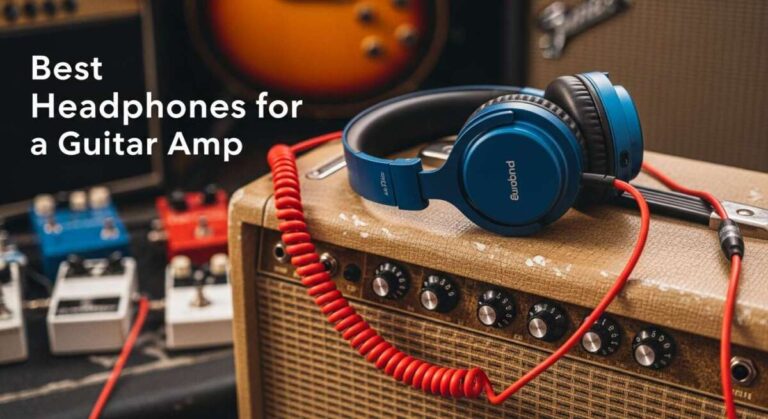
- Headphones/monitors: For accurate monitoring and low-latency tracking.
If you record acoustic guitar, add a condenser mic for detail and warmth. These tools help when you record guitar on Ableton because they reduce noise and speed setup.
Setting up your audio interface in Ableton
Open Ableton Live and set your audio device first. This is critical for low latency and stable recording.
- Go to Preferences > Audio.
- Choose your audio interface as the Input and Output Device.
- Set sample rate to 44.1 or 48 kHz.
- Adjust buffer size; lower buffer gives less latency when tracking.
Enable "Release Driver When Application Is in Background" if you switch apps. Confirm inputs show signal in Ableton’s meter before you record guitar on Ableton.

Routing and creating tracks in Ableton
Understanding routing keeps your session clean and fast.
- Create an Audio Track: Use Create > Insert Audio Track.
- Choose Input: Set the track input to the interface input your guitar uses.
- Arm the Track: Click the record arm button to enable recording.
- Set Monitoring: Use "In" for zero-latency monitoring with hardware amp sims, or "Auto" to hear takes only when armed.
Name tracks clearly. Color them to speed navigation when you record guitar on Ableton with many layers.

Recording electric guitar: direct in vs amp + mic
Two main approaches exist. Both work well in Ableton.
Direct in (DI)
- Plug guitar into interface.
- Record dry DI signal.
- Re-amp later or use amp sims.
- Pros: clean, flexible; cons: needs re-amping or convincing amp sims.
Amp + mic
- Mic a physical amp and record the amp output.
- Capture natural tone and room feel.
- Pros: authentic; cons: needs mic placement and room.
You can also record both DI and a mic simultaneously. This gives you more options when you mix and is a solid workflow when you record guitar on Ableton.
src="https://support.focusrite.com/hc/article_attachments/4403828351378/Scarlett_mic_guitar_recording_template_screenshot.png"
alt="Mic techniques for miking guitar amps”
style=”max-width: 100%; height: auto; border: 2px solid black; border-radius: 10px; display: block; margin: 0 auto;”
loading=”lazy”
/>
Mic techniques for miking guitar amps
Mic placement shapes tone fast. Keep setups simple.
- Close mic: Place 1–3 inches from speaker cone, slightly off axis for warmth.
- Edge vs center: Center captures brightness; edge captures warmth.
- Room mic: Add a room mic for ambiance and depth.
Experiment with angle and distance. Small changes can yield big tonal shifts when you record guitar on Ableton.

Using amp sims and plugins in Ableton
Amp sims are powerful and light on setup. They let you craft tones without an amp.
- Insert an amp sim plugin on the guitar track.
- Use impulse responses (IRs) to add cabinet character.
- Adjust gain, EQ, and presence inside the plugin.
When tracking, you can monitor with a low-latency hardware direct monitoring or a low-latency plugin. Save preset chains to speed future sessions of how to record guitar on Ableton.

Reamping and parallel processing
Reamping gives ultimate flexibility.
- Record a clean DI.
- Send DI out to a reamp box or interface output.
- Route back into an amp or amp sim and record the new signal.
Parallel processing keeps the original and processed tracks. Blend them to retain clarity and add character when you record guitar on Ableton.

Monitoring, latency, and gain staging
Good monitoring stops mistakes and helps performance.
- Use direct monitoring on your interface for zero-latency feel.
- Reduce buffer size while tracking; increase it for mixing.
- Set input gain so meters peak around -6 dB to -10 dB to avoid clipping.
Proper gain staging ensures clean recordings when you record guitar on Ableton.
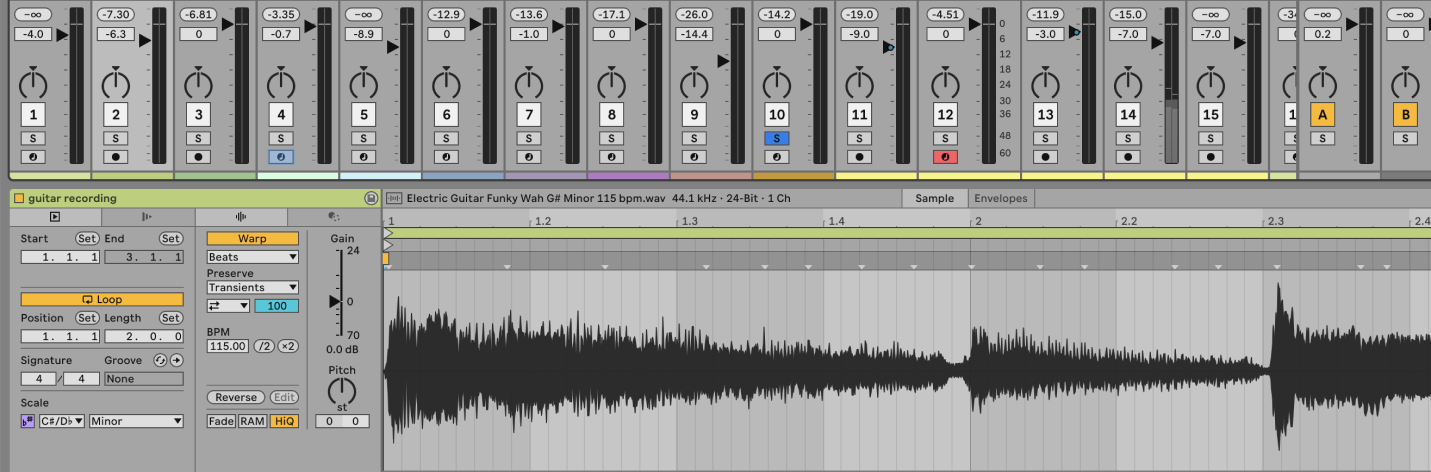
Editing and comping takes in Ableton
Ableton makes comping and editing fast and musical.
- Record multiple takes using Session View scenes or Arrangement loop recording.
- Use take lanes or separate tracks to collect multiple passes.
- Use simple crossfades to avoid pops and clicks.
Keep edits short and preserve timing feel. Comp your best phrases and leave some character to avoid robotic results when you record guitar on Ableton.
Mixing tips for recorded guitar on Ableton
Mixing turns a good capture into a great track.
- EQ: Cut muddiness around 200–400 Hz and boost presence around 2–5 kHz.
- Compression: Use gentle compression to control dynamics and glue the tone.
- Reverb and delay: Add space without washing out clarity.
- Panning: Spread multiple takes left and right to create width.
Reference mixes often. Small adjustments to EQ and dynamics make huge differences when you record guitar on Ableton.
Common mistakes and troubleshooting
Avoid these pitfalls to save time and frustration.
- Forgetting to choose the correct input before recording.
- Recording at too hot levels and clipping.
- Ignoring latency which throws off performance timing.
- Over-processing a clean DI before you commit to a tone.
If you hear latency, raise buffer size for playback or enable direct monitoring. These checks stop many issues when you record guitar on Ableton.
Personal tips and lessons learned
I once recorded a whole EP with just a DI chain and two amp sims. The tracks felt alive because I tracked fast and trusted takes, not endless tweaking.
- Keep sessions organized with labeled tracks.
- Record more takes than you think you need.
- Save presets of favorite amp sim chains.
- Take breaks to reset your ears.
These habits make recording guitar on Ableton less technical and more musical.
Frequently Asked Questions of how to record guitar on ableton
How do I set up my audio interface in Ableton?
Open Preferences > Audio, select your interface for Input and Output, and set sample rate. Adjust buffer size to balance latency and CPU load.
Can I record guitar directly into Ableton without an amp?
Yes. Record a DI through your audio interface, then use amp sims or reamp later to shape tone. DI gives flexibility for editing and reamping.
How do I reduce latency when tracking guitar in Ableton?
Lower buffer size in Preferences while tracking or use your interface’s direct monitoring. Increase buffer size when mixing to save CPU.
Should I record multiple takes or one long take?
Record multiple focused takes to capture the best phrases and comp them later. Multiple takes increase your editing options and improve final feel.
What sample rate and bit depth should I use for guitar?
Use 44.1 or 48 kHz and 24-bit for a balance of quality and file size. Higher rates can be used but offer diminishing returns for guitar.
Conclusion
You now have a clear, practical roadmap for how to record guitar on Ableton. Start with a solid interface, set inputs and monitoring correctly, choose DI or mic methods, and keep takes organized. Practice fast tracking, experiment with amp sims, and learn basic editing and mixing to get professional results.
Take one song and apply these steps today. Record a take, listen, and iterate—small changes yield big improvements. If this helped, try a new amp sim preset or mic position and leave a comment about your results.

Senior Music Reviewer
Alex Carter is a seasoned music reviewer with over a decade of experience in the world of sound and instruments. Passionate about helping musicians and enthusiasts make informed choices, he brings sharp insights and in-depth knowledge to every review. From classical instruments to modern gear, Alex combines technical expertise with a love for music to deliver content that resonates with readers.
As a Senior Music Reviewer and expert author on Tuneluma.com, Alex is dedicated to sharing honest evaluations, practical advice, and thoughtful commentary to guide readers in their musical journey.