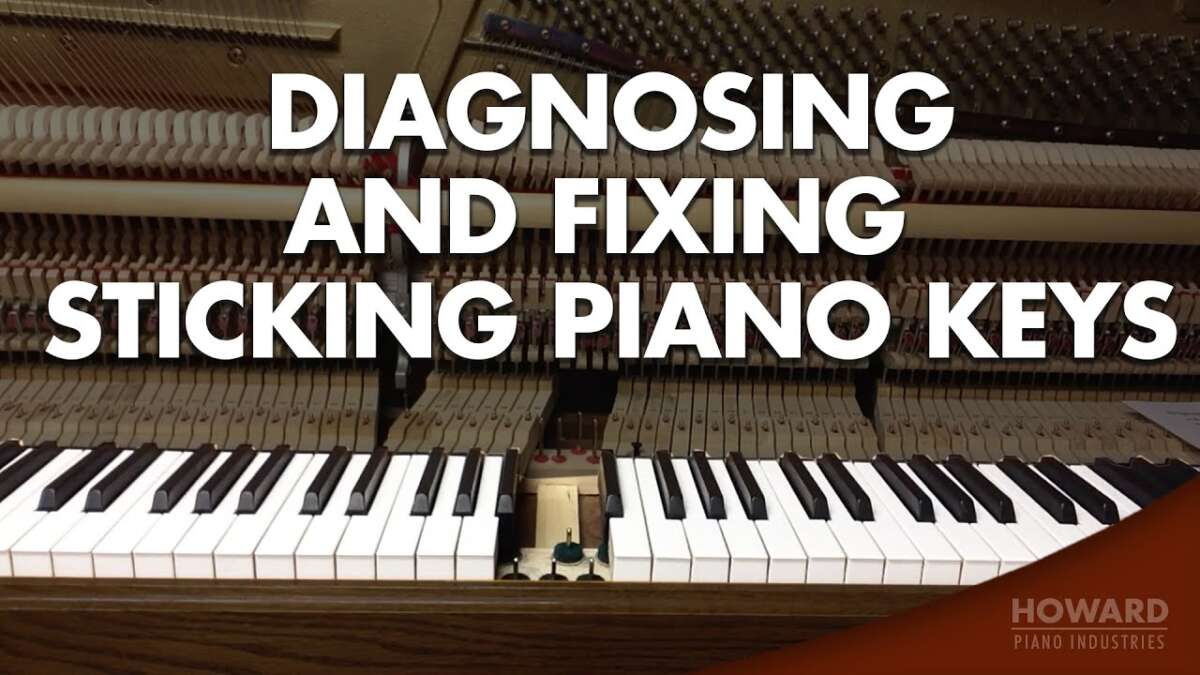
Most sticky piano keys can be freed with gentle cleaning, light lubrication, and simple adjustments at home.
I have spent years repairing pianos and teaching owners simple fixes. This guide explains how to unstick piano keys step by step. Read on for easy, safe methods you can try today, plus tips to prevent the problem returning.

Why piano keys get stuck
Sticky keys have a few common causes. Dust and dirt collect under and around the keys. Humidity swells wood and felt parts. Spilled liquids cause gummed-up action parts. Old or hardened lubricants and broken parts also stop keys from moving freely. Knowing the cause helps you choose the right fix for how to unstick piano keys.

Safety and tools checklist before you start
Work slowly and use the right tools. Unplug the piano if it is electric. Keep a soft cloth and small brushes on hand. Gather these items:
- Soft, lint-free cloth: for wiping key surfaces and nearby areas.
- Small brush or paintbrush: for dust and debris under keys.
- Key slip or plastic wedges: to hold other keys down safely.
- Cotton swabs and isopropyl alcohol (70%): for cleaning non-felt parts.
- Light piano lubricant or graphite powder: for action parts if needed.
- Screwdriver set and needle-nose pliers: for gentle adjustments.
Using the right tools makes it easier to unstick piano keys without damage.

Quick fixes you can try right now
These quick methods often solve minor stickiness. Try them before removing keys or calling a tech.
- Clean key tops and sides: Wipe keys with a damp cloth and dry right away. Dirt on key edges can drag and feel sticky.
- Tap and let the mechanism settle: Gently press the stuck key a few times. Sometimes dust or a small object shifts free.
- Use a soft brush between keys: Brush away crumbs and dust from the gaps. This helps many sticky-key problems.
- Check humidity: If keys swell, place a dehumidifier in the room. Stable humidity can solve slow-return keys.
These steps are safe for most pianos and show you simple ways to unstick piano keys quickly.

Step-by-step: remove and clean a single key (upright piano)
If quick fixes fail, remove a single key and clean the action. Work on one key at a time. This keeps alignment and minimizes error.
- Prepare the piano
- Close the fallboard and remove any loose items. Turn off or unplug the piano.
- Access the keys
- Remove the top or front panel per your piano model. Look for the key cover and remove it to access the keys.
- Mark and lift surrounding keys
- Place a small piece of tape on neighboring keys for reference. Use a plastic wedge to hold neighbors down gently.
- Gently lift the stuck key
- Slide the key forward slightly and lift it straight up. Note how it fits into the guide pins.
- Inspect the key and bushing
- Look for dirt, sticky residue, or worn felts where the key pivots. These often cause the key to stick.
- Clean the pivot and guide rails
- Use a soft brush and cotton swab dampened with isopropyl alcohol to remove grime. Do not soak felt; use minimal moisture.
- Test and reassemble
- Replace the key, check its motion, and reattach any panels. Repeat for other sticky keys as needed.
These steps show a careful way to unstick piano keys while keeping the rest of the action aligned.

Deep cleaning and lubrication for persistent sticky keys
When cleaning a single key does not work, deeper action cleaning helps. This may require removing several keys and checking the action parts.
- Remove multiple keys in sequence: Take small groups to maintain layout. Keep screws and parts labeled.
- Clean felt bushings carefully: Feather the felt with a dry brush. Avoid aggressive liquids on felt.
- Use a small amount of appropriate lubricant: Apply a tiny dab of piano-approved lubricant to wooden pivot pins or metal guides. Use graphite powder for ivory or plastic key surfaces if they stick to each other.
- Clean sticky residue from spills: For sugar or soda, carefully remove sticky parts and clean with minimal alcohol. If spill reached dampers or hammers, call a tech.
Deep cleaning demands patience. If you are unsure about the internal action, stop and consult a professional.

Common mistakes to avoid when you try to unstick piano keys
A few errors make the job worse. Avoid them to keep your instrument safe.
- Don’t use household oils or WD-40: These can gum up the action and attract more dirt.
- Don’t soak felt or wood with fluids: Excess moisture warps wood and damages felts.
- Don’t force broken parts back into place: Forcing can break glue joints or thin wood.
- Don’t ignore alignment: Misaligned keys cause new wear and uneven touch.
Learning from these mistakes will help you unstick piano keys without causing more harm.

When to call a professional piano technician
Some problems need a pro. Contact a technician if:
- Multiple adjacent keys stick after cleaning.
- The piano was soaked or had a large liquid spill.
- You find broken wooden parts, cracked guides, or missing bushings.
A trained technician can regulate the action, replace felts, and repair structural damage. Calling a pro saves time and prevents costly mistakes when home methods fail.

Preventive maintenance to keep keys moving freely
Small habits prevent sticky keys. Use a routine to reduce future problems.
- Keep the piano in a stable environment: Aim for 40–50% relative humidity.
- Clean regularly: Wipe keys weekly and brush gaps monthly.
- Cover the keys: Use the fallboard or a keyboard cover to block dust.
- Service annually: Have a technician tune and check action parts once a year.
Following these steps reduces the chance you will need to unstick piano keys later.

Troubleshooting specific sticky-key scenarios
Different symptoms point to different causes. Match the problem to the right fix.
- Single key sticks only when pressed hard: Check the key bushing or a tight guide pin. Clean or lightly lubricate the pivot.
- Several keys stick together: Inspect for sticky residue between keys. Clean tops and sides and apply graphite if needed.
- Key returns slowly after humidity change: Stabilize room climate and allow the piano to acclimate over days.
- Keys stick after a spill: Stop playing and call a tech if the spill reached the action or soundboard.
These checks help you decide how to unstick piano keys based on what you see and feel.
Frequently Asked Questions of how to unstick piano keys
How long does it take to unstick a piano key at home?
Minor fixes often take 10 to 30 minutes per key. Deep cleaning or removing keys can take an hour or more.
Can I use household cleaners to clean sticky keys?
No. Avoid harsh cleaners and oils. Use a damp cloth and small amounts of isopropyl alcohol for hard surfaces only.
Is it safe to spray lubricant inside my piano?
No. Do not spray aerosol lubricants into the action. Use only small, approved amounts of piano lubricant applied precisely.
Will humidity cause piano keys to stick permanently?
Humidity can make keys stick temporarily by swelling wood and felt. Long-term exposure can cause lasting damage if unaddressed.
Can a keyboard (digital piano) keys get unstuck the same way as acoustic keys?
Digital keys are different. Many digital pianos have key modules you can clean externally. For internal problems, check the manufacturer guidelines or service center.
Conclusion
Sticky keys are common and often fixable with careful cleaning, light lubrication, and simple adjustments. Start with safe, small steps and move to deeper cleaning if needed. If a spill or broken parts are involved, reach out to a piano technician. Try one method today to regain smooth touch and prevent future stickiness. Share your experience, subscribe for more piano care tips, or leave a comment about your sticky-key story.

Senior Music Reviewer
Alex Carter is a seasoned music reviewer with over a decade of experience in the world of sound and instruments. Passionate about helping musicians and enthusiasts make informed choices, he brings sharp insights and in-depth knowledge to every review. From classical instruments to modern gear, Alex combines technical expertise with a love for music to deliver content that resonates with readers.
As a Senior Music Reviewer and expert author on Tuneluma.com, Alex is dedicated to sharing honest evaluations, practical advice, and thoughtful commentary to guide readers in their musical journey.
Leave a Reply