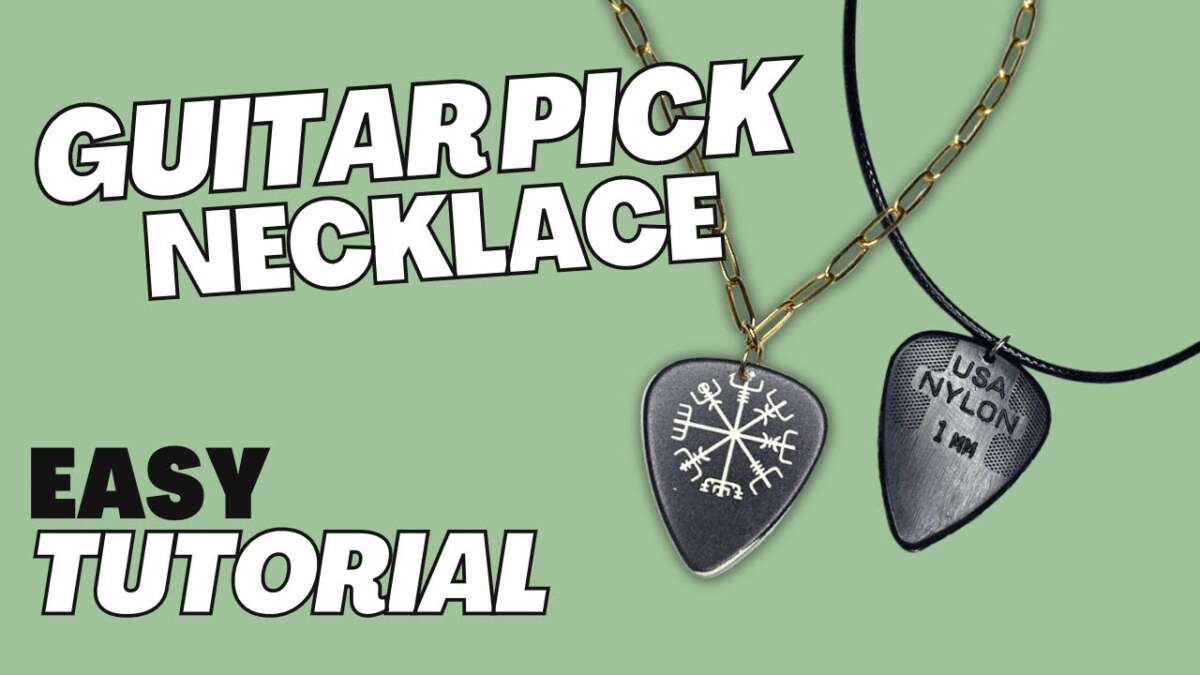
Use a guitar pick, a small drill or hole punch, a bail or eye pin, and a chain to make a necklace.
I’ve made dozens of guitar pick necklaces for friends and local shows, and I’ll walk you through each clear step so you can make one that looks pro. This guide covers materials, tools, step-by-step instructions, design tips, and care — all based on hands-on experience and tested methods for how to make a guitar pick necklace that lasts and looks great.
Why a guitar pick necklace is a great DIY project
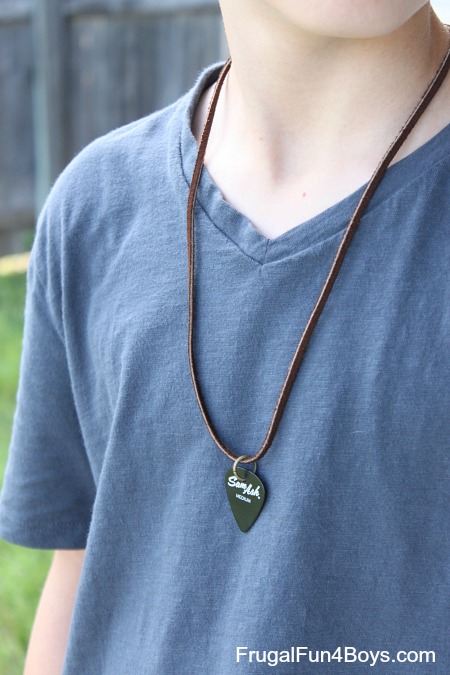
A guitar pick necklace is simple, stylish, and personal. It’s a quick craft that becomes a meaningful accessory or gift. Whether you play guitar or love music, learning how to make a guitar pick necklace gives you a durable keepsake and a fun chance to customize.

Materials you’ll need to make a guitar pick necklace
Use smart, easy-to-find items. The focus keyword how to make a guitar pick necklace appears naturally in each step that follows.
- Guitar pick — plastic, metal, or leather. Thin picks drill easier.
- Bail or eye pin — to attach the pick to a chain.
- Chain, cord, or leather thong — length as desired.
- Jump rings and clasp — if you want a closed necklace.
- Optional paints, permanent markers, resin, or stickers — for decoration.
- Clear topcoat or resin — to seal decorated picks.
Tools required to make a guitar pick necklace
Keep tools basic. Simpler tools make this craft faster and safer.
- Small drill or rotary tool with a 1.5–2.5 mm bit — for plastic or metal picks.
- Leather punch or hole punch — works well for soft picks and leather.
- Needle-nose pliers — to bend eye pins and close jump rings.
- Metal file or fine sandpaper — to smooth rough edges.
- Ruler and marker — to mark drill spots.

Step-by-step: How to make a guitar pick necklace (basic drilled pick)
Follow these clear steps to make a durable, wearable pick. Each step keeps the process safe and repeatable so beginners succeed at how to make a guitar pick necklace.
- Choose and prep the pick
- Pick a shape and thickness you like. Thin picks are lightweight; thicker picks feel premium.
- Clean the pick with rubbing alcohol so paint and glue stick well.
- Mark the hole location
- Place the mark near the tip of the pick but far enough from the edge to avoid cracks.
- Use a fine marker and ruler for a centered hole.
- Drill the hole
- Clamp the pick in a small vise or hold it on a soft pad.
- Use a small drill bit and apply light pressure. Drill slowly to avoid cracking.
- For metal picks use a metal-specific bit and occasional cooling.
- Smooth the hole
- Use a fine file or sandpaper to remove burrs.
- Test the hole by fitting the eye pin or bail.
- Attach the hardware
- Thread an eye pin or small bail through the hole.
- Use needle-nose pliers to form a loop if using an eye pin.
- Add a jump ring to connect the bail to the chain.
- Add chain and finish
- Attach the chain, add a clasp if needed, and fasten securely.
- Clean the piece and check for sharp edges.
 creative variations”
style=”max-width: 100%; height: auto; border: 2px solid black; border-radius: 10px; display: block; margin: 0 auto;”
loading=”lazy”
/>
Advanced methods and creative variations
Once you know how to make a guitar pick necklace, try these options to level up designs.
-
Resin-covered picks
- Decorate the pick, then pour a thin resin coat for a glossy, durable finish.
- Embed small items like glitter or tiny photos for custom looks.
-
Metal picks with rivets
- Punch holes and use small rivets to attach leather backing or decorative plates.
- For metal, consider using a jeweler’s saw for cutouts.
-
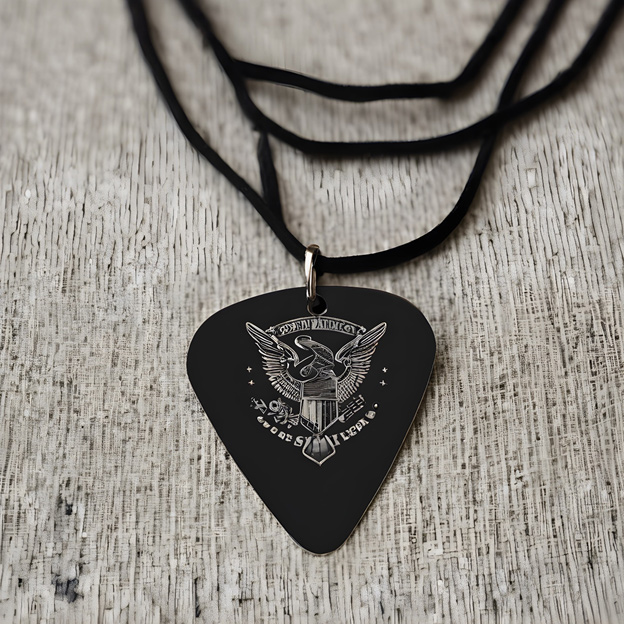
Stamped or engraved picks
- Use metal stamping or laser engraving for names, dates, or lyrics.
- Leather picks take stamping well with simple letter sets.
-
Layered or multi-pick necklaces
- Stack two or three picks on the same jump ring for a layered effect.
- Mix colors and materials for contrast.

Finishing touches, customization, and styling tips
Small details make a big difference. These tips come from hands-on work and customer feedback on what looks best.
-
Placement matters
- Center the hole high on the pick for a classic pendant look. Lower holes tilt the pick forward.
-
Balance weight and chain
- Use a heavier chain for metal picks and a delicate chain for plastic or thin picks.
-
Seal designs
- Use a clear acrylic spray or thin resin to protect paint and marker from wear.
-
Personalization
- Add initials or song dates. People respond strongly to personalized keepsakes.

Safety, durability, and care
A well-made pick necklace will last. Follow these safety and care steps when you learn how to make a guitar pick necklace.
-
Safety while making
- Wear eye protection when drilling. Work in a ventilated area when using resin or sprays.
- Clamp small pieces to avoid slipping.
-
Durability tips
- Reinforce drill holes with a small drop of epoxy if the pick is thin.
- Use stainless jump rings and plated bails to avoid corrosion.
-
Care and cleaning
- Wipe with a soft cloth. Avoid harsh chemicals.
- Store flat to prevent bending for soft picks.

Troubleshooting common problems
I’ve fixed broken projects and learned quick fixes. These solutions save time and frustration as you practice how to make a guitar pick necklace.
-
Cracked pick while drilling
- Use a smaller bit, drill slower, or place a backing piece under the pick.
-
Hole off-center
- Use the hole as an artistic feature or drill a new tiny hole and file to blend.
-
Loose bail or eye pin
- Add a small drop of jewelry glue or epoxy for strength.
Cost, time, and where to buy supplies
Making a pick necklace is budget-friendly and fast. Typical ranges and sourcing options help you plan.
-
Cost estimate
- Single pick, hardware, and chain: $3–$12 depending on materials.
- Resin kits or engraving tools add to initial setup costs.
-
Time estimate
- Simple drilled pick: 10–30 minutes.
- Resin or layered builds: allow 24 hours for curing.
-
Where to buy
- Local craft stores, music shops, online marketplaces, and jewelry-supply retailers.
Personal tips and lessons learned
From making dozens of necklaces, here are honest lessons I’ve learned while crafting how to make a guitar pick necklace.
-
Start simple
- My first picks cracked because I rushed drilling. Slower work matters.
-
Keep a testing kit
- Use spare picks to test drill bits and resin mixes before committing.
-
Listen to feedback
- Friends preferred lightweight picks for daily wear. Weight and comfort matter.
Frequently Asked Questions of how to make a guitar pick necklace
How hard is it to make a guitar pick necklace?
It’s easy for beginners. Basic drilling and simple hardware let most people finish a pick necklace in under 30 minutes.
Can I use any guitar pick for a necklace?
Yes, but thin plastic picks drill more easily and metal picks need stronger bits and care to avoid sharp edges.
What if my pick cracks while drilling?
Stop, smooth the edges, and use epoxy or a backing piece. Using a smaller drill bit and steady pressure prevents cracking.
How do I attach a pick without drilling?
Use a pick bail that clamps the pick or glue a metal loop to the pick’s surface with strong epoxy.
Is resin safe to use on picks?
Resin is safe if used in a ventilated area and mixed per instructions. Allow full curing time to avoid skin contact with unset resin.
Conclusion
Making a guitar pick necklace is a rewarding craft that blends music, style, and simple jewelry skills. Follow clear steps, choose the right tools, and add personal touches to create pieces people love. Try one simple design first, then experiment with resin, metal, and engraving to grow your skills. If this guide helped, make one today and share your result or ask questions below — I’d love to see your creations.
Leave a Reply