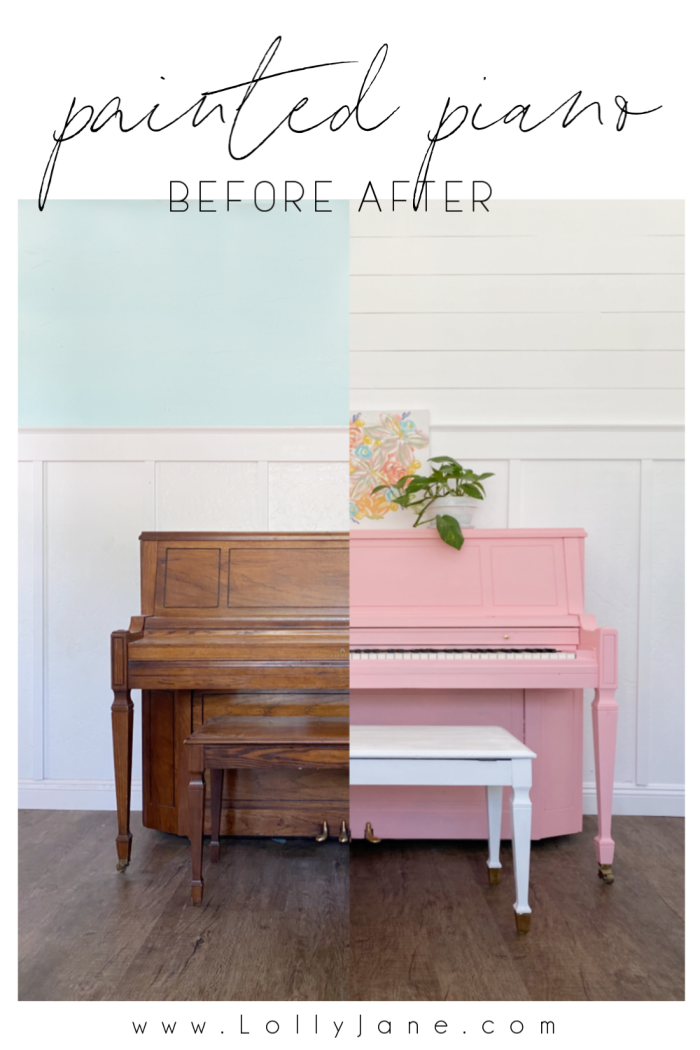
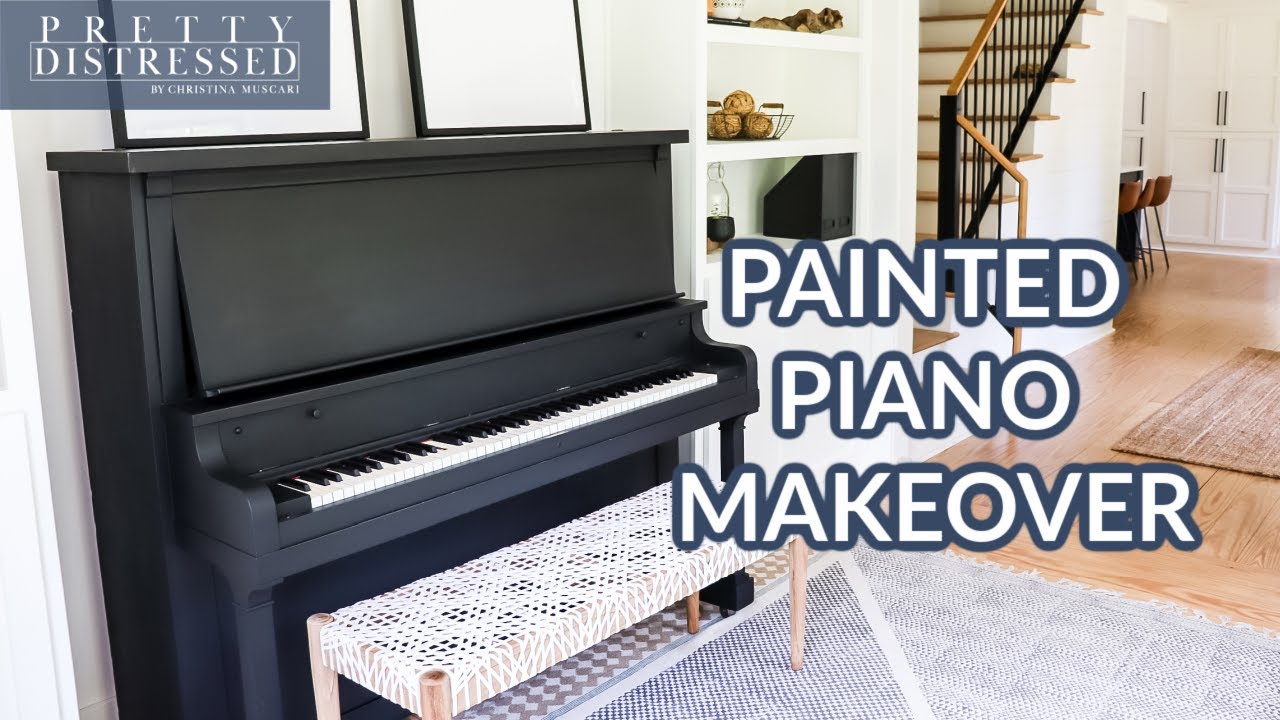
How To Repaint A Piano: Step-By-Step Guide
Repainting a piano is doable: strip, sand, prime, paint, and seal carefully for a lasting finish.
I’ve refinished many pianos and taught others how to repaint a piano with reliable, step-by-step methods. This guide shows you the full process, tool lists, paint choices, and common pitfalls. I’ll explain when to hire a pro and when you can tackle it at home. Read on to learn how to repaint a piano safely and attractively, with tips drawn from hands-on experience and best practices.
Why repaint a piano?
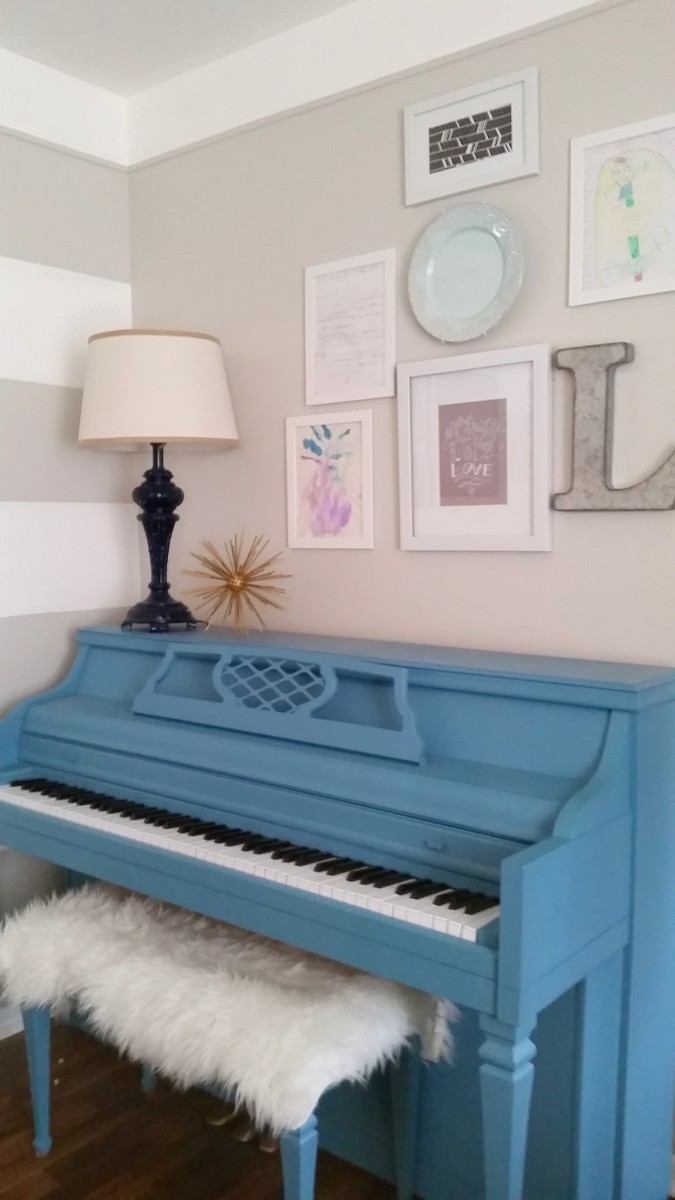
Repainting a piano can refresh its look. It can match new decor. It can hide wear or damage. You can change color or update style without buying a new instrument. Knowing how to repaint a piano helps you protect value and beauty. I’ll show you how to do it without harming sound or structure.
Assess the piano first: value, finish, and condition
Ask three key questions. Is the piano historically or monetary valuable? What finish does it have now? How bad is the wear?
If it is an antique or high-value piano, consider a professional. Refinishing can lower resale value if done wrong. If it’s a modern or family piano, DIY is often safe. Note the finish type: lacquer, shellac, polyester, or paint affects your method. Small surface chips need different care than deep veneer damage.
Tools and materials you will need
Gather the right items before you start. Good prep saves time and makes the result last.
- Sandpaper in 80, 120, 220, and 320 grits for rough to fine work.
- Chemical stripper if you must remove a thick old finish.
- Tack cloth and clean rags to remove dust.
- High-quality primer compatible with your paint choice.
- Paint: acrylic lacquer, oil-based enamel, or water-based acrylic (see section on paint).
- Brushes: foam brushes, high-density foam rollers, and a fine bristle brush for edges.
- Respirator mask, gloves, and eye protection.
- Painter’s tape and masking paper to protect keys and hardware.
- Wood filler or veneer repair kit for damaged areas.
- Clear topcoat: satin, semi-gloss, or high-gloss polyurethane or lacquer.

Step-by-step: how to repaint a piano
Follow these steps carefully. Take time on prep. Rushing causes flaws.
- Plan and protect the space.
- Work in a well-ventilated, dust-free room.
- Lay drop cloths. Use a work table for parts.
- Remove hardware and protect keys.
- Unplug and remove the fallboard, music desk, and legs if possible.
- Keep screws in labeled bags. Mask the keys with plastic and tape if you won’t remove them.
- Clean the surface.
- Wipe with mild soap and water to remove grime.
- Use a degreaser on sticky spots. Let dry fully.
- Strip or sand the old finish.
- Use chemical stripper only on tough finishes and in ventilated area.
- Sand progressively: 120 grit to remove finish, then 220, then 320 for smoothness.
- Repair damage.
- Fill dents with wood filler. Sand smooth when dry.
- For veneer chips, use a veneer repair kit or wood glue and clamps.
- Prime the wood.
- Apply a thin, even coat of primer designed for your paint.
- Sand lightly with 320 grit between coats.
- Paint in thin coats.
- Use thin coats to avoid drips. Two to four coats are normal.
- Allow recommended dry time between coats.
- Finish and seal.
- Apply a durable topcoat for protection.
- Let cure fully before reassembly. This can take days to weeks depending on products.

Paint types and finish choices
Choosing paint matters for look and durability. Know options and trade-offs.
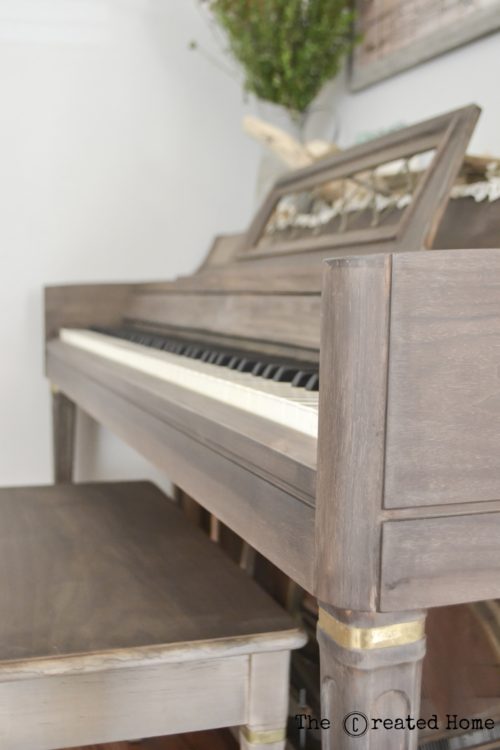
- Acrylic lacquer: Dries fast and sands well. It’s popular for a smooth, slightly glossy finish. Requires proper ventilation.
- Oil-based enamel: Durable and hard. It takes longer to dry and can yellow slightly over time.
- Water-based acrylic: Low odor and easy cleanup. Modern formulas are durable and good for home use.
- Spray vs brush: Spraying gives glass-smooth results. Brushing is fine for small projects and touch-ups.
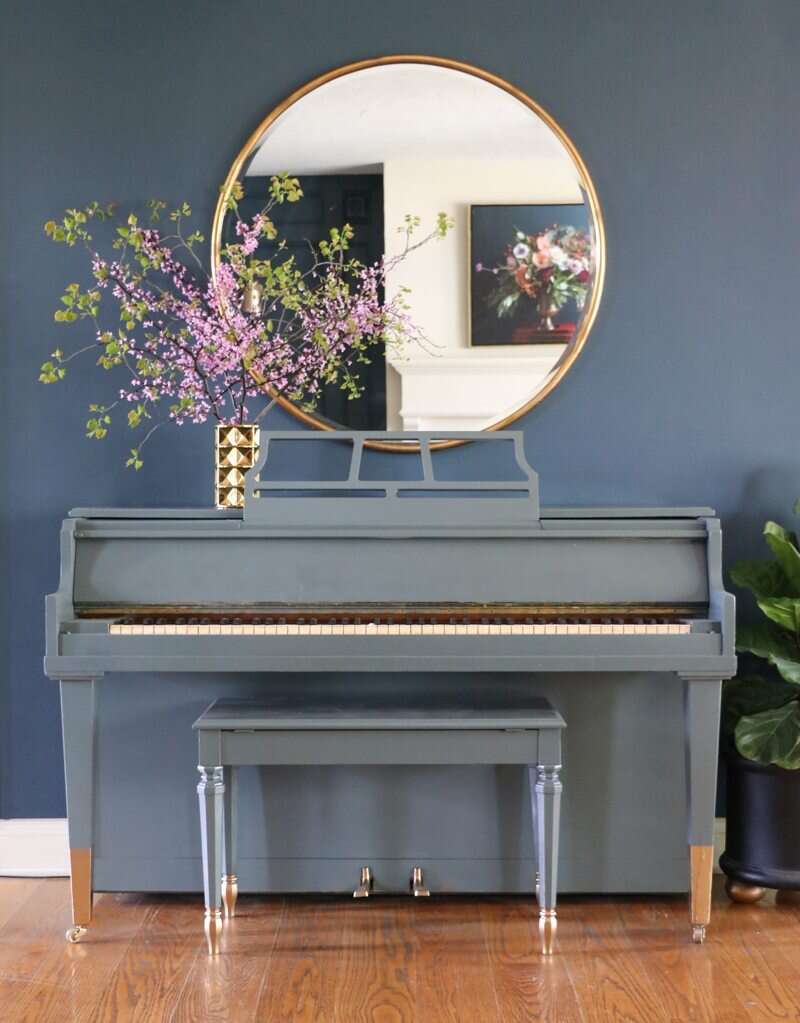
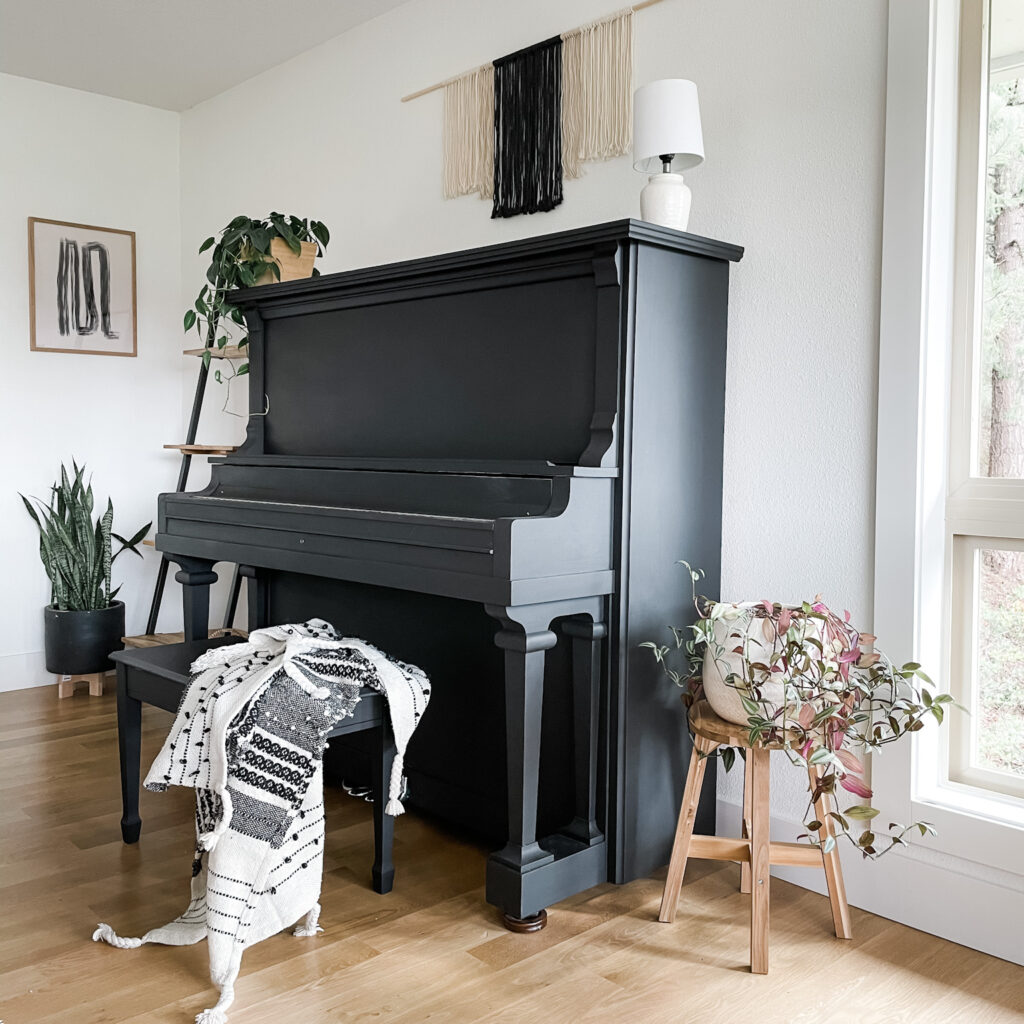
For finish, choose satin for soft sheen, semi-gloss for balance, or high-gloss for a classic piano look. High-gloss shows flaws more, so prep must be excellent.
Common mistakes and how to avoid them
Avoid predictable errors. They ruin looks and waste time.
- Skipping proper prep. Always clean and sand first. Poor prep causes peeling and visible flaws.
- Applying thick coats. Thin coats dry smooth and last longer.
- Using wrong primer. Match primer to paint type to avoid adhesion issues.
- Rushing cure time. Reassembling too soon causes scratches and tacky spots.
- Painting without protecting keys and hardware. Mask everything well to avoid overspray and drips.
Cost and time estimates
Costs vary by materials and whether you hire help. Expect basic ranges.
- DIY material cost: $100–$400 for mid-range paints, primers, and tools.
- Professional refinishing: $500–$5,000 depending on size and finish quality.
- Time: Plan 2–5 days for a simple repaint with drying time, or 1–3 weeks if you allow full curing or need complex repairs.
If you want a museum-quality finish, factor more time and budget. For a modern color refresh, DIY with care can be cost-effective.

Maintenance and care after repainting a piano
A good finish still needs care. Small habits keep it pristine.
- Dust weekly with a soft cloth. Avoid abrasive cleaners and rough cloths.
- Use furniture polish sparingly. Test a small area first.
- Keep the piano away from direct sunlight and humidity swings. These damage finish and wood.
- Fix small chips early. Touch-up paint can prevent further peeling.

Personal tips and lessons learned
I’ve repainted several pianos in homes and studios. Here are lessons I learned.
- Take photos as you disassemble. Reassembly is easier with a visual guide.
- Label screws and parts in small bags by area. This prevents mix-ups.
- Practice on a scrap board first. This helps you get the paint feel and drying time.
- If you want a glass-like finish, use spray lacquer and wet-sand between coats.
- Be patient. The best finishes come from careful prep and slow curing.
Frequently Asked Questions of how to repaint a piano
Can I repaint a piano myself?
Yes. Many people successfully repaint a piano at home. Follow careful prep, use the right paint, and allow full curing time to avoid issues.
Will repainting affect the piano’s sound?
Painting the exterior usually does not change sound if you avoid heavy coats on soundboard or internal parts. Never paint inside the instrument where the soundboard or strings could be affected.
What paint gives the best finish for a piano?
Lacquer or high-quality water-based acrylics often give the best results. Sprayed lacquer provides the smoothest, most professional look.
How long should I wait to play after repainting?
Wait until the paint and topcoat are fully cured. This can be 24–72 hours for light handling and up to 2 weeks for full cure, depending on products used.
When should I hire a professional?
Hire a pro if the piano is a valuable antique, has structural issues, or you want a flawless high-gloss finish. Professionals also handle complex veneer repairs and restorations.
Conclusion
Repainting a piano is a rewarding project when done with care. Start by assessing the instrument, gather the right tools, and focus on prep. Use thin coats, the right primer, and allow proper curing to protect both look and value. If the piano is valuable or has serious damage, consider a professional to avoid costly mistakes. Try one small test area first, and then proceed with confidence. If this guide helped, try your project now, share your results, or ask a question below.

Senior Music Reviewer
Alex Carter is a seasoned music reviewer with over a decade of experience in the world of sound and instruments. Passionate about helping musicians and enthusiasts make informed choices, he brings sharp insights and in-depth knowledge to every review. From classical instruments to modern gear, Alex combines technical expertise with a love for music to deliver content that resonates with readers.
As a Senior Music Reviewer and expert author on Tuneluma.com, Alex is dedicated to sharing honest evaluations, practical advice, and thoughtful commentary to guide readers in their musical journey.